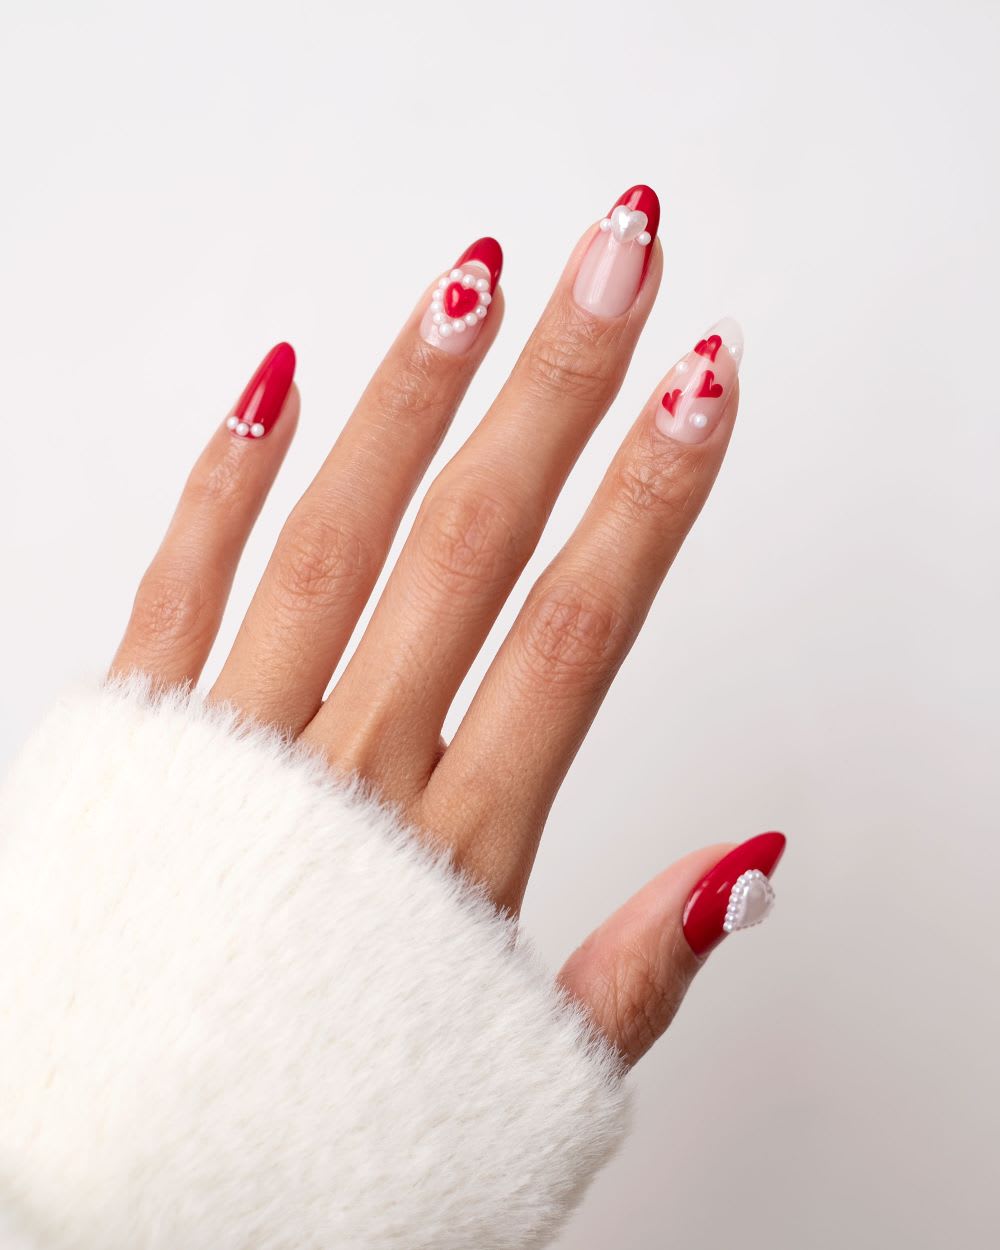
3D nail art is one of my favorite nail trends–and these, featuring heart nail art, are so coquette! While 3D nails look impressive and complicated, they’re surprisingly easy to execute with a little bit of nail glue and few accessories.
With Valentine’s Day coming up, this is the perfect time to start experimenting with your nail art and create a dreamy look for the occasion. It’s the season of love, and while a classic red manicure is always a go-to, why not try something a bit more whimsical and fun? With all the iconic elements of Valentine’s Day–hearts, red, and pearls–you can create fun, 3D coquette nails that are sweet, romantic, and on trend.
Each finger features a slightly different design, so you can copy this look entirely, or take the bits and pieces you like most to inspire your own nail art. So whether you’re celebrating Valentine’s or Galentine’s Day, here’s how to get the look:
Heart Nail Art
Supplies:
Here’s everything you’ll need to achieve these gorgeous red Valentine nails:
- Gel base coat
- Neutral gel polish for the base
- Red gel polish
- Pearl nail charms
- Rhinestone heart nail charms
- Rhinestone glue (optional)
- Gel top coat
- Gel lamp (for curing)
- Dotting tool
- Thin liner nail art bush
- Cutical oil
Instructions:
Before you jump into this written tutorial, take a moment to watch the video! Having a visual of how I did this nail art will help to make the written instructions clearer in your mind.
Done watching? Let’s dive in!
Prepping the nails:
1. Clean up the nail beds and cuticles, and wipe the nail clean of all residue so the gel can adhere properly.
2. Apply a thin layer of base coat to your nail and cure under your gel lamp.
3. Apply two coats of the neutral gel polish on the pointer, middle, and ring finger, then cure.
4. Apply two coats of the red gel polish on the pinky and thumb, then cure.
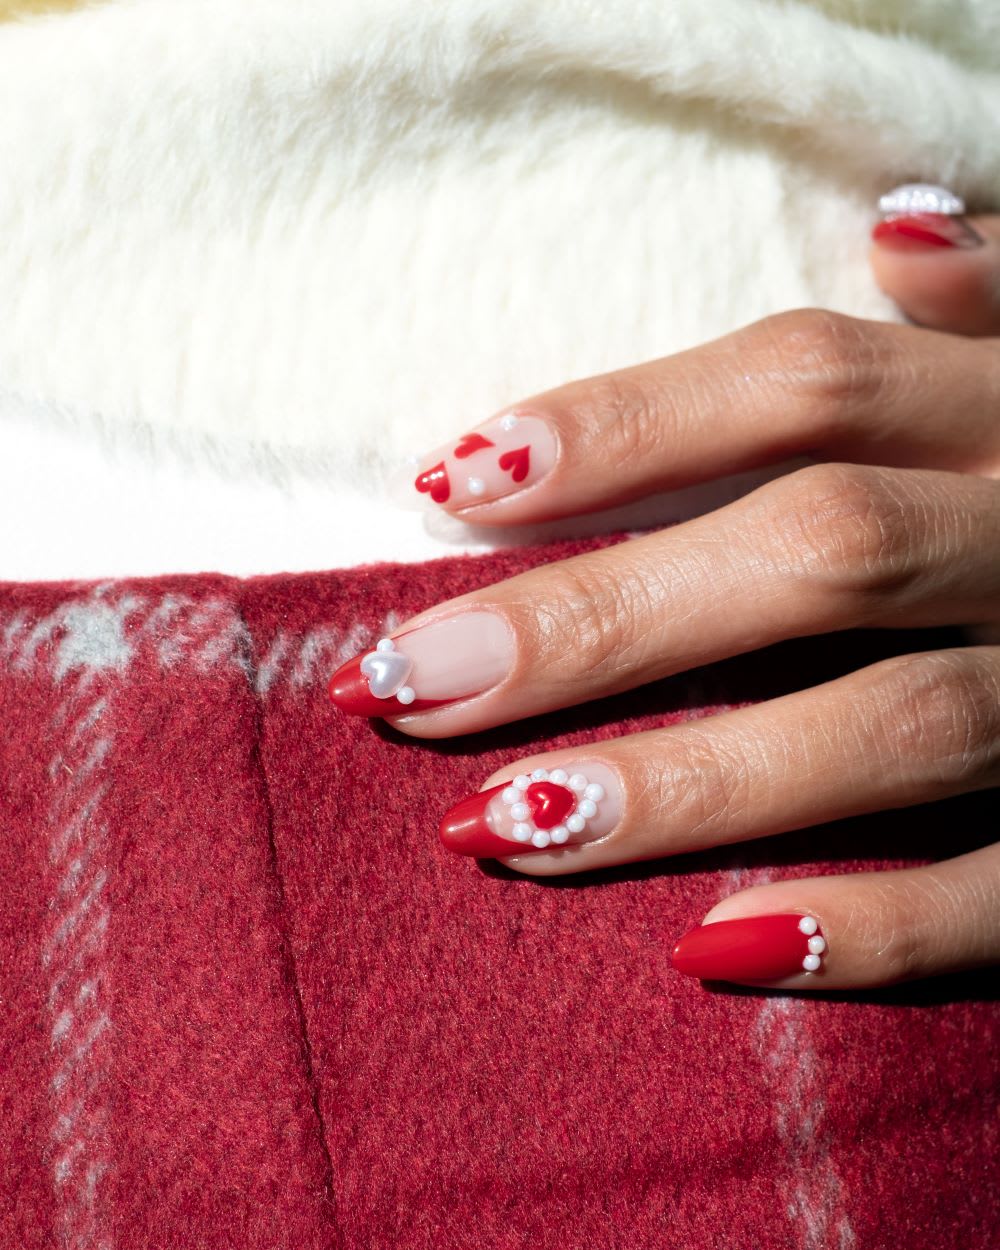
Pointer Finger:
5. Draw three small hearts with the red gel polish. In the video, you’ll see I used a dotting tool followed by the thin liner brush to create these hearts.
6. Next, you’ll place three pearls next to each heart–you can secure the pearls by applying a layer of top coat, placing the pearls, and then curing. Alternatively, you can use rhinestone glue for a more secure application. For the rhinestone glue, dot the glue where you want to place your charms, place the charms on top, then cure.
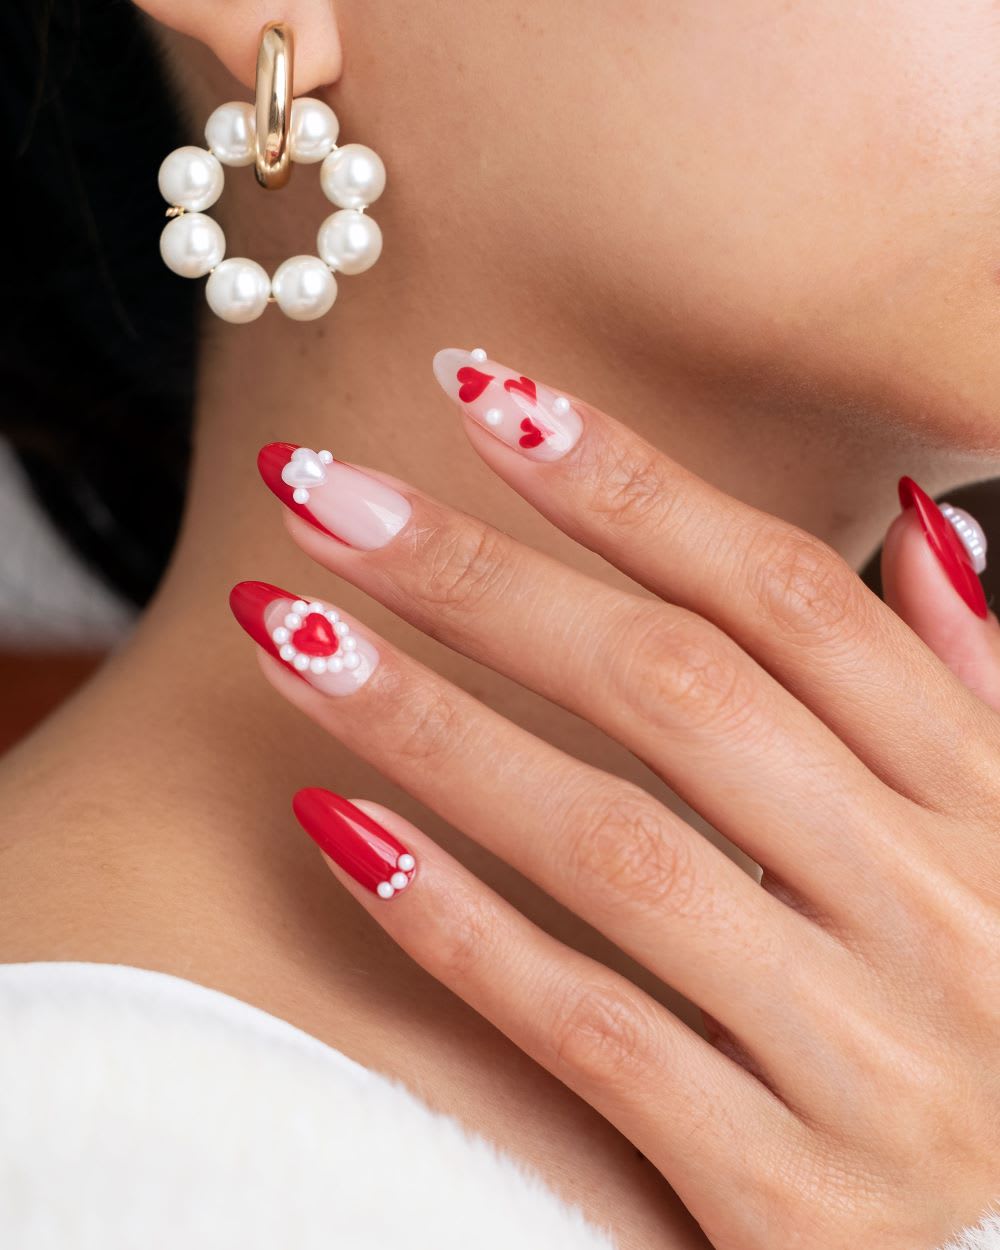
Middle & Ring Fingers:
7. Create a French tip with the red gel polish. Watch the video closely to see my simple method for achieving perfect French tips every time.
8. Place a small pearl heart charm in the middle of your French tip, and two round pearls on either side of the heart. Secure with rhinestone glue, or gel top coat and cure into place.
9. On the ring finger, place a small red pearl heart charm in the middle of the nail, then create a pearl border. Secure with rhinestone glue, or gel top coat and cure into place.
Pinky:
10. Secure three small round pearls at the middle cuticle area of the pinky and cure.
Thumb:
11. Secure the largest pearl heart charm to the middle of the thumb and cure.
Finishing:
12. Top with gel coat (going around the charms as you brush) and cure.
13. Finish with cuticle oil for a boost of hydration!
Did you try these red Valentine nails? Show us your pearly heart nail art on Instagram or TikTok @lulus using #lovelulus and head to our Valentine’s Day Shop for more sweet looks you’ll love!
Melanie Graves is a self-taught nail art enthusiast who creates colorful, easy DIY designs for the fellow home manicurist.
This post was originally published in January 2024.
Join The Conversation (0)