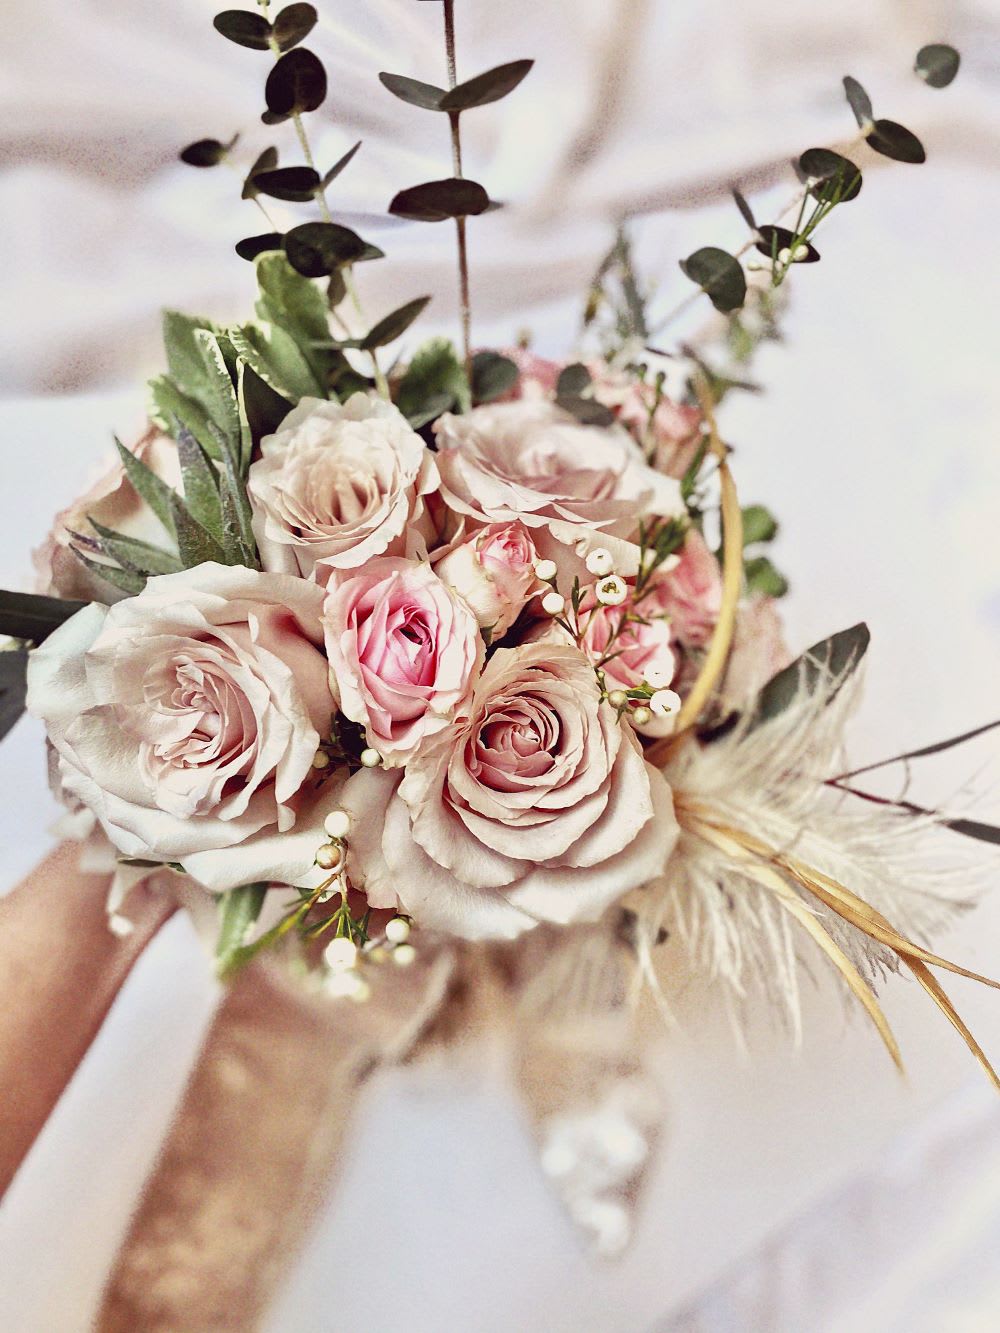
DIY bouquets for weddings add an extra personal touch, not to mention cut costs–but creating a gorgeous DIY bouquet using only grocery store flowers? Impossible, right? Nope! Putting together a romantic, budget-friendly arrangement that’s pro-level pretty is totally doable. Case in point: The blooming beauties above are all from Trader Joe’s. Yep!
You don’t have to be a floral expert, either, to make this magic happen. Here, I’m showing how to DIY a bouquet worthy of any wedding day–scroll on to see how it’s done!
Supplies:
*Gather supplies a few days ahead so your flowers can open up!
- Scissors or pruners
- Thin green floral wire (You can find at a dollar store or craft store)
- Feathers for accent texture
- Artificial craft succulents
- Satin/velvet ribbon
Pick Your Florals:
Here are some of my go-to choices at Trader Joe’s:
- Baby eucalyptus
- White wax flower
- Feather eucalyptus
- Variegated pittosporum
- Light pink spray roses
- Quicksand “antique” roses

Step 1: Get your goodies home, and prep your stems! Cut each stem of greenery on an angle and add to buckets of water (keeping each type together, and you only need about 2 inches of water in bucket).

Step 2: For your roses, remove all foliage and cut each stem individually at an angle about a half-inch from the bottom of the stem. Put your spray roses and quicksand roses into water for a few days before arranging the bouquet to allow them to “open up” (pro-tip: blow into the center of each rose to wake it up). FYI: Your roses will look “closed” when you first buy them. We want the look to be delicate and soft, so they’ll need a few days to blossom! Wake up, little cuties!
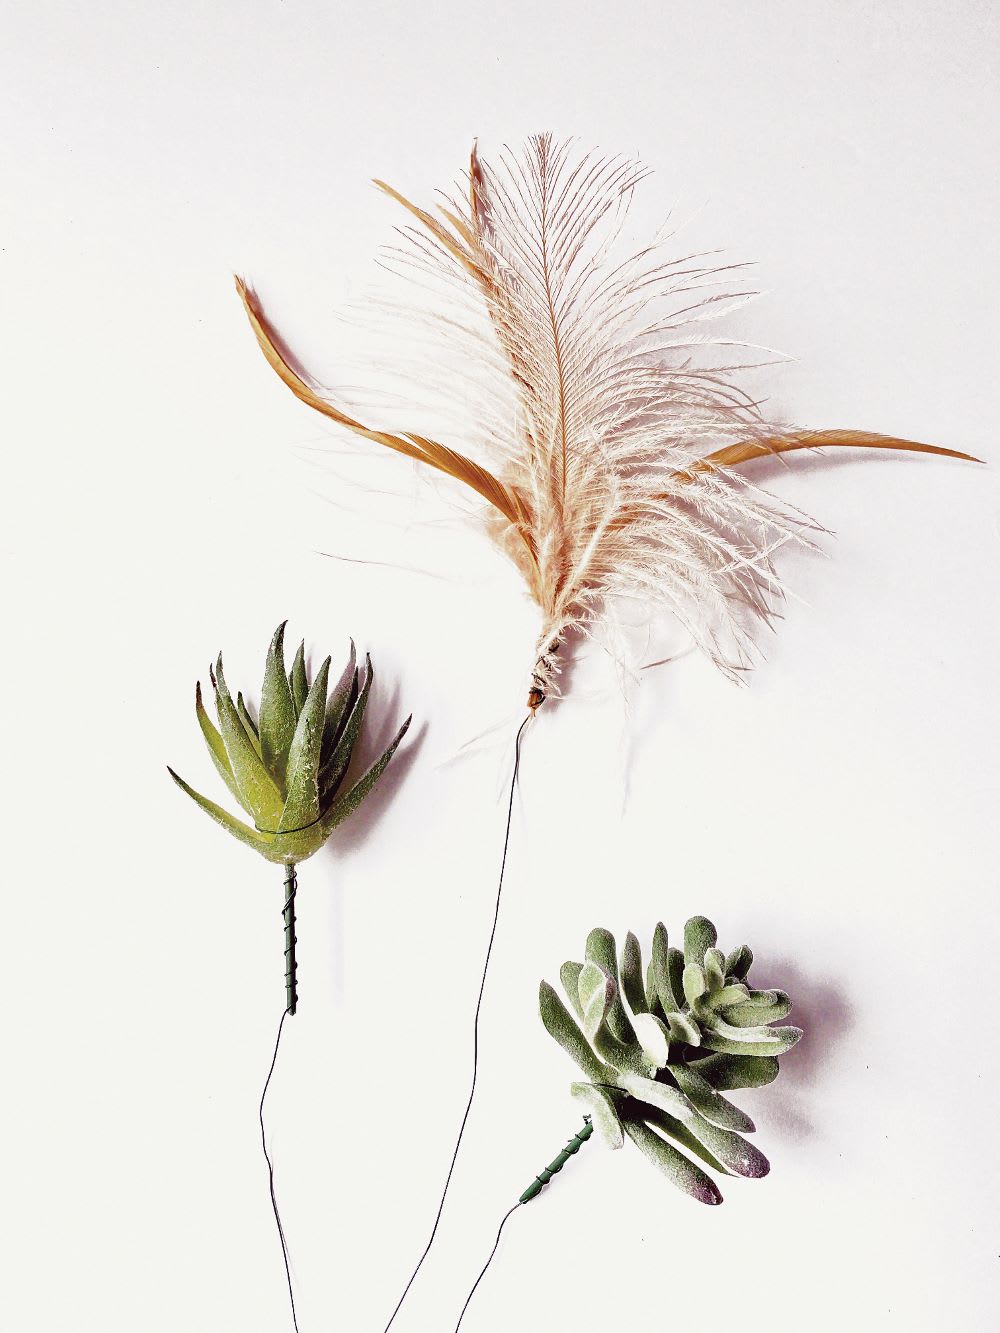
Step 3: To prep your feather and artificial succulent pieces, you can wire them along their stem base and leave yourself about 6-8 inches of added wire to add to bouquet.

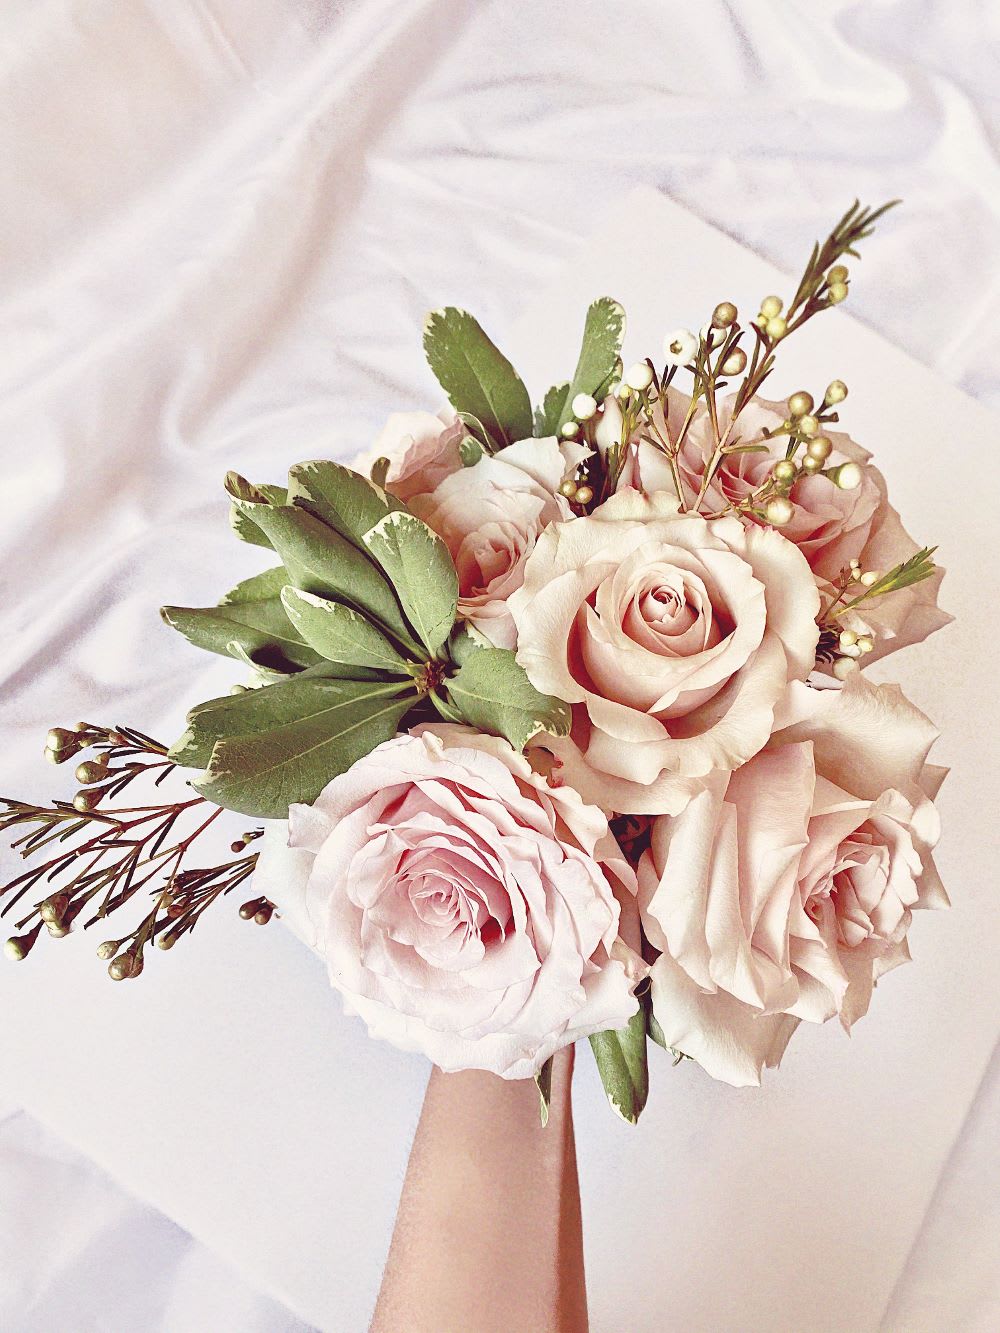
Step 4: After about 2-3 days of letting them open up, they’ll look like this and you can begin your bouquet!

Step 5: Grab 2 stems of your bulky greenery; here we have used variegated pittosporum as the base. Take 3 of the “best looking” roses —(nicely bloomed, no brown spots) and wiggle them down into your hand over the greenery–feel free to peel back outside petals if some look sad. Here, the idea is to have the “pops” of green but showcase the main florals for your bouquet.
Step 6: Add 2 wax flower stems and surround them with 3-4 more quicksand “antique” roses. Keep it all loosely in your hand and “wiggle” stems down into the bunch. Always re-arrange roses by their base because they’ll be fragile when bloomed!

Step 7: Next, add in an artificial succulent, followed by your light pink spray roses. These can be added to “fill in” your DIY bouquet. I added three stems: one center and two on the sides to fill in bare areas. Add the other succulent (if desired) to the opposite side of the bouquet and add in your feather near one of the succulents. (I always prefer asymmetry when arranging florals to give it a more natural, whimsical look!)
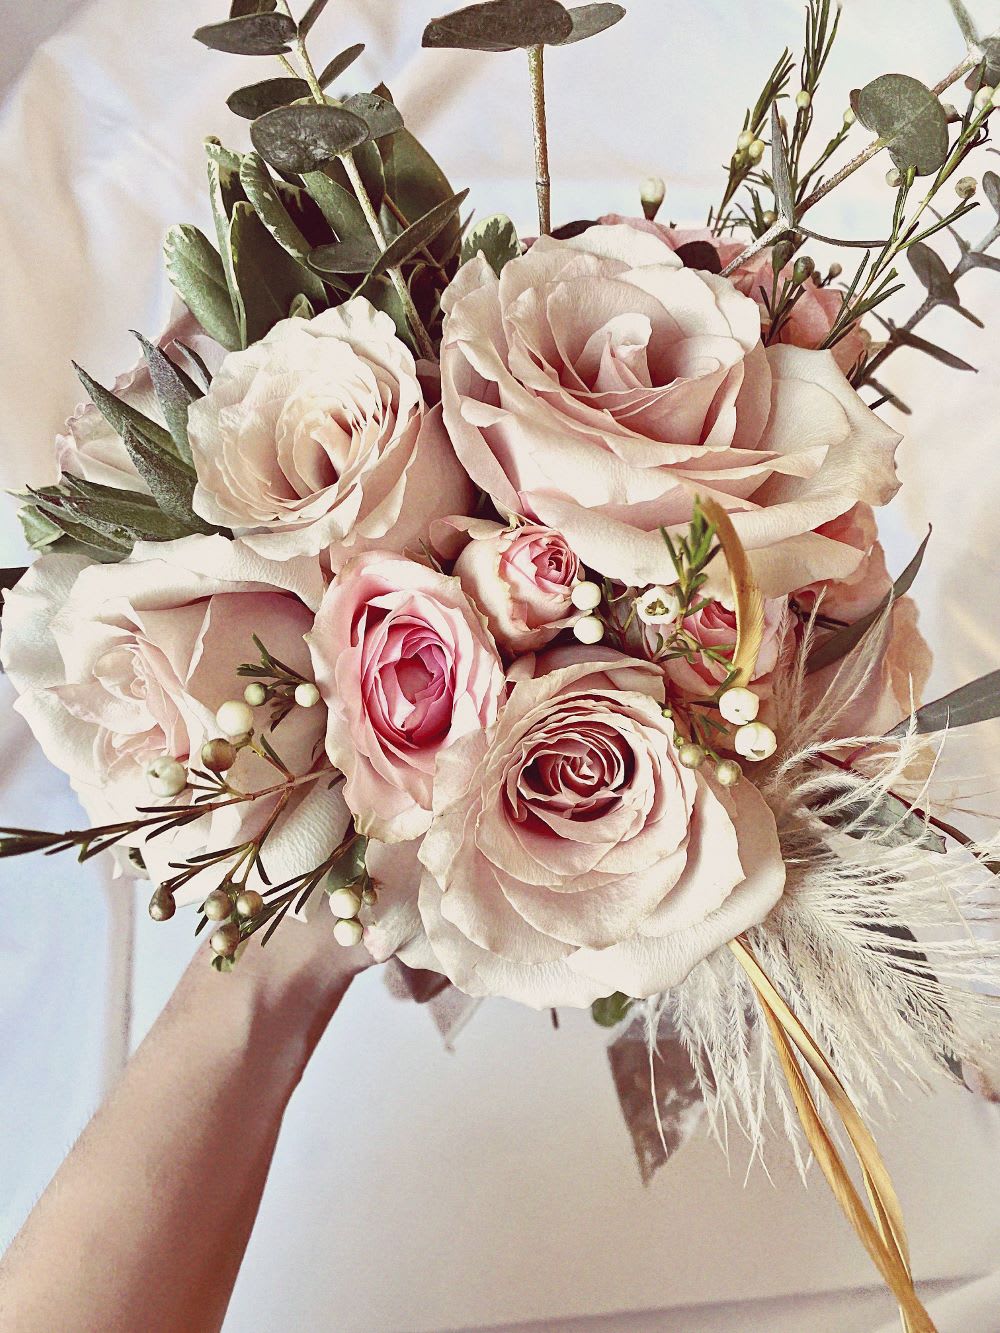
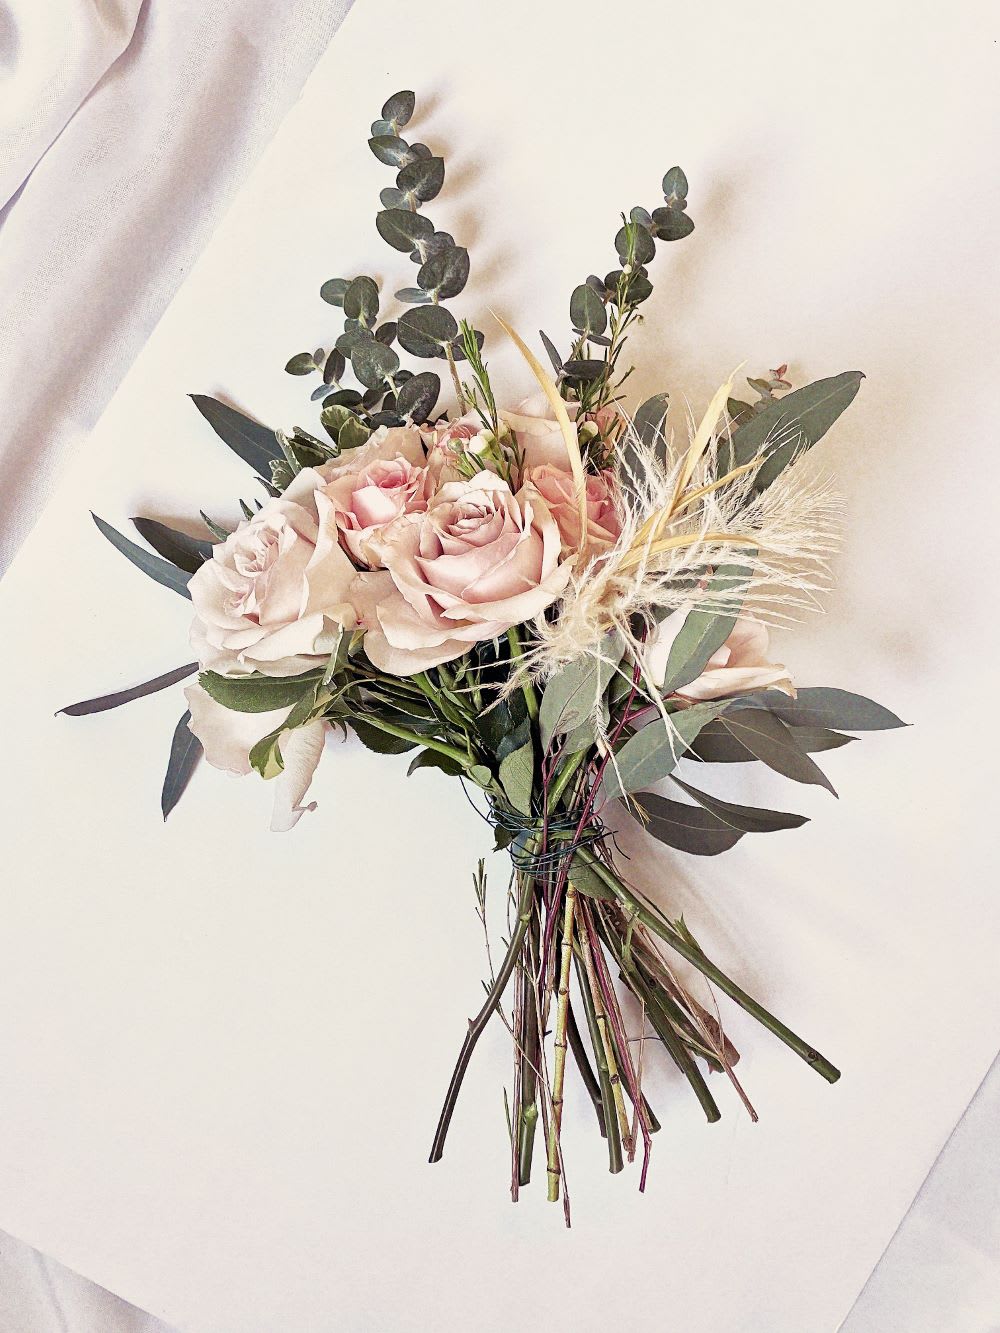
Step 8: Next, add 1-2 stems of baby eucalyptus (your classic stalk eucalyptus) toward the back and sides of the bouquet and add in some of the willow eucalyptus, (droopy style) and place one stem towards front and 1-2 on the sides. Now, it’s time to wrap!
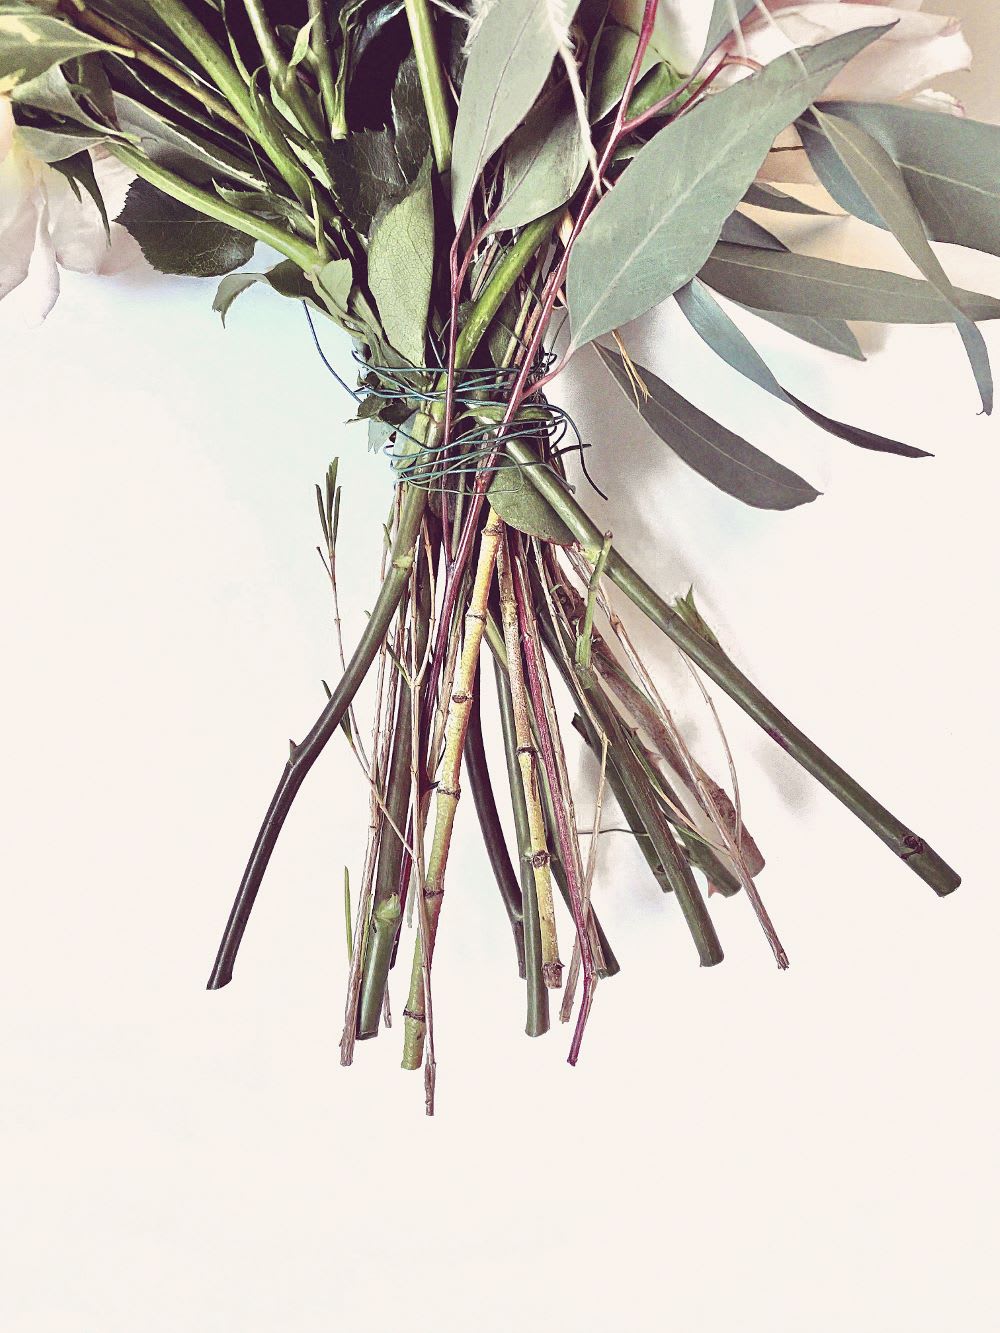
Step 9: Hang on tight to that bouquet, flip it upside down, and wrap the floral wire around it about 3/4 of the way toward the flowers. Once wrapped, trim the stems to be roughly the same length. Note: Your wire job doesn’t have to be neat, it just has to keep the bouquet together!
Step 10: Lay your bouquet down and cut your ribbon. Three feet should do the trick! (This will give you extra inches on both sides to have your ribbons hang beautifully in front.)
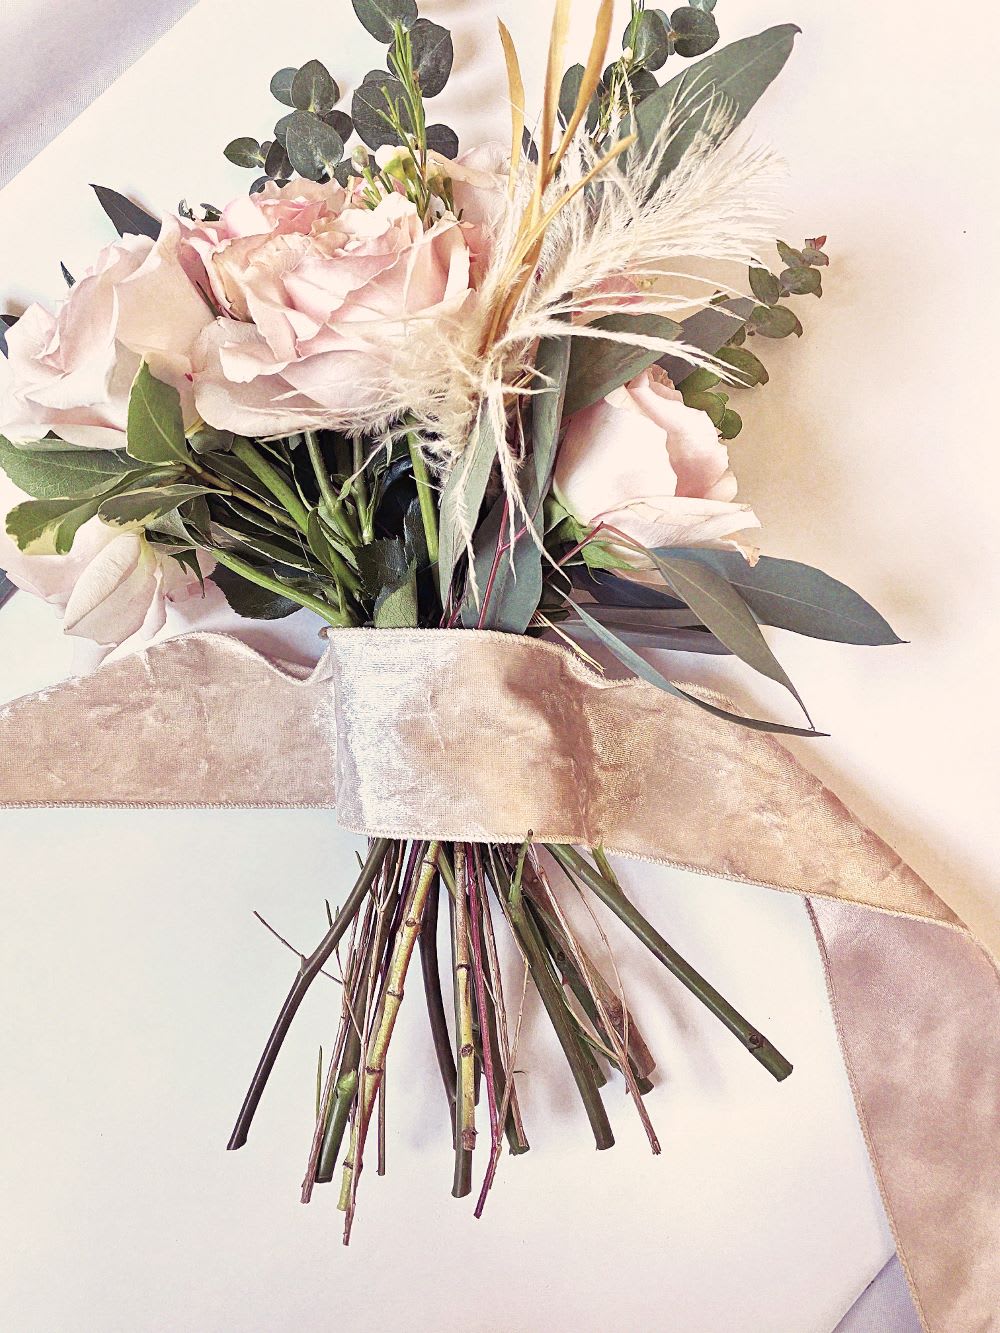
Step 11: Let’s cover that wire! Start in front and lay your ribbon evenly across the bouquet (leaving three inches of stem exposed on the bottom!), turn the bouquet over, then criss-cross the ribbons and wrap, doing this twice until you’re back in the front of the bouquet.

Step 12: Center a classic knot in the front, giving yourself slack on either side, then cut the ribbons on an angle. Done!
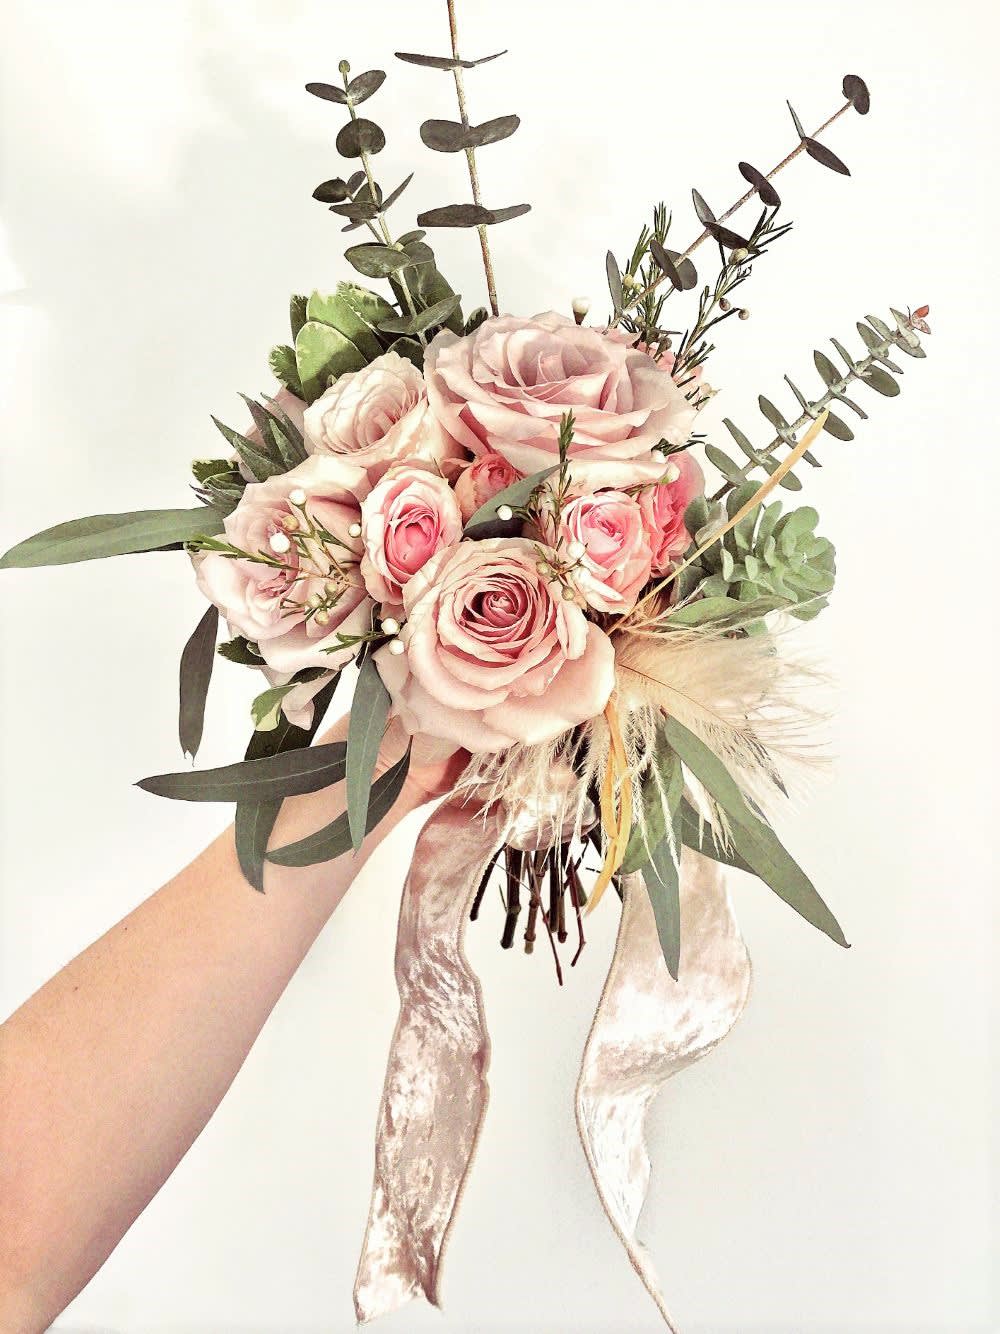
Voila! How pretty is that? Your loved ones will be so impressed! Just keep it in water until you’re ready to go.
Did you try this DIY bouquet tutorial? Show us your fabulous florals on Instagram @Lulusweddings using #lulusweddings–and score all your wedding-wear needs in our bridal shop!
Join The Conversation (0)