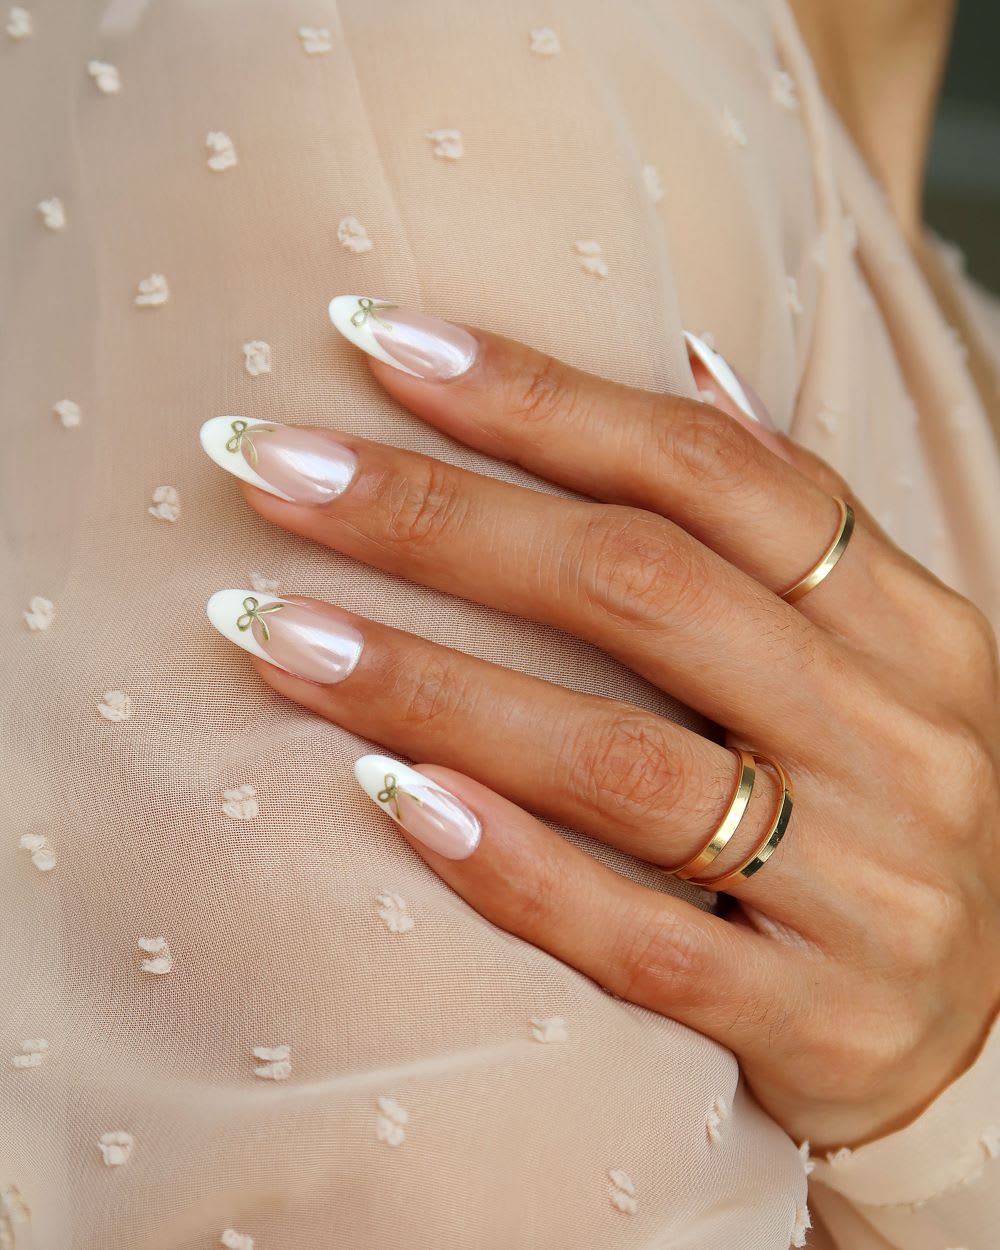
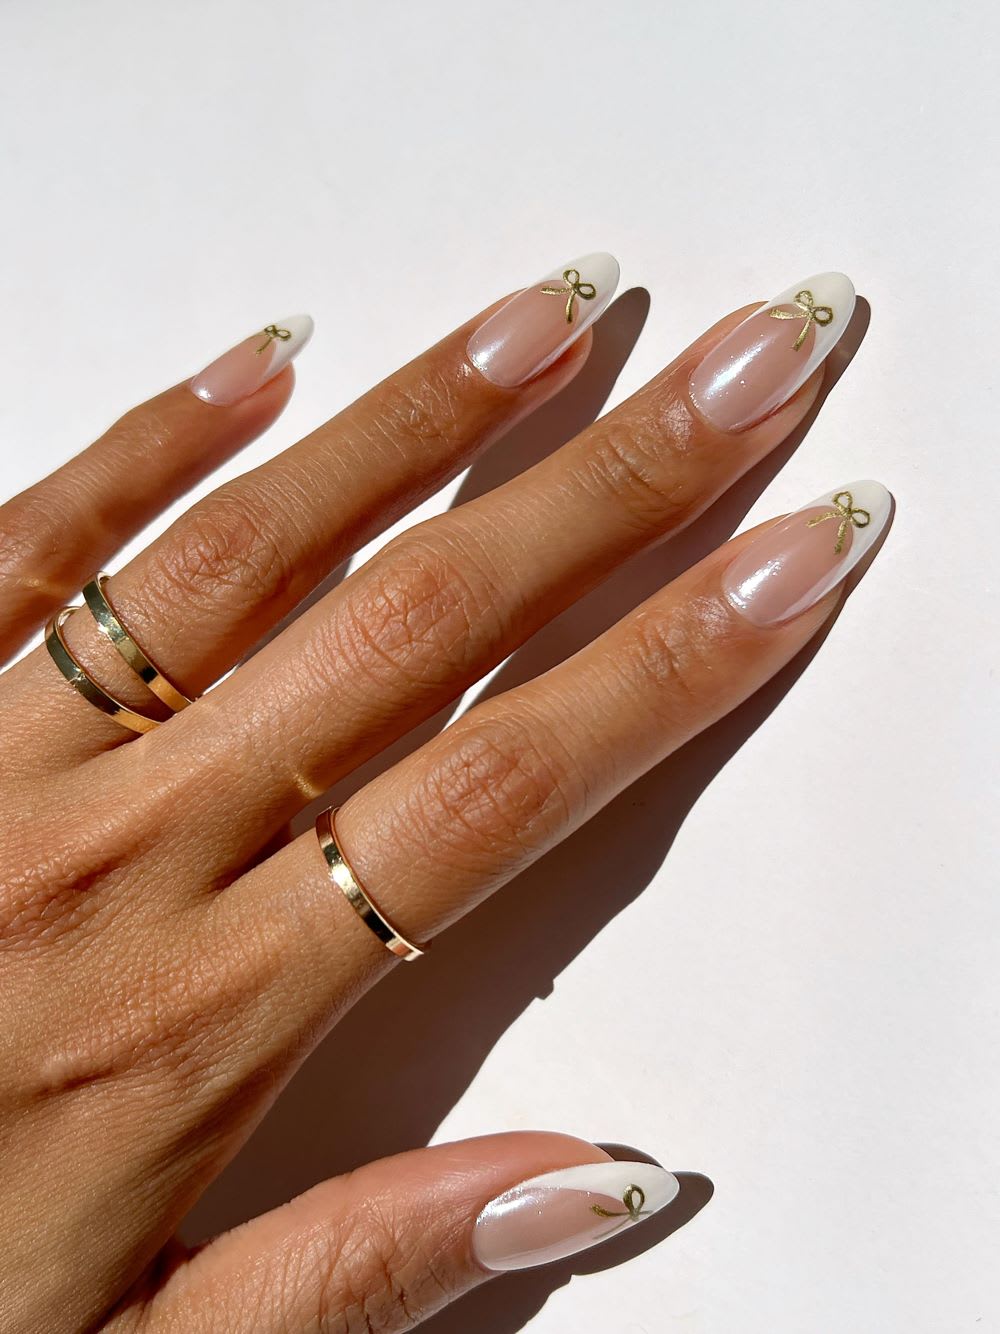
Spring wedding season is almost here, and it’s time to break out the soft glam, elegant-but-understated manis. Inspired by trendy neutral chrome finishes and classic wedding nail art, I’ve combined French tips with gold accents and a polished chrome base. So, whether you’re attending a wedding as a guest or are looking for chic bridal nail inspo for your own wedding, get ready to fall in love with this stunning set. To appreciate the full vision, imagine these chrome French nails worn with a light, ethereal spring dress or a lace gown.
Without further ado, here’s how to get the look:
Chrome French Nails
Supplies:
- Gel base coat
- Neutral/nude gel polish (choose a color similar to your skin tone)
- White gel polish
- White chrome powder
- Gold gel polish
- Thin liner nail art bush
- Gel top coat (non-wipe)
- Gel lamp (for curing)
Instructions:
Base:
Step 1: The first step is always properly prepping the nails. Clean up the nail beds and cuticles, and wipe the nail clean of all residue so that the gel can adhere properly.
Step 2: Apply a thin layer of base coat to your prepped nails and cure.
Step 3: Apply 2 coats of the nude gel polish to each nail and cure.
French Tips:
Step 4: Draw your French tip with an opaque white gel polish. For an almond nail shape, I find it easiest to draw two diagonal lines from the side of the nail to the center tip, connect these lines with a smile curve, then fill in the shape. Remember, your French might look a little different than mine depending on the shape of your nail and your personal preference.
Step 5: To prep for the chrome application, apply a layer of non-wipe top coat and cure. Even though we are using non-wipe gel polish, I still like to wipe the nail after curing it with a lint-free wipe and some alcohol.
Chrome:
Step 6: Using the white chrome powder and an applicator of choice, rub the powder all over each nail, making sure to cover the whole surface and all the little corners. You won’t need much powder to get the chrome effect, but do be careful to take your time rubbing each nail. Wipe away any excess powder with a soft brush.
Bows:
Step 7: Next, you’ll need a gold gel polish and thin liner nail art brush to draw small bows at the center of the french tip. To draw the bow, start with the ribbon loops. I find it easiest to draw the bottom of the loop with a soft curve, and then close the loop on the top with another soft curve. Repeat to create two loops, followed by the bottom parts of the ribbon.
Step 8: Draw two slightly curved lines that meet in the middle of your two loops. You can always go back in and fix any mess-ups with a clean up brush! Cure your bows once you’ve repeated on all the nails.
Finish:
Step 9: Add a final layer of gel top coat and cure completely.
Step 10: Finish with cuticle oil to refresh and rehydrate your skin and nails!
Did you try these chrome French nails? Show us your bow nails on Instagram or TikTok @lulus–and head to our Weddings Shop for everything from bridal styles to wedding guest looks!
Melanie Graves is a self-taught nail art enthusiast who creates colorful, easy DIY designs for the fellow home manicurist.
Join The Conversation (0)