Foil Nail Art
Supplies:
- Sheer base coat (I used Butter London Nail Foundation)
- White nail polish (I used KB Shimmer’s White Here, White Now, a single-coat white)
- Gold foil for nail art
- Clear glue or clear polish
- Tweezers
- Matte top coat
Instructions:
Step 1: Paint clean, filed nails, with one coat of your favorite sheer base coat.
Step 2: Let dry for five minutes and paint another coat if you want to add opacity.
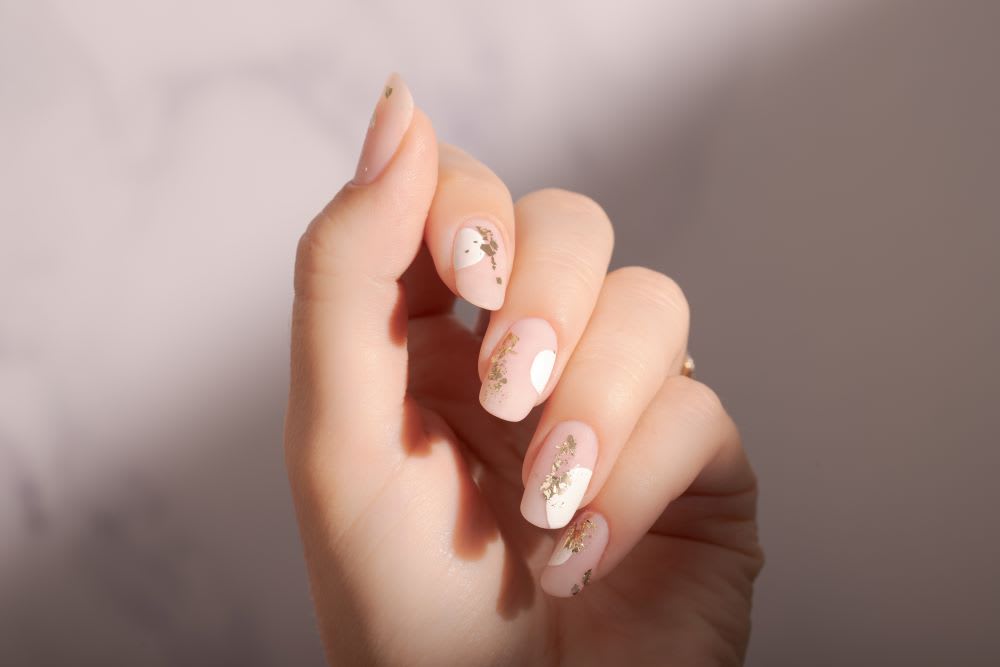
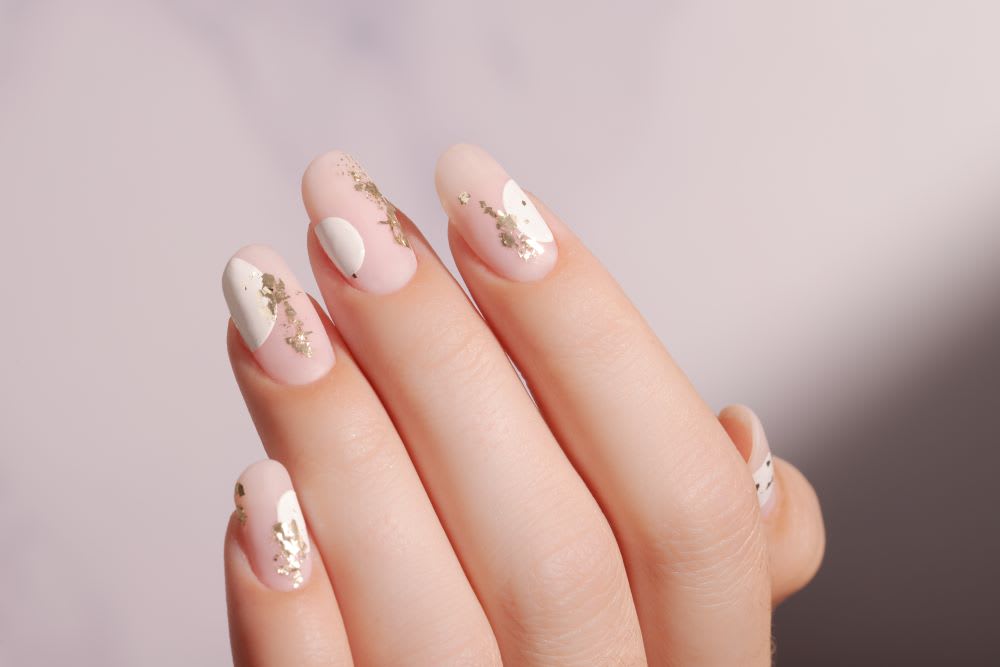
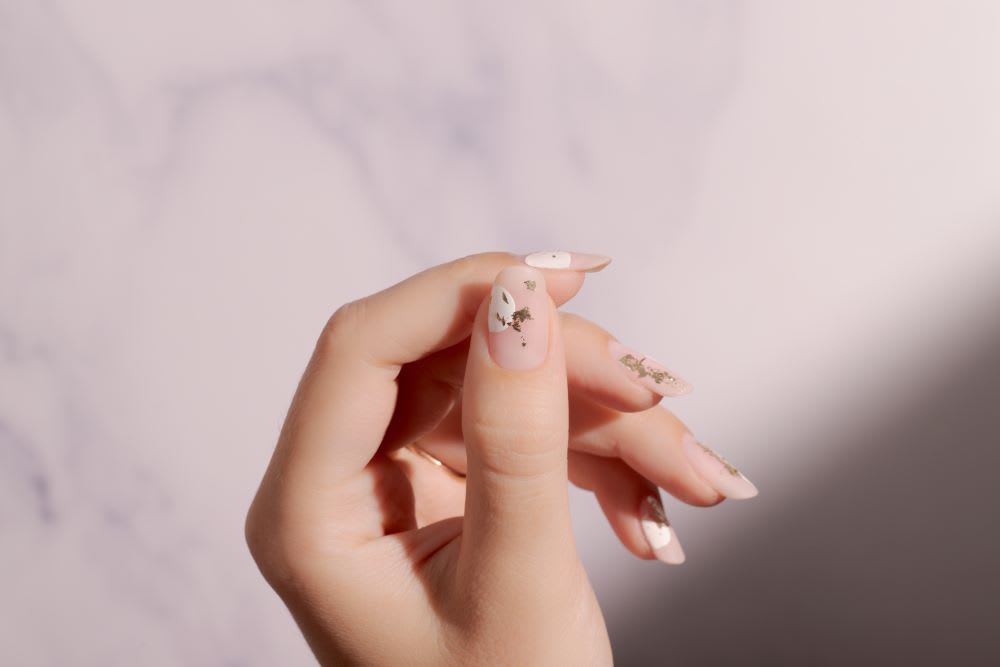
Step 3: Use opaque white polish to paint a half circle on each nail as shown.
Step 4: Dot the nail with glue or clear polish where you want to add your gold foil. Quickly pick up small pieces of the gold foil with tweezers and press gently onto the wet clear polish (or glue). Place randomly and adjust as needed to achieve your desired level of shimmer.
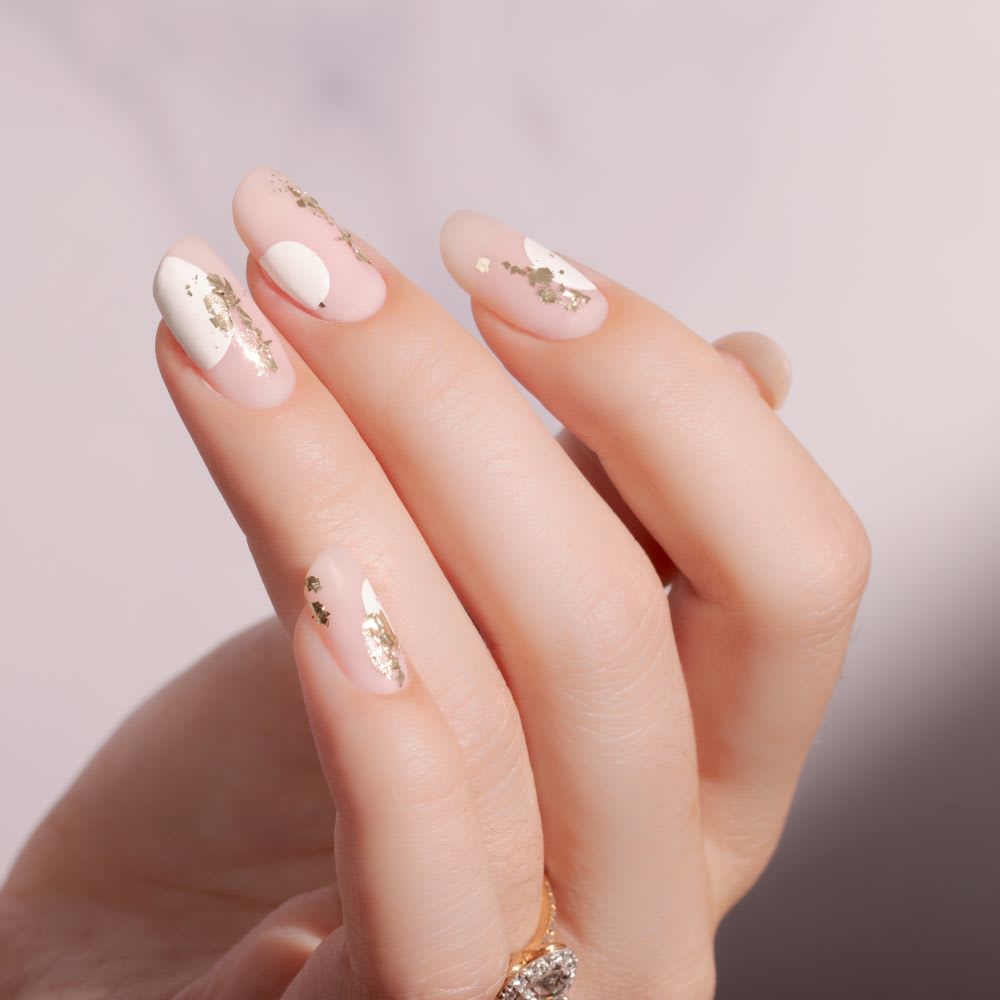
Step 5: To finish, use a matte top coat and seal your nail art design!
Did you try these foil nails? Show us on Instagram @Lulus using #lovelulus–and shop our bridal collection for your big day!
Cassandre Banel is a Seattle-based nail artist.
Join The Conversation (0)