As the weather starts warming up, it’s time to start dreaming about a summer getaway! And whether you’re taking a beach trip, heading to a music festival, or planning a staycation, you’ll want festive, no-fuss vacation nails to go with all your sundresses, swimsuits, cutoffs, and sandals. Bright marble nails? Yeah, that’ll work!
With a few fun, vibrant colors you can play artist with some simple marbling for a stunning effect. This design is easy to adjust and there’s no real precision needed; the more organic the swirls and shapes, the better. Here’s what you’ll need to get the perfect bright summer nails:
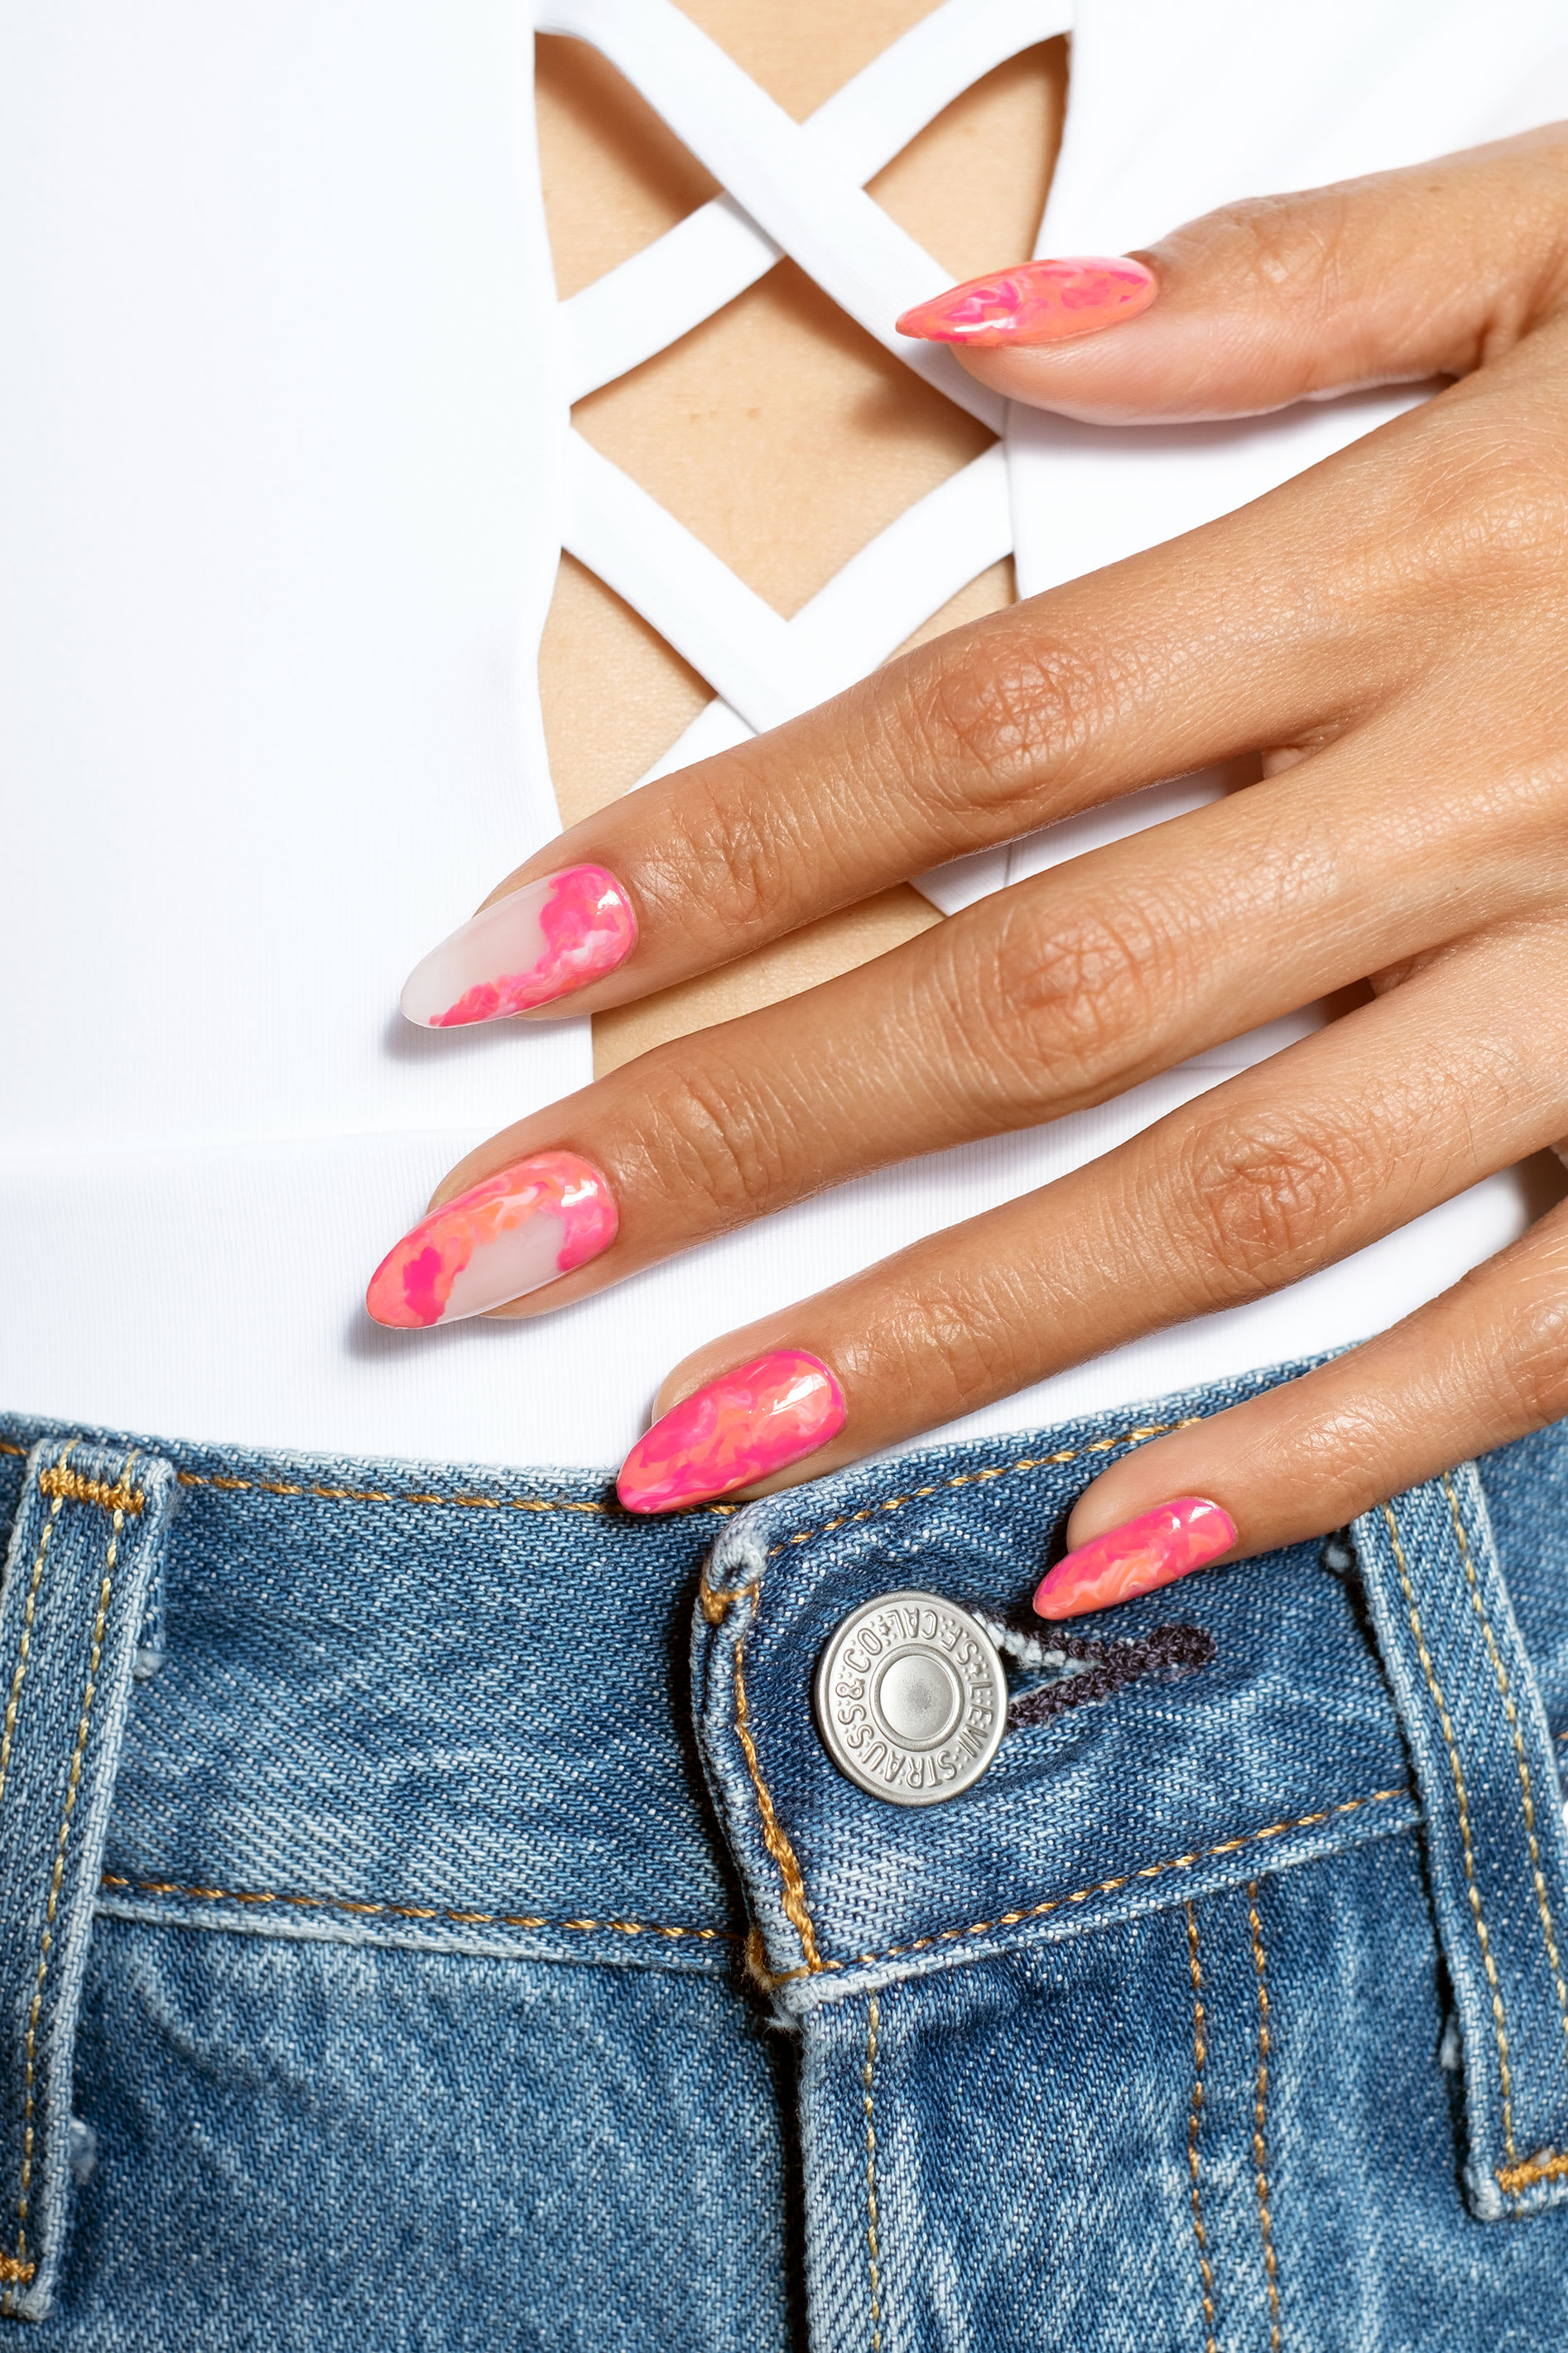
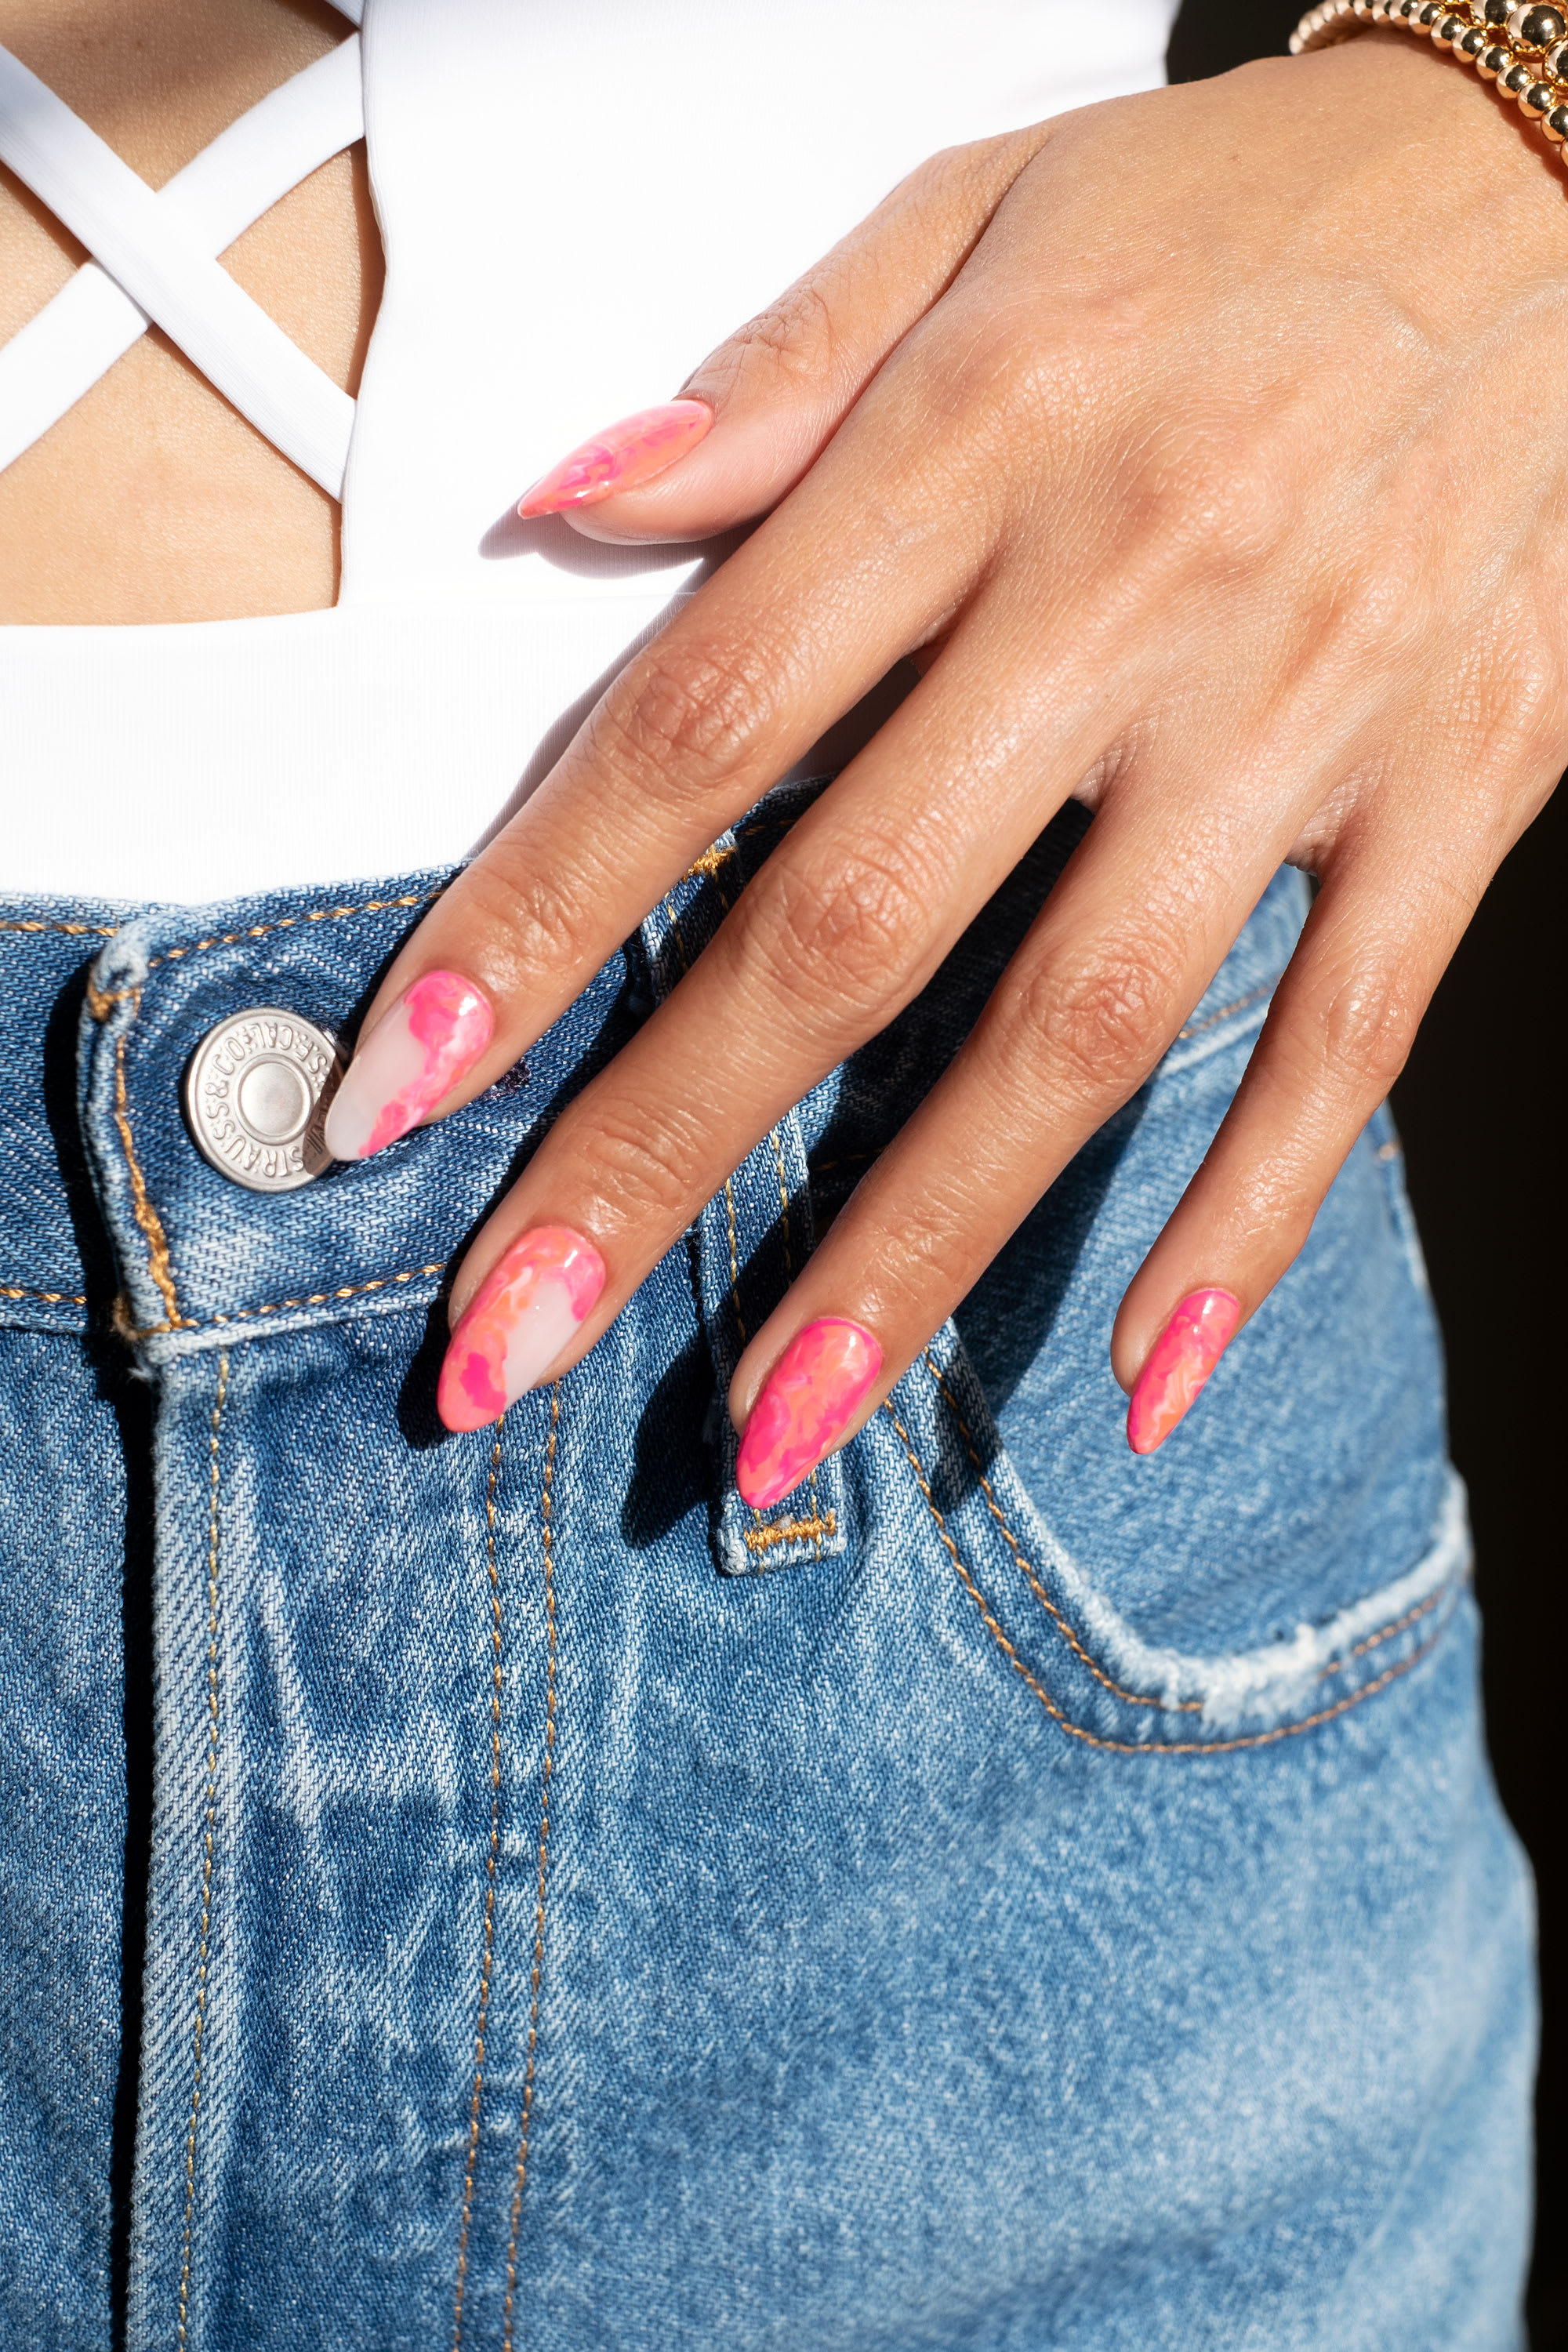
Bright Vacation Nails
Supplies:
- Base coat
- Sheer ivory nail polish (I used Essie Limo-Scene)
- Coral nail polish (I used Essie Check In to Check Out)
- Bright pink nail polish (I used Essie Mod Square)
- Small flat nail art brush
- Glossy top coat
Instructions:
Step 1: Prep your nails to ensure a longer-lasting manicure. Prior to applying nail polish, remove any oils on the nail with a bit of acetone or polish remover.
Step 2: Next, apply a thin layer of base coat.
Step 3: Apply 1-2 thin layers of Essie Limo-Scene on your pointer and middle finger.
Step 4: Paint the other three nails with 1-2 coats of Essie Check In to Check Out.
Step 5: To create the marbling effect, dab a generous drop of Mod Square, Limo-Scene, and Check In to Check Out on a palette (a small piece of foil or plastic works). Using a small dotting tool or tapered end, drag the end through each color so they swirl together.
Step 6: Grab your flat nail art brush and gently scoop under the swirled polishes to pick the pattern up onto the brush.
Step 7: Gently drag the brush along the surface of the nail, dropping the swirl down onto your base, and using the brush to continue swirling the colors to your desired effect.
Step 8: For the pointer and middle finger, leave some negative space in your design, working along the perimeter of the nail.
Step 9: For the other three nails, cover the whole nail in the swirl design. Try not to layer it on too thick – the coral base will help fill in any gaps.
Step 10: Top with a glossy top coat.
Step 11: Let the design dry and finish with cuticle oil!
Did you try this bright vacation mani? Show us your summer nails on Instagram @lulus using #lovelulus–and head to our Vacation Shop to score styles you’ll wear from the beginning of festival season through the end of summer–and beyond!
Melanie Graves is a self-taught nail art enthusiast who loves to create colorful, easy DIY designs for the fellow home manicurist.
Join The Conversation (0)
Omg! I’m obsessed with this marble look for nails! Super cute for summer & you can play with different colors for different outfits ❤️ Lovin it!
Prettyyoung21.com