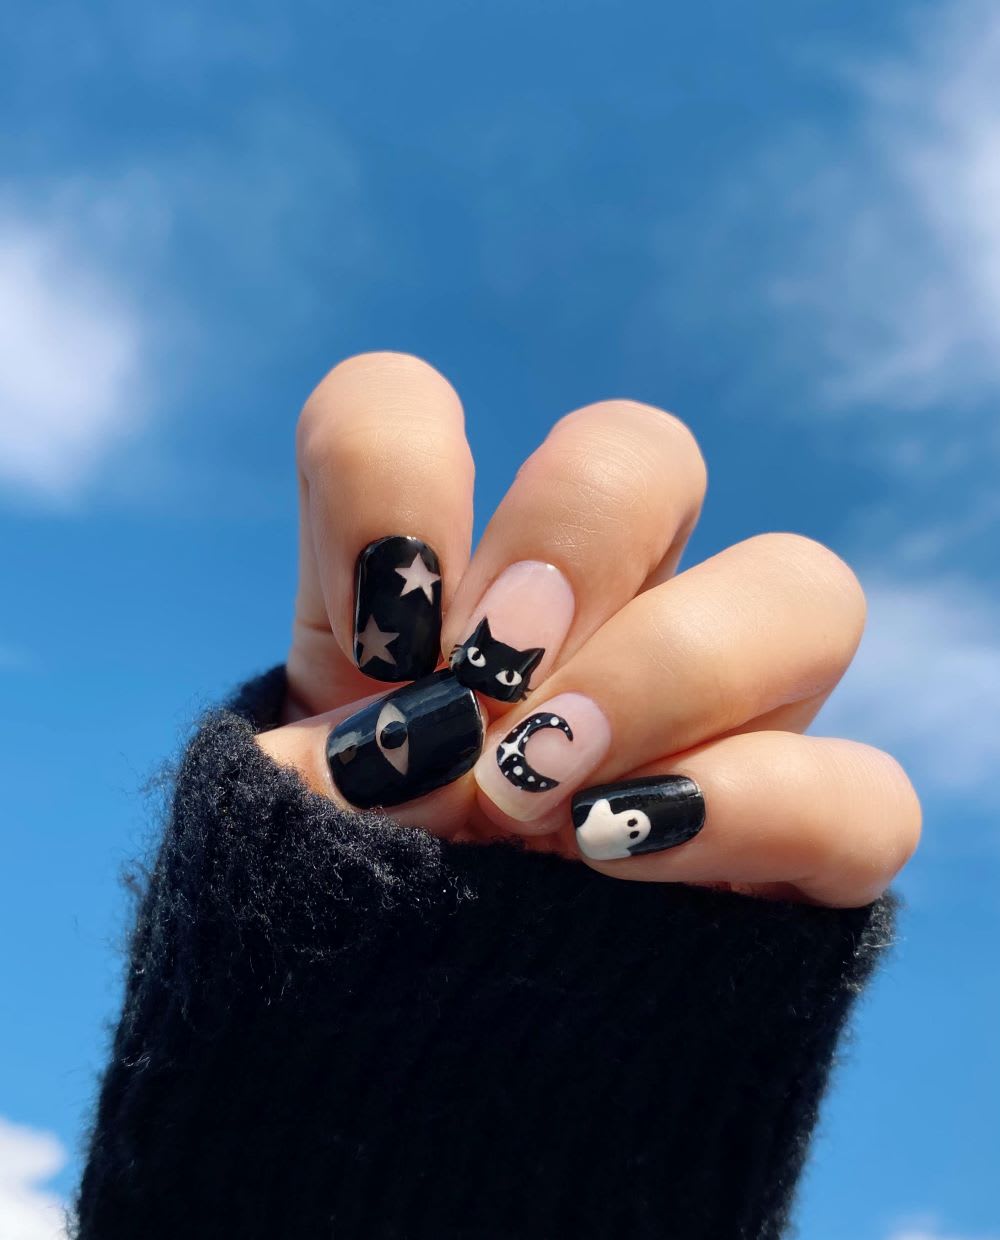
OK, so Halloween will definitely be, er, unusual this year. We are in unfamiliar territory, for sure–and celebrating the holiday will look different than in years past–but cute Halloween nails can help get you in the spooky spirit from the safety of home! In addition to reminding you to have a little fun regardless of the circumstances around us, DIY’ing festive Halloween nail art offers an opportunity for some prime self-care time. So throw on some cozy clothes, settle in, and decorate your digits with classic motifs like Halloween cats, ghosts, stars, moons, and eyes. In a simple palette of black and white on nude nails, this look is scary chic–and never cheesy.
Ready to treat yourself to spooky nails? Scroll on to get all the instructions!
Halloween Nail Art
Supplies:
- Black nail polish
- White nail polish
- Liner brush
- Angled nail art brush
- Bobby pin/fine point dotting tool
Instructions:
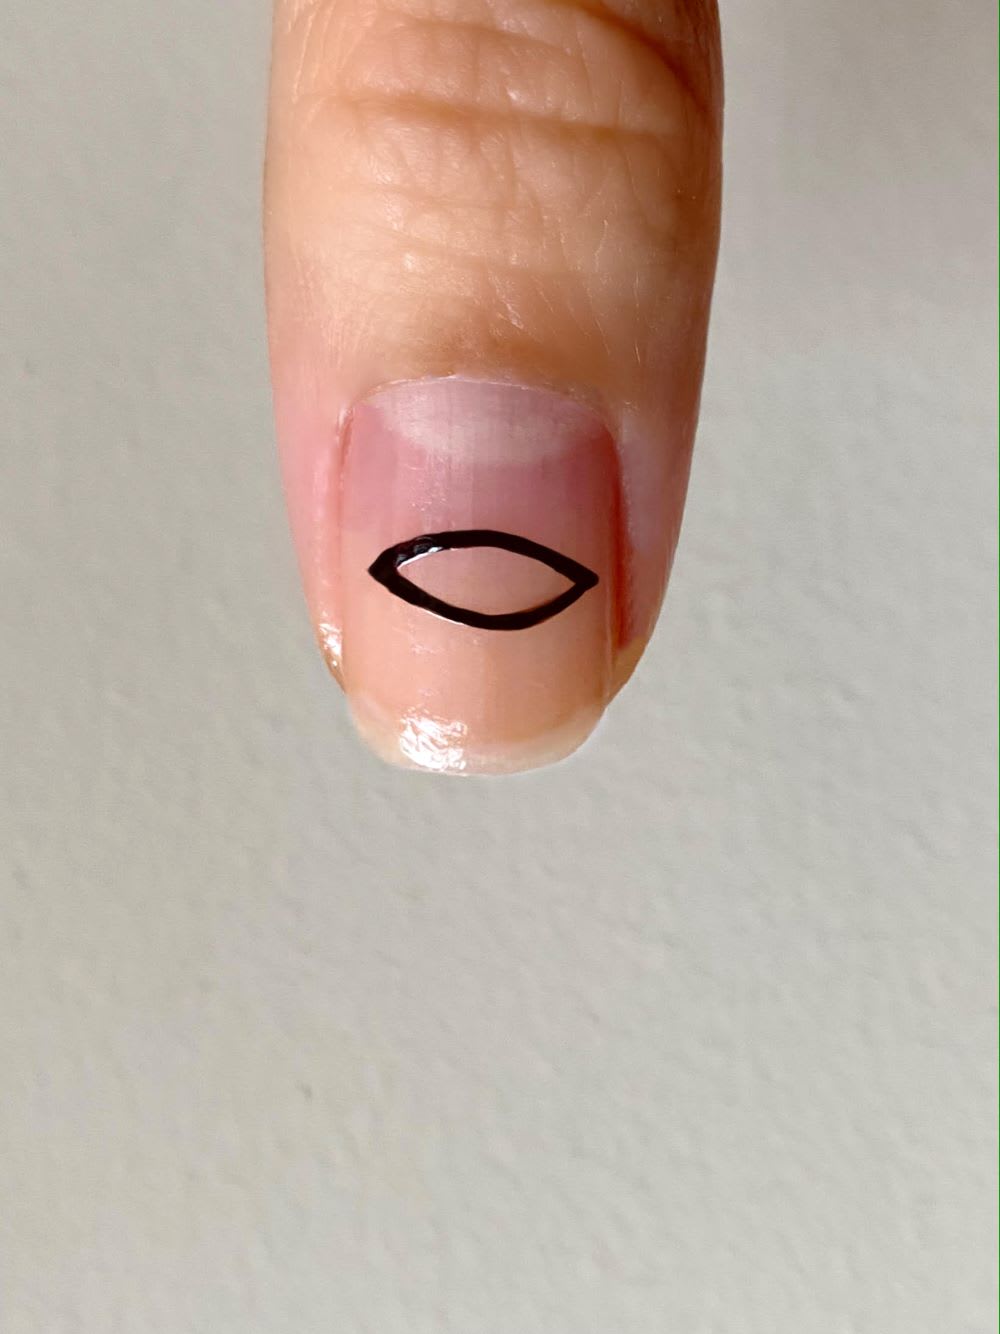
Step 1: Sketch out the outer lines of the eye. Don’t worry if it’s messy as it can get cleaned up with an angled brush.
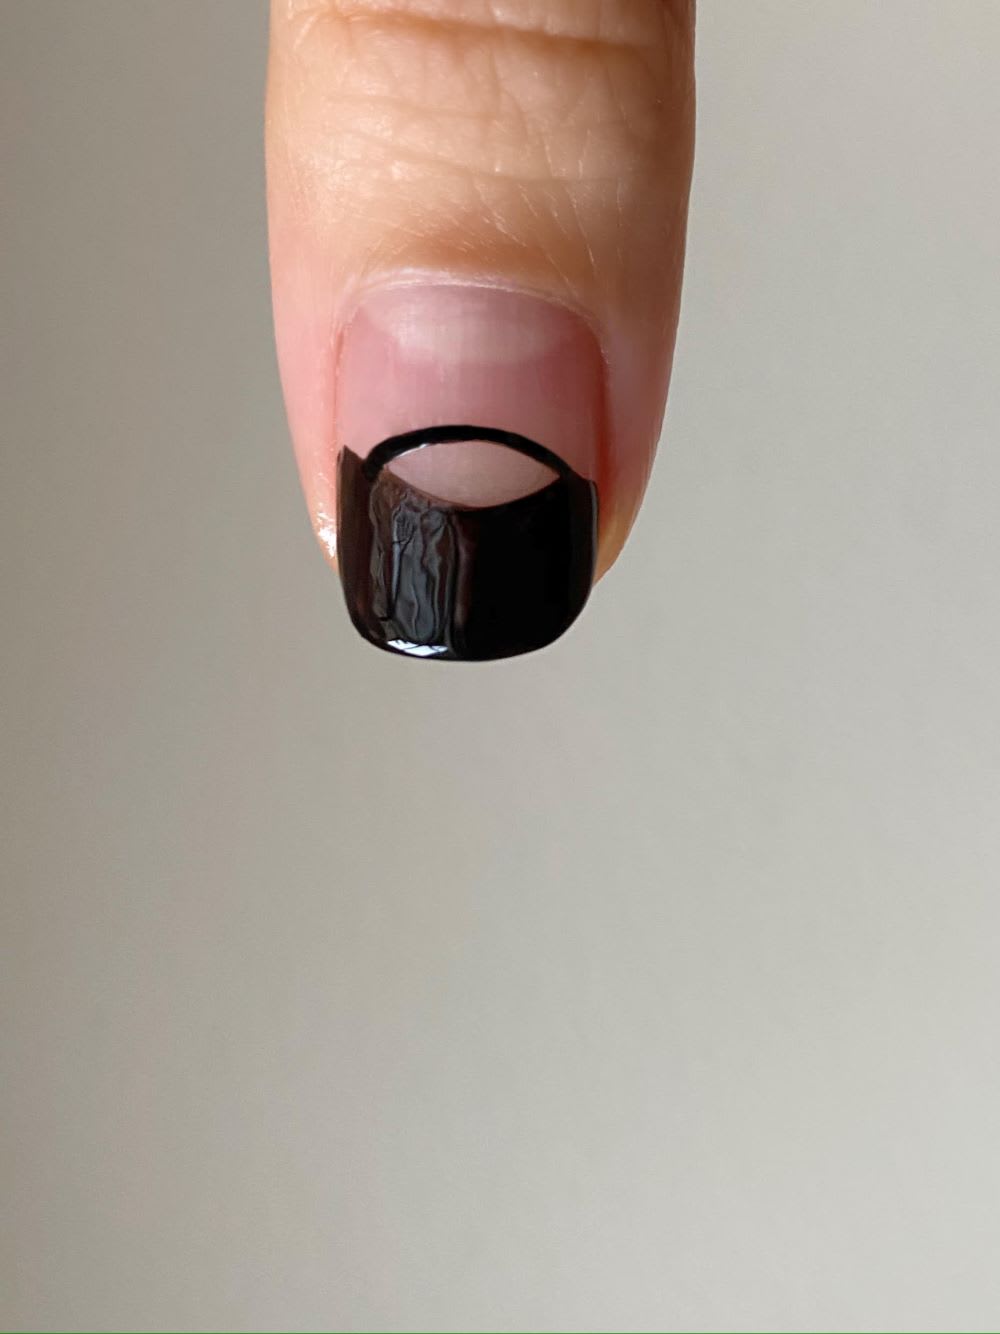
Step 2: Paint the top half of the outer line of the eye first as it’s easier ( you can use the brush from the polish bottle for this). Be sure not to go past the bottom outer line part of the eye.
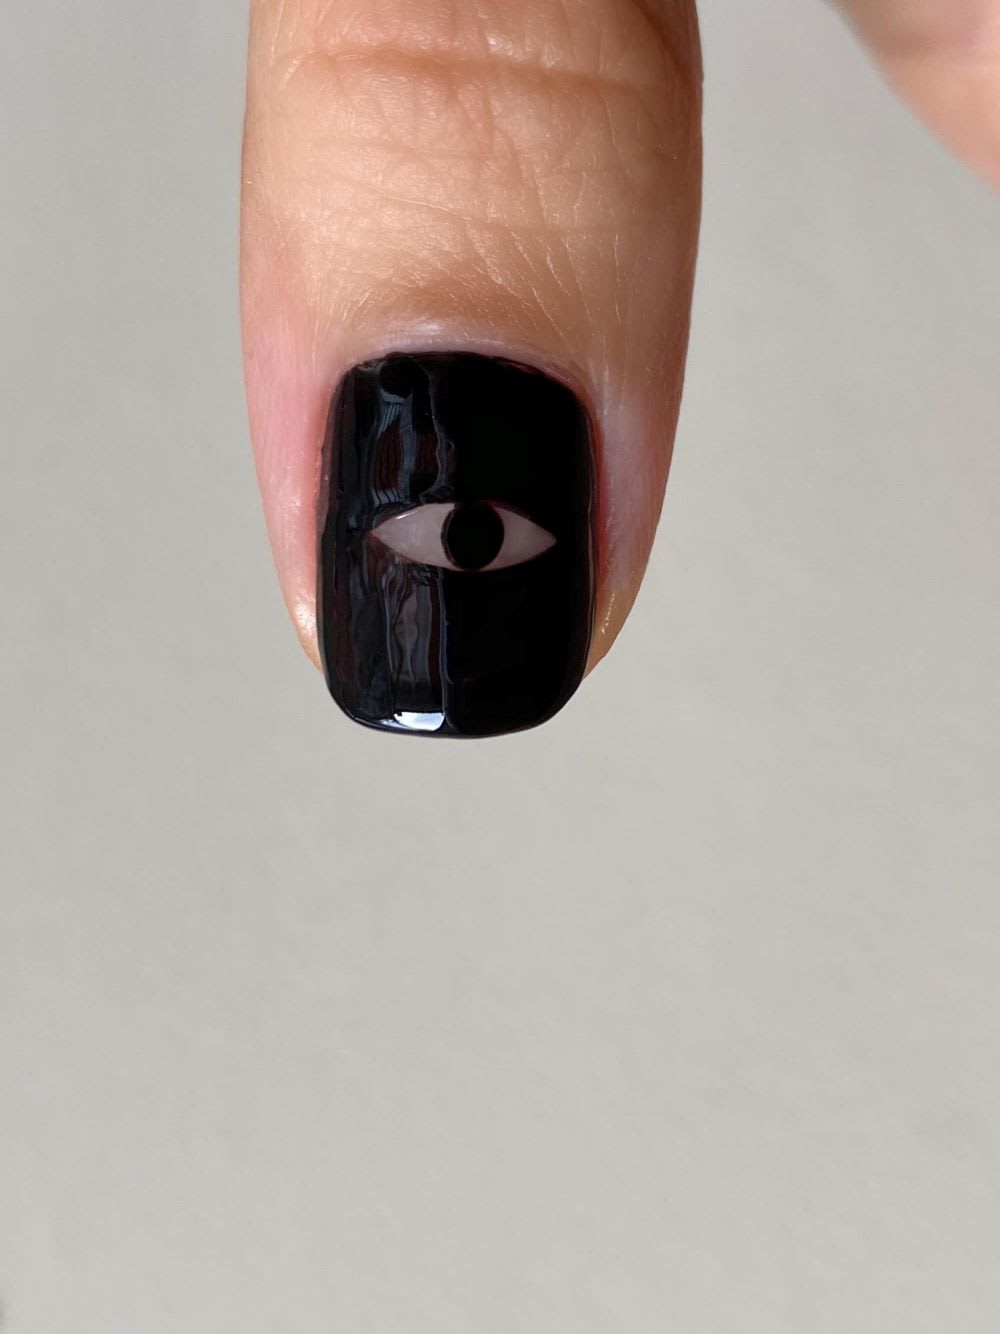
Step 3: Use a liner brush to paint the bottom half (liner brushes allow for more precision). Then, dot the middle part of the eye using a tool like a bobby pin. You can clean up any imperfect lines with the angled brush.
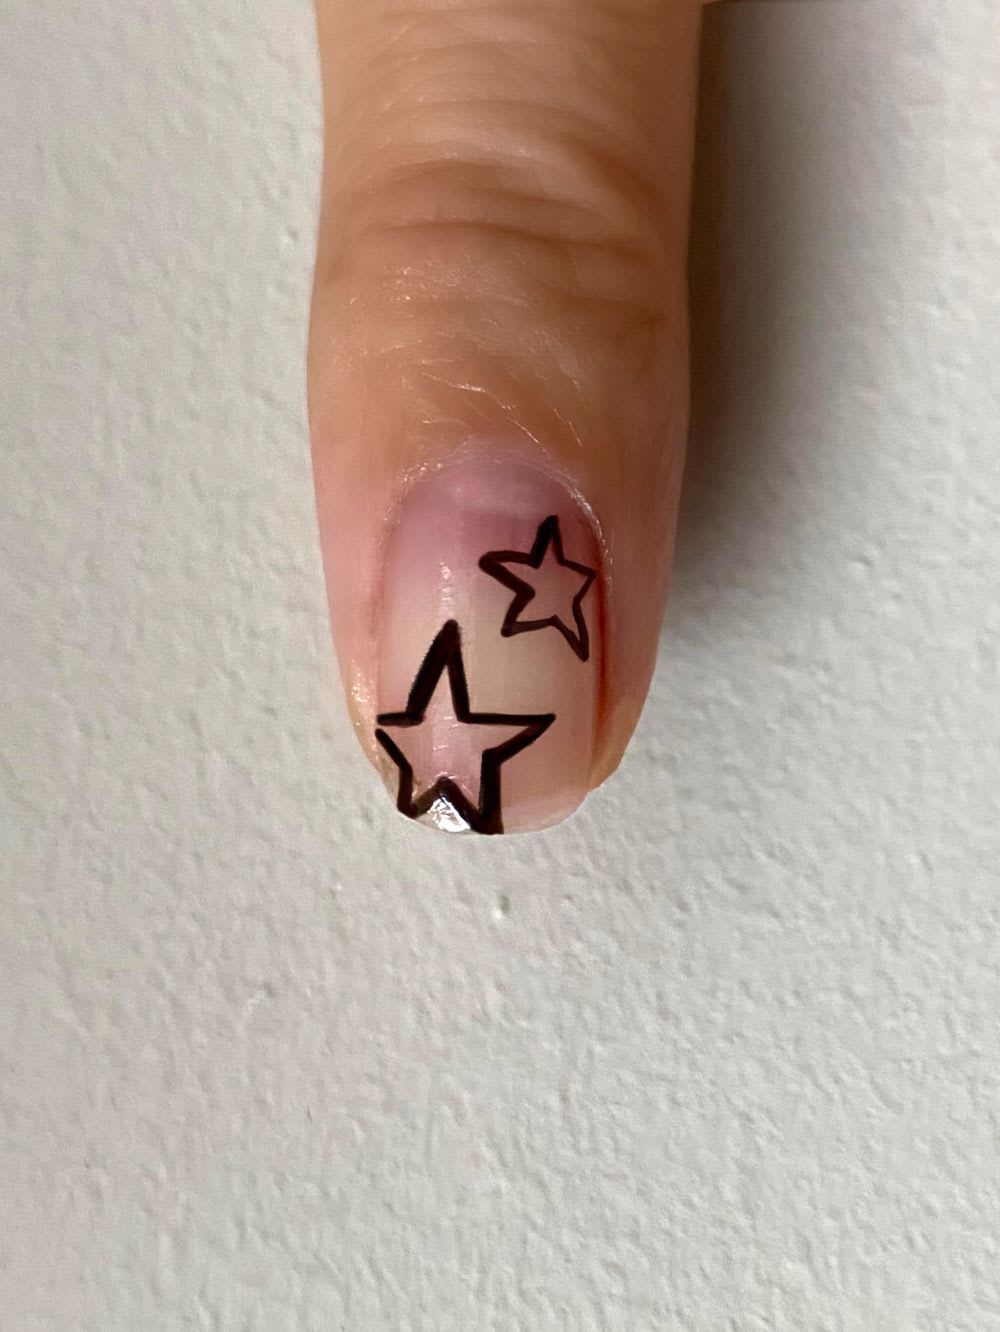
Step 4: Trace the outer lines of the stars. If it’s messy, you can clean it with an angled brush.
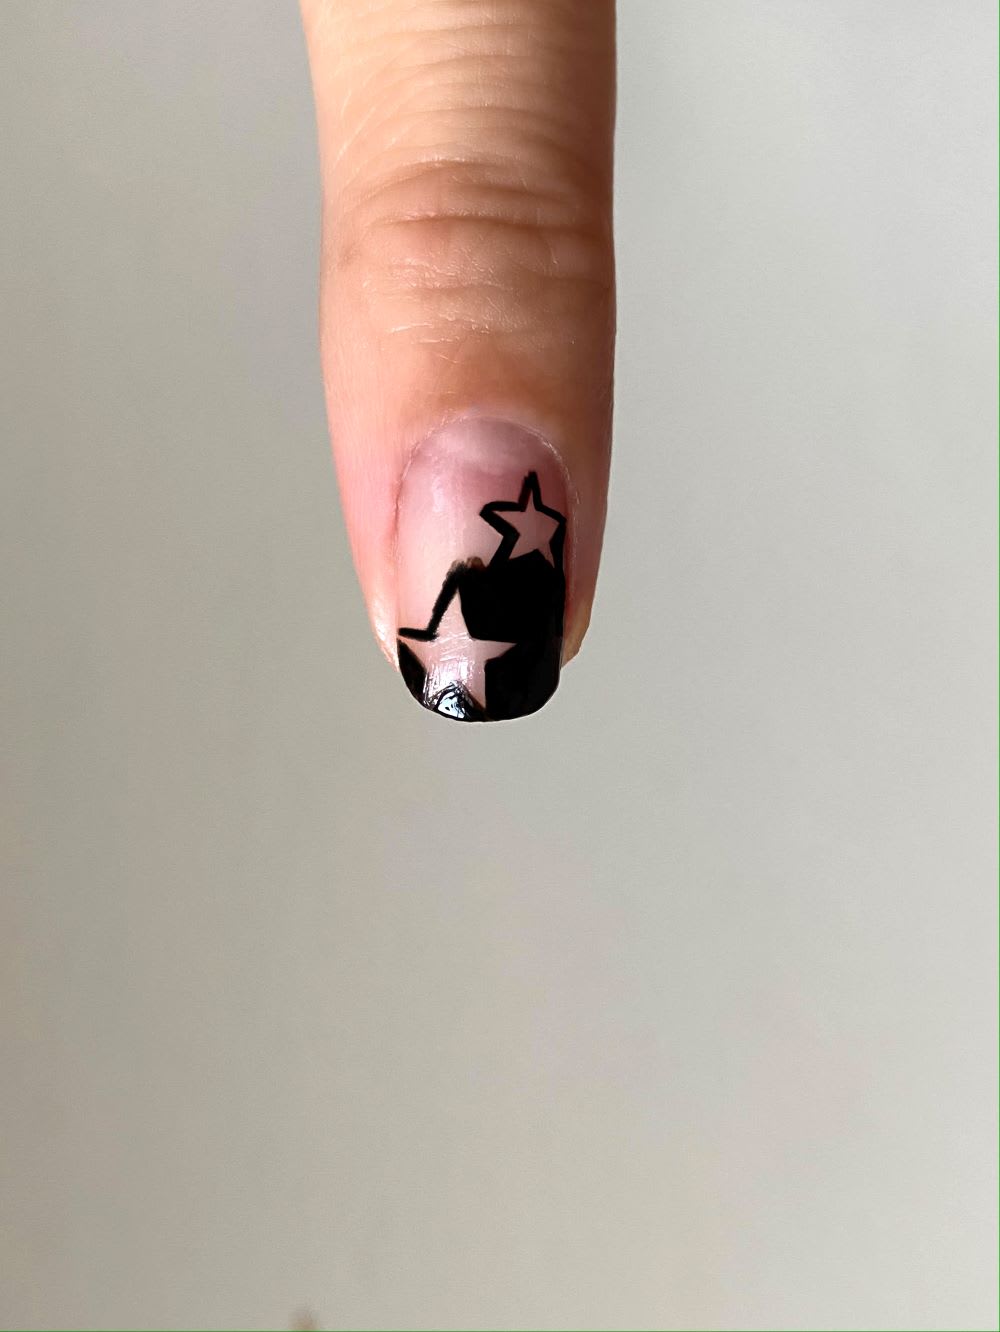
Step 5: Paint the top half of the nail. Be careful not to go past the lines of the stars.
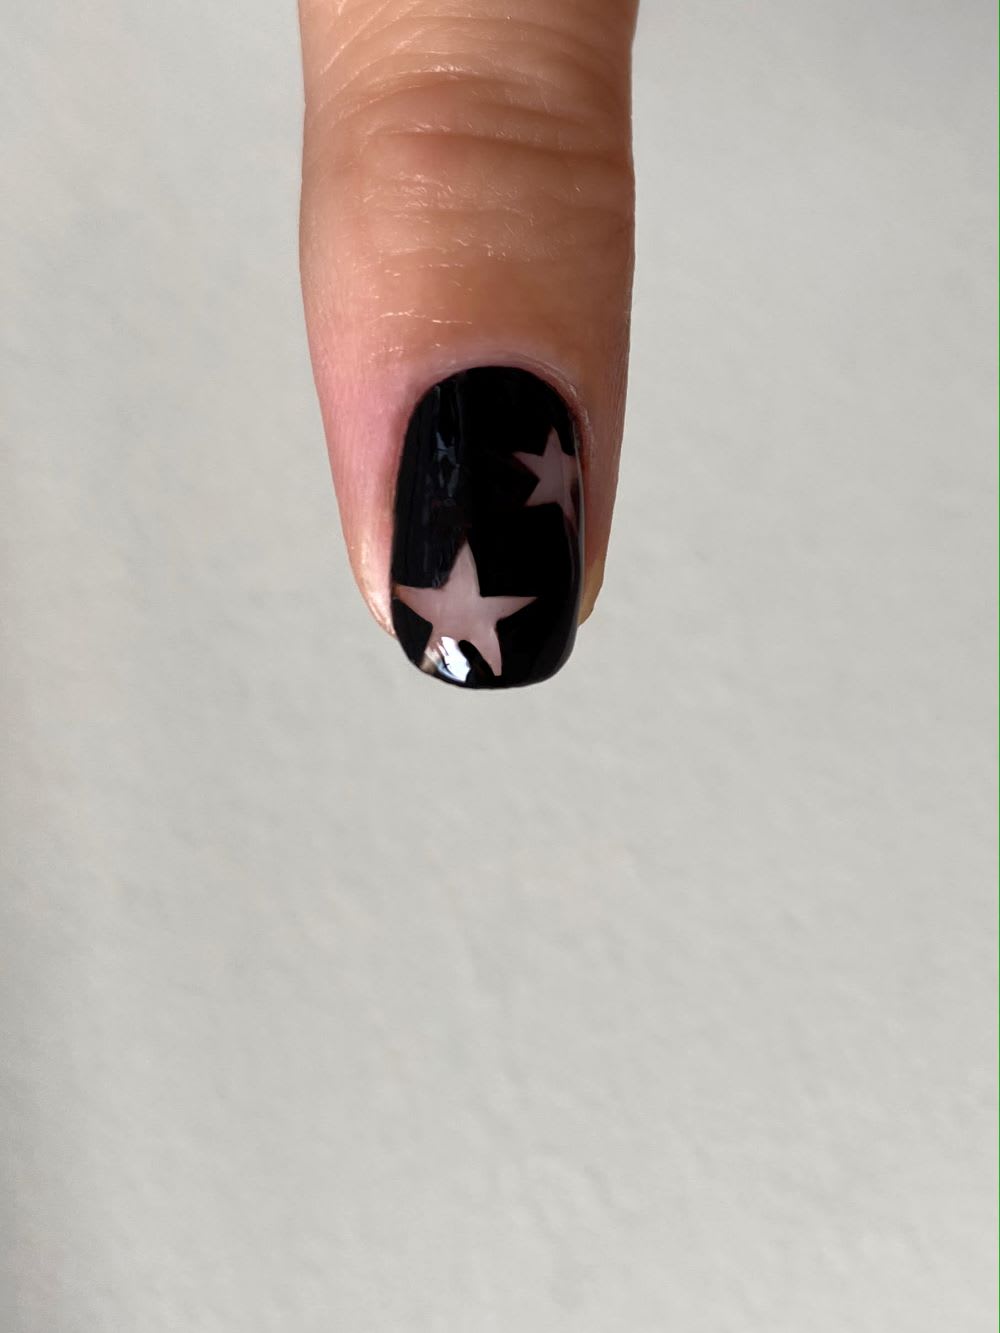
Step 6: Use a liner brush to color the bottom half of the nail. Clean up any mess-ups with the angled brush.
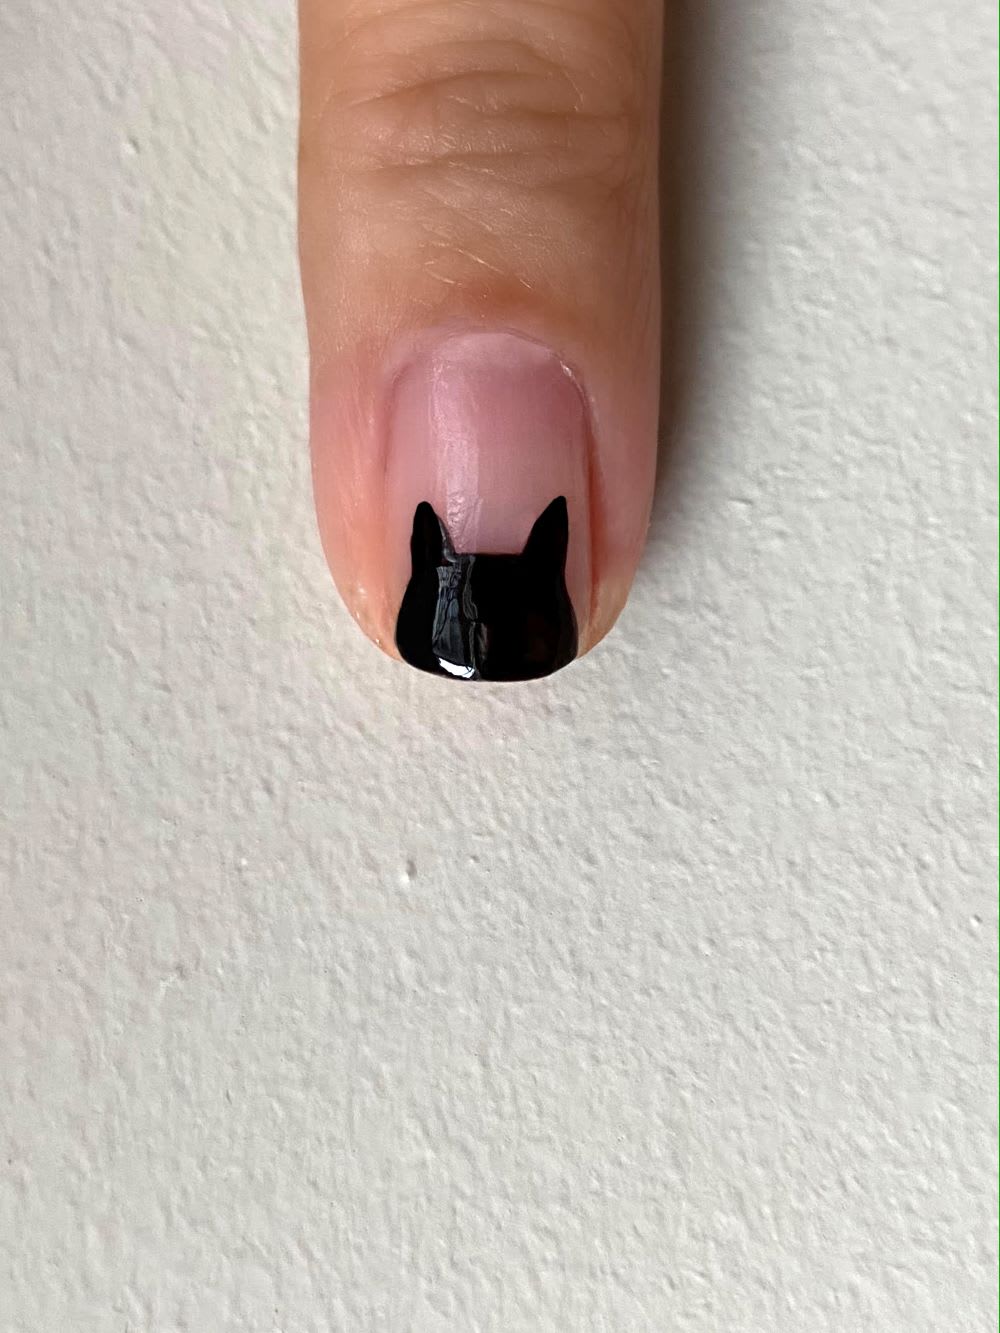
Step 7: On the top part of the nail, use the paintbrush from the nail polish bottle to paint on the head of the cat and use a liner brush to paint on the ears.
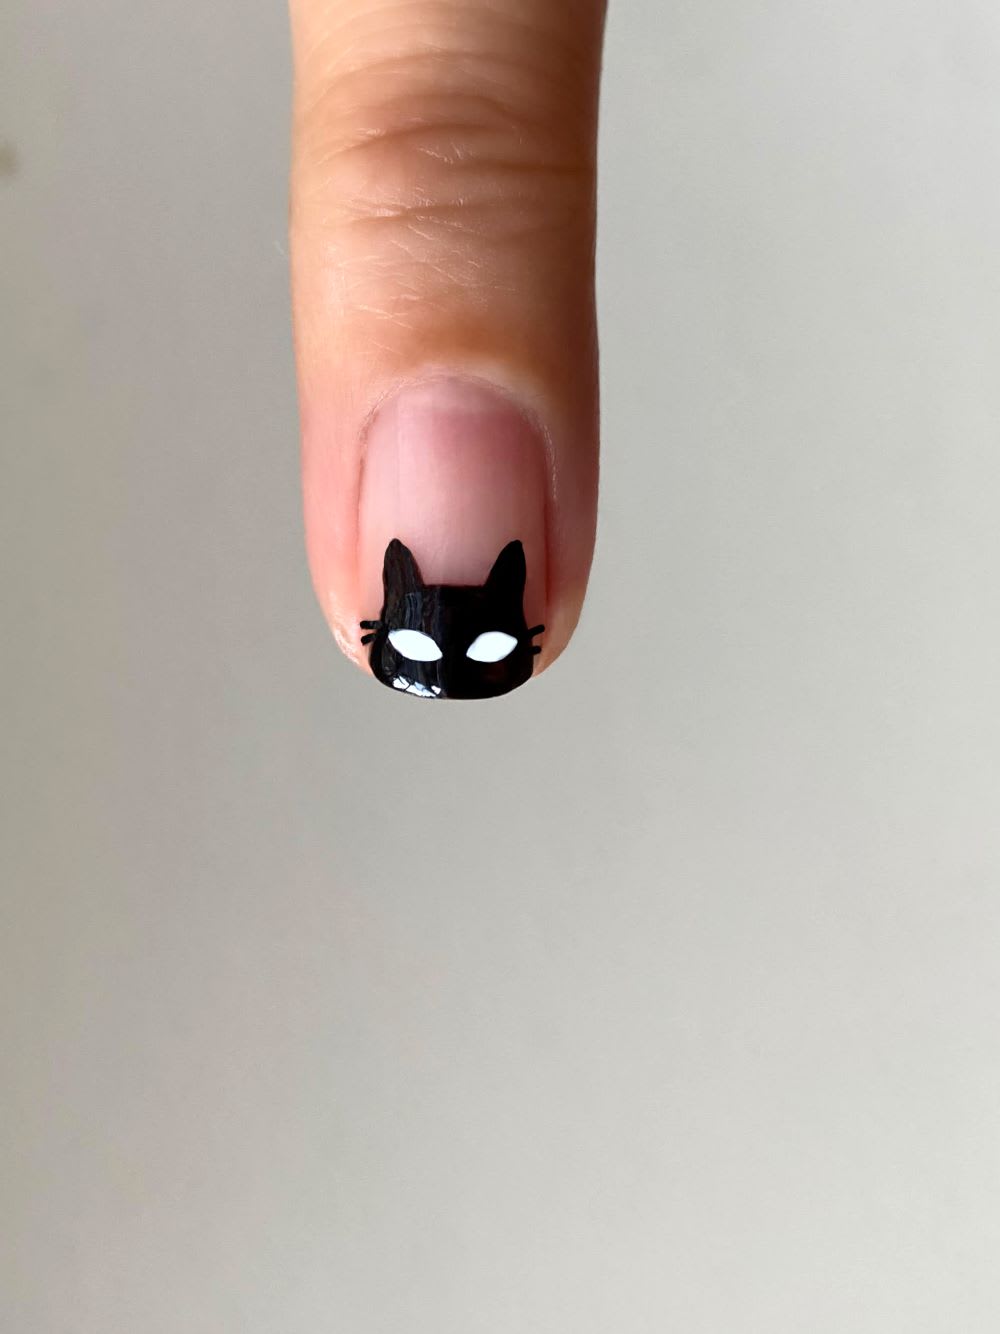
Step 8: Draw two lines on both sides of the cat’s cheeks and add the white part of the eyes in.
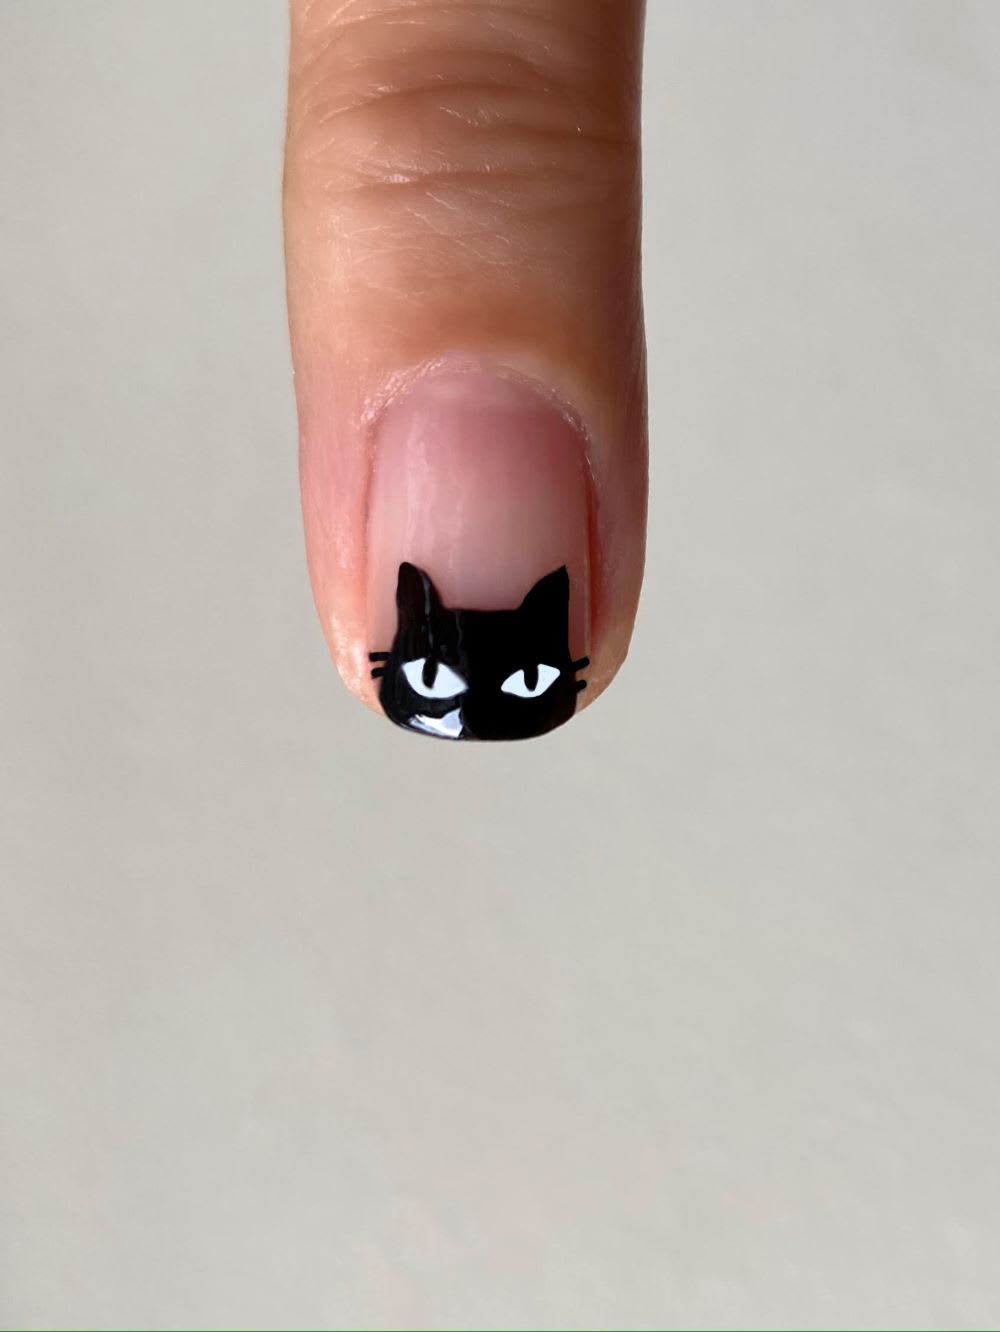
Step 9: Dot the eyes!
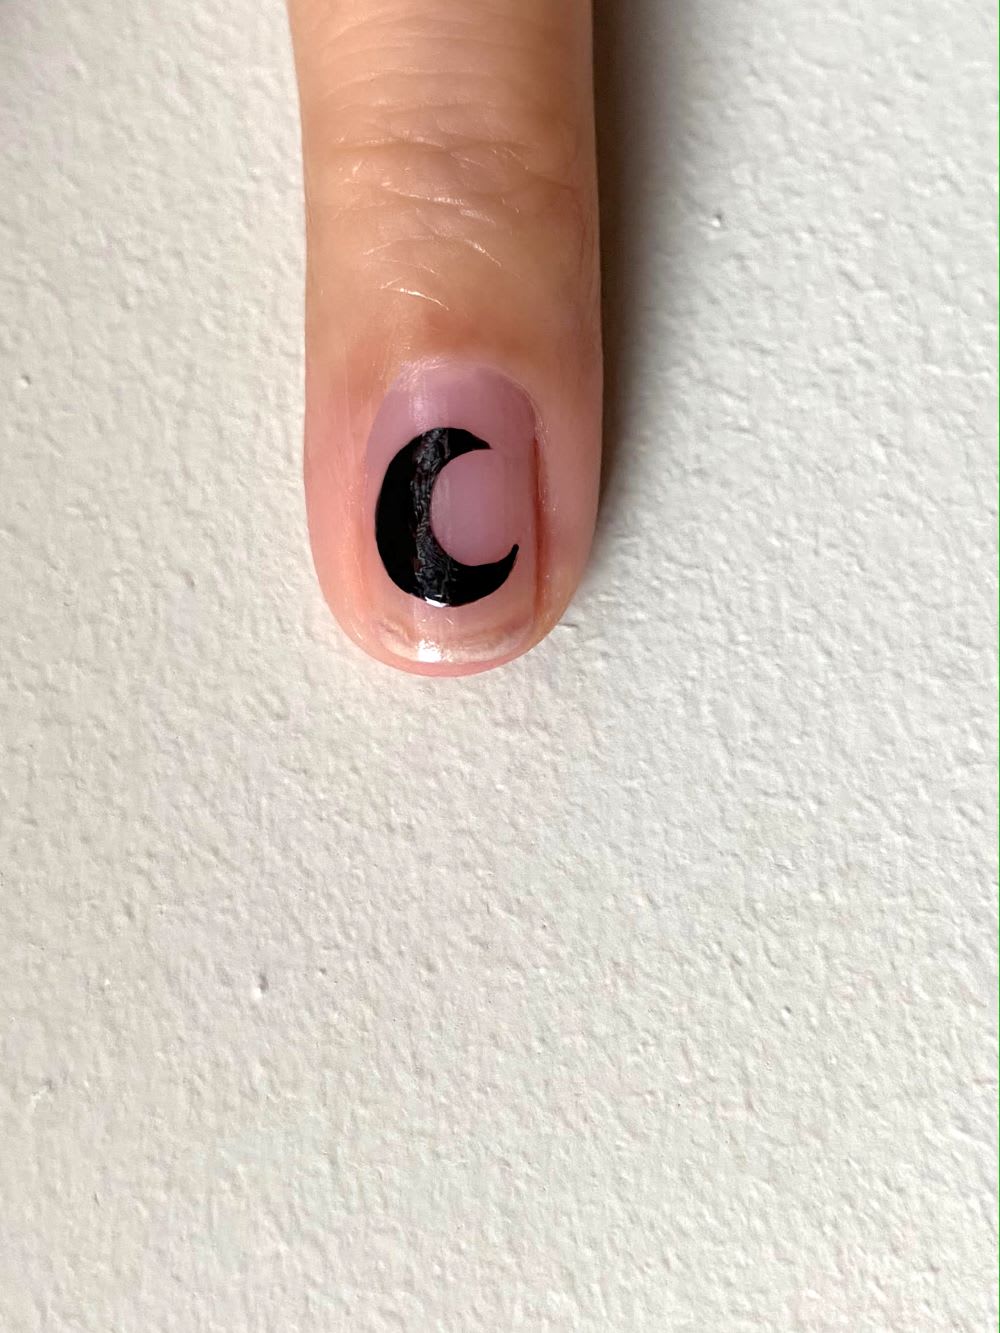
Step 10: Paint on the shape of the crescent moon. If the shape is not to your liking, use the angled brush to clean it up to your satisfaction.
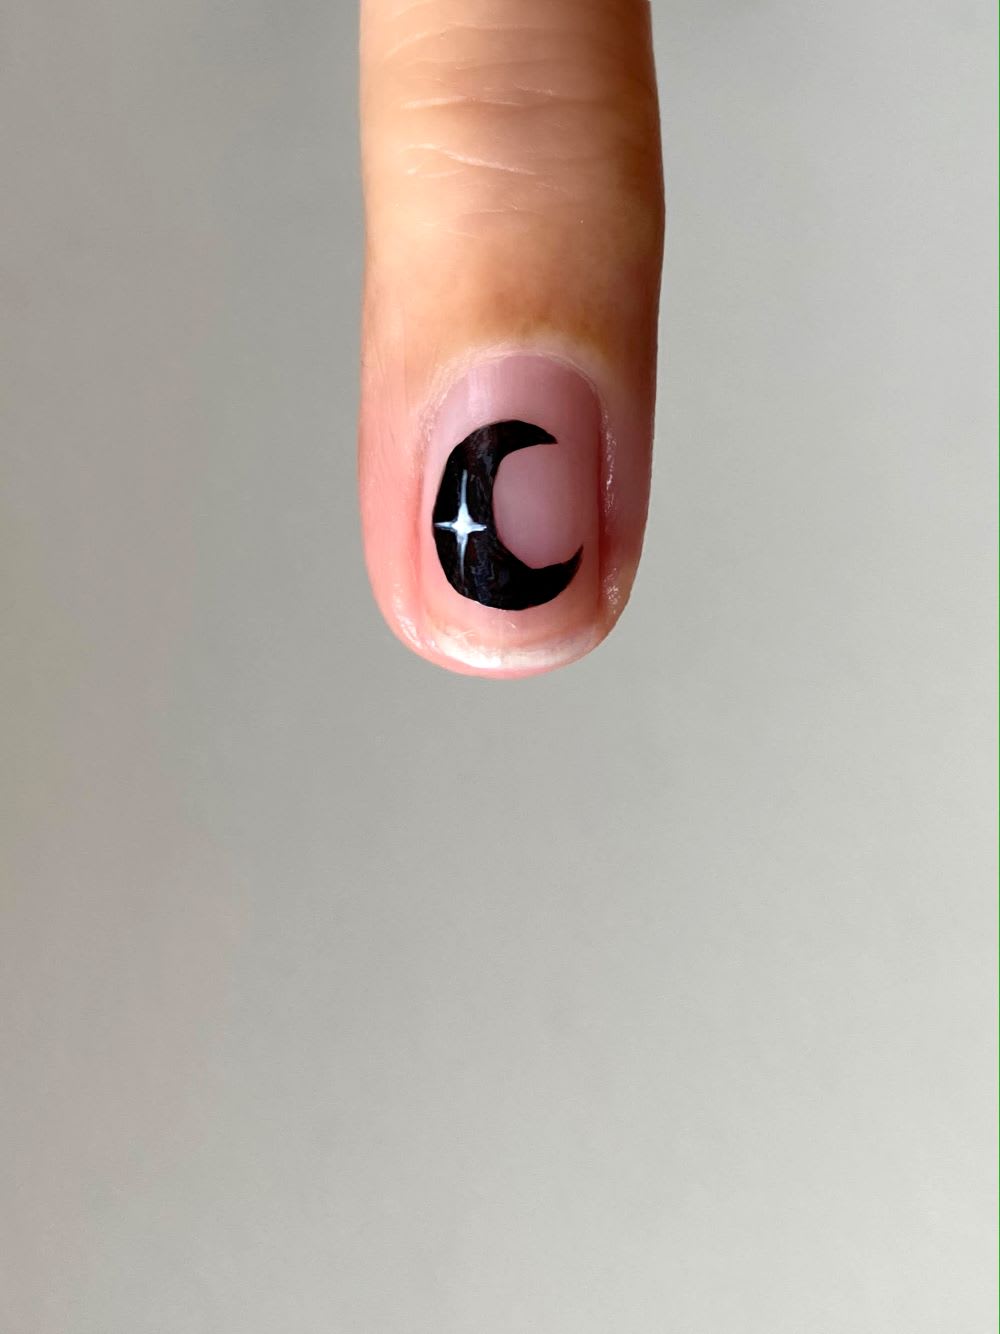
Step 11: Paint on the star part inside the crescent moon, starting from the middle part of the star and going outwards.
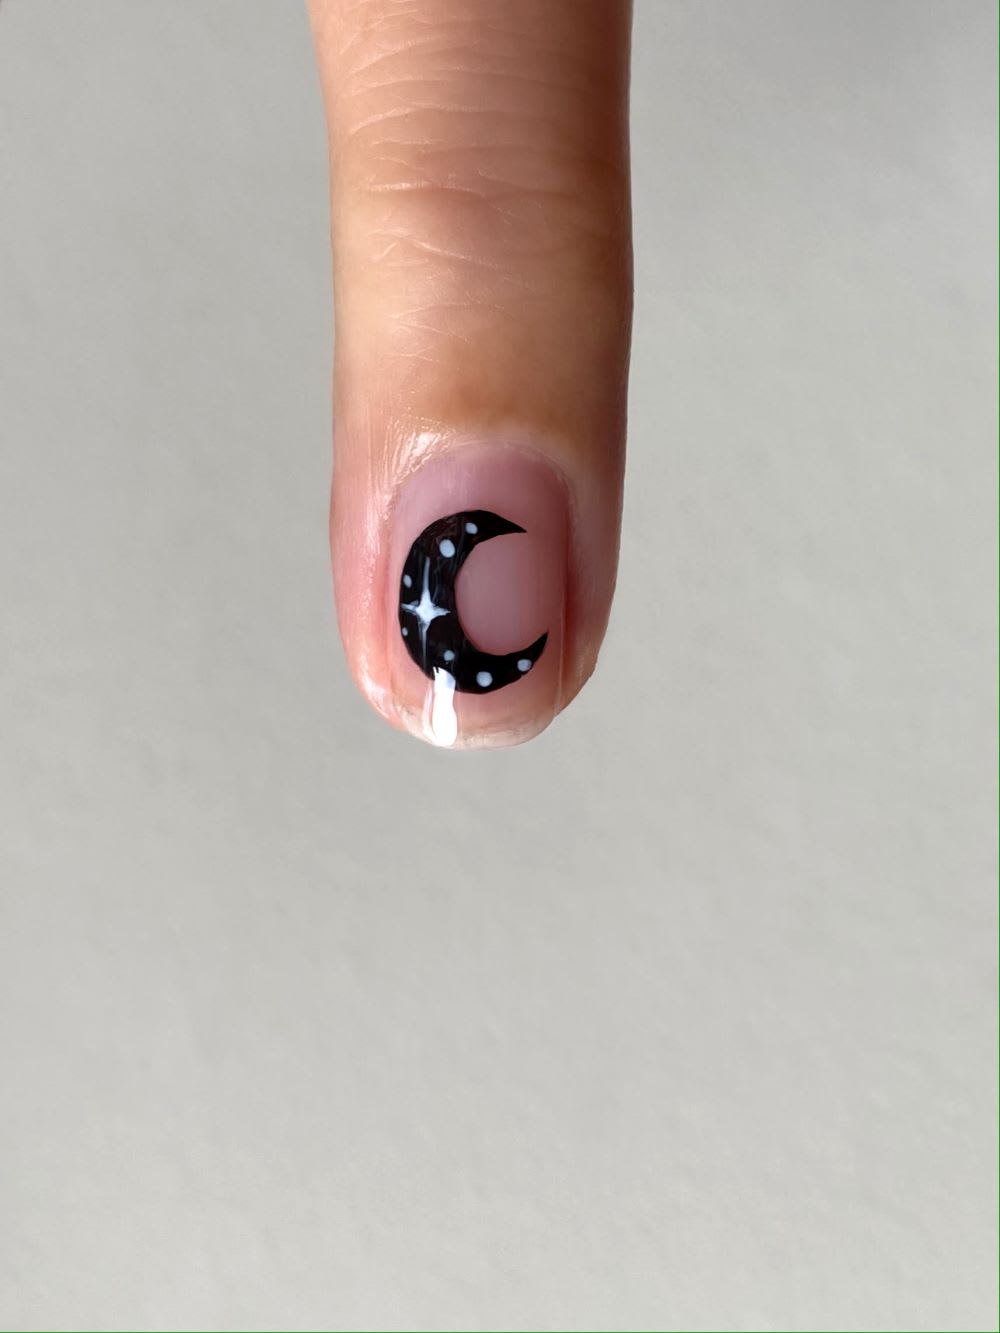
Step 12: Add the dots, making some smaller and some bigger.
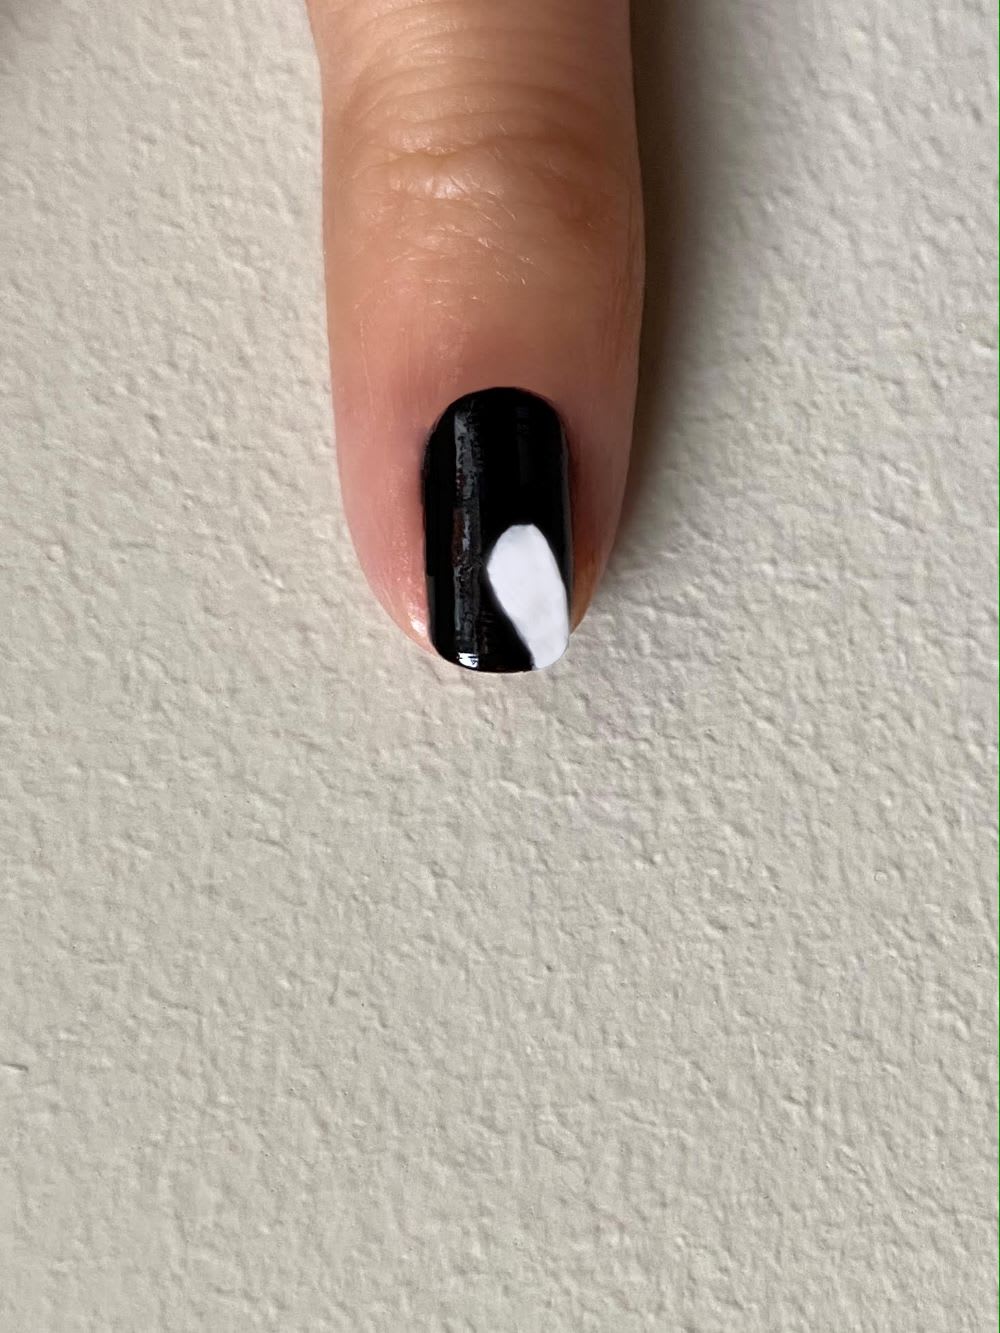
Step 13: Paint the middle body part of the white ghost on a black nail.
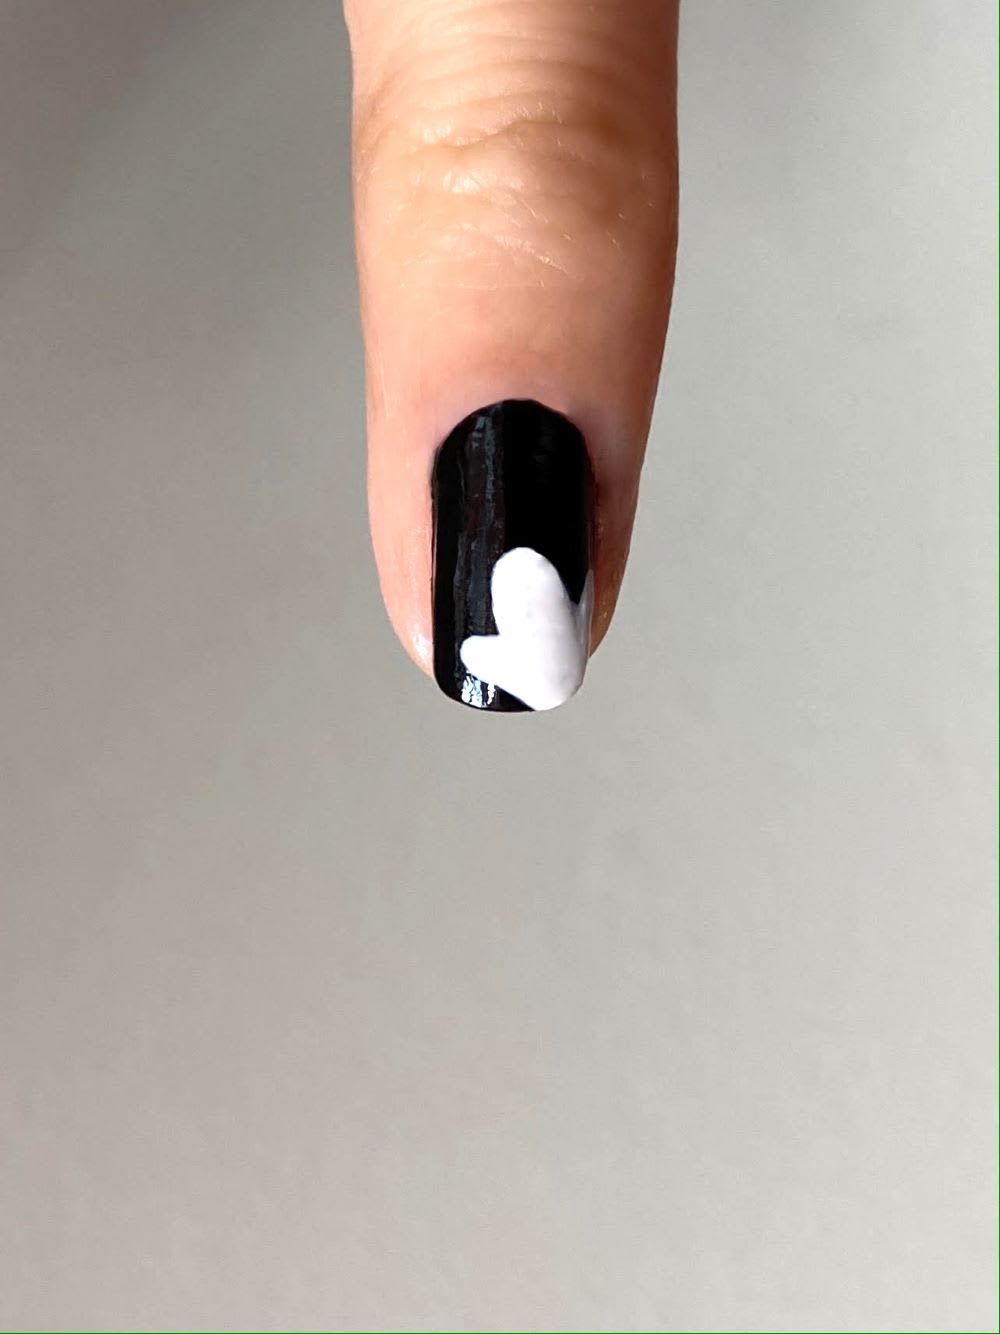
Step 14: Use a liner brush to paint on the hands.
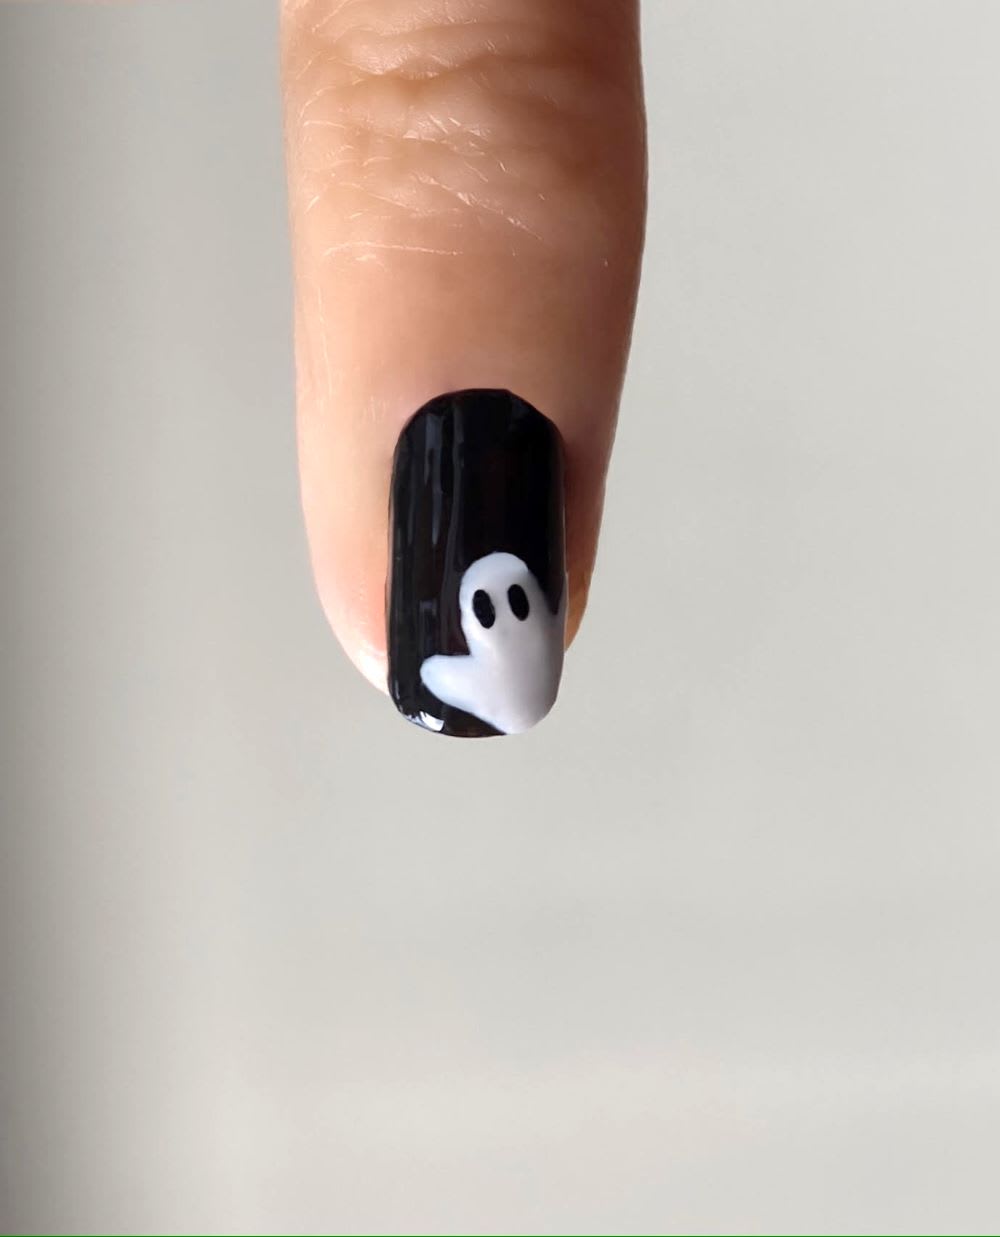
Step 15: Dot the eyes!
Did you DIY these spooky nails? Show us your cute Halloween nails on Instagram @Lulus using #lovelulus! For more fun seasonal finds, shop our Fall Fashion selection!
Hang Nguyen is a celebrity nail artist known for delicate, intricate, and often unexpected designs. (Additional copy by Rachel Aschenbrand-Robinson)
This post was originally published in September 2021.
Join The Conversation (0)