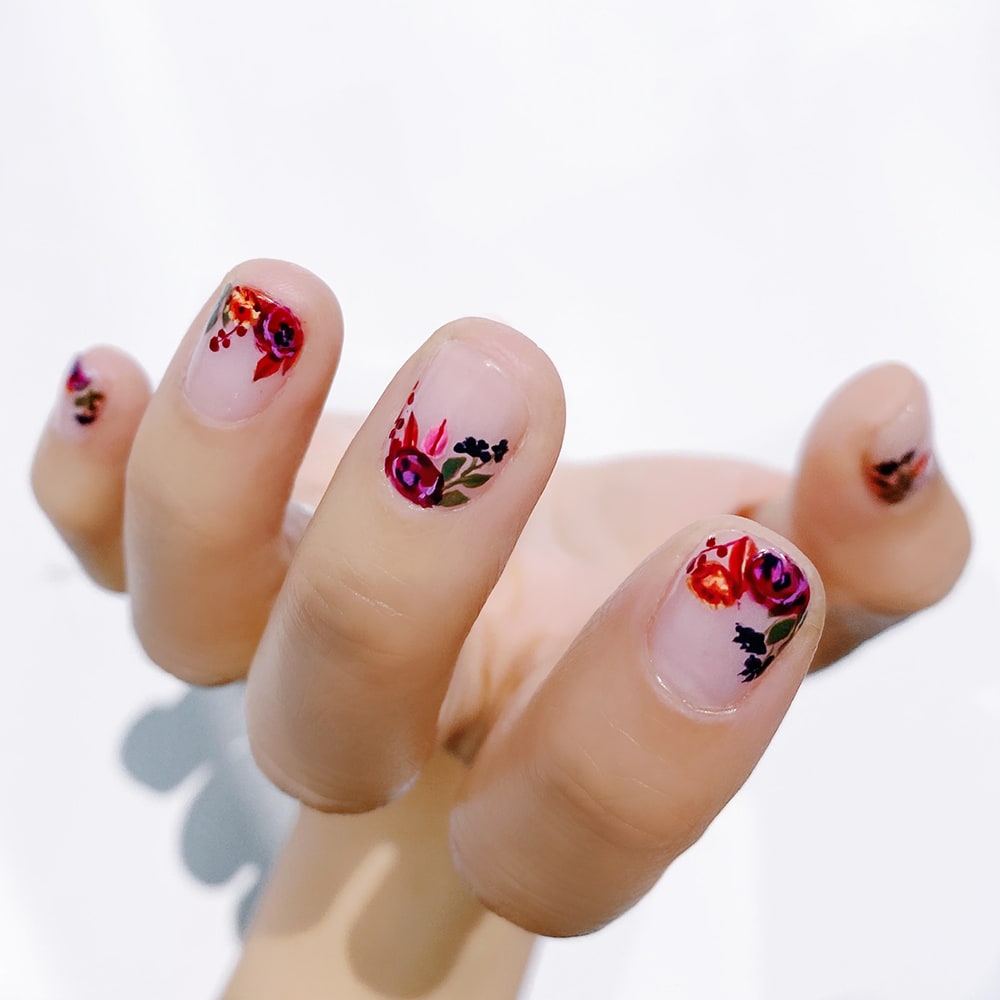
By now, you already know that floral prints aren’t exclusive to the warm-weather months (thank goodness!)–and that doesn’t just apply to clothing and accessories, either. The flower nail art trend has been, ahem, growing since spring and summer, and as temperatures decrease, our obsession with floral nails only seems to increase. In vibrant autumnal hues and deep jewel tones, flowery manicures feel totally seasonally appropriate–not to mention stunning.
Really, who wouldn’t want a handful of blooms this fall and winter? For special occasions from weddings to holiday parties to family gatherings, floral nails make a chic, romantic, and unexpected statement. Plus, they’re just so darn pretty–and an easy way to ward off the winter doldrums (it’s hard not to feel happier just looking at these!). If richly-hued flower nail art sounds like the kind of garden you’d like to tend to, scroll on for instructions. A gorgeous bouquet is literally at your fingertips.
Winter Floral Nails:
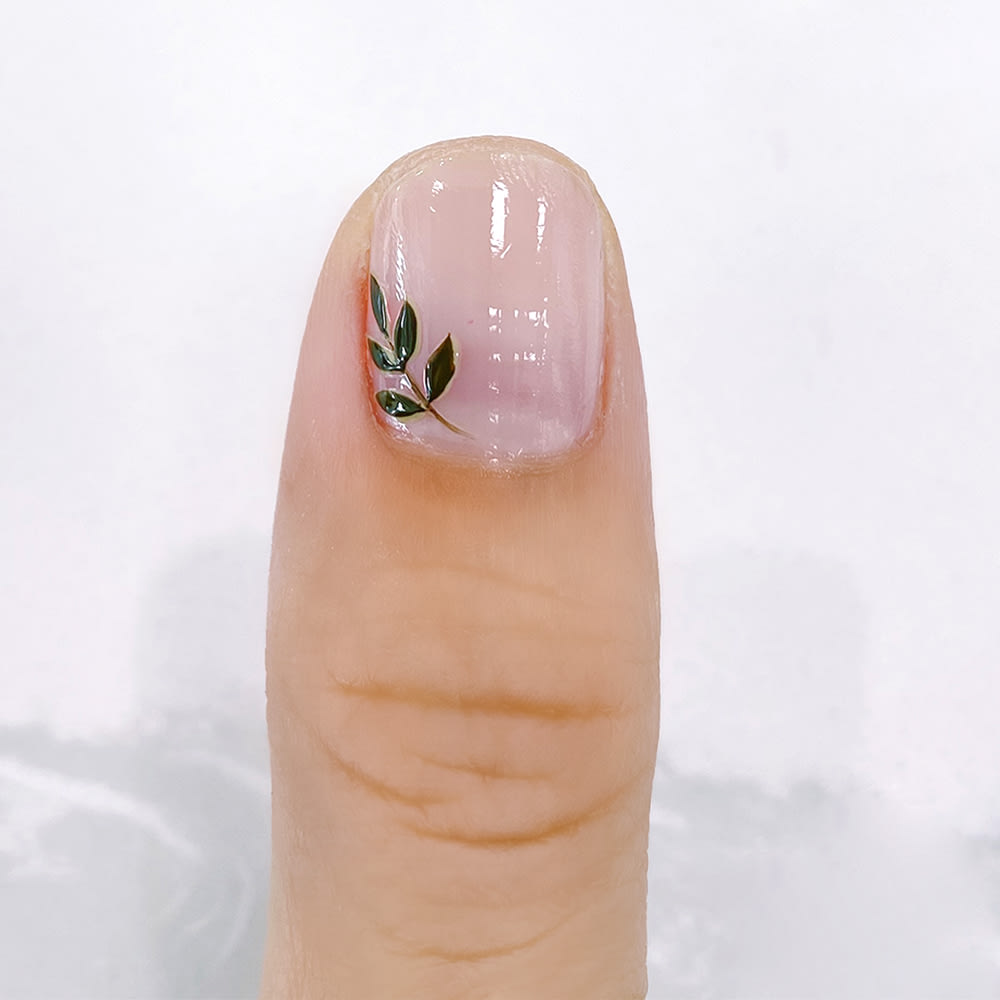
Step 1: To start, paint out the leafy stem.
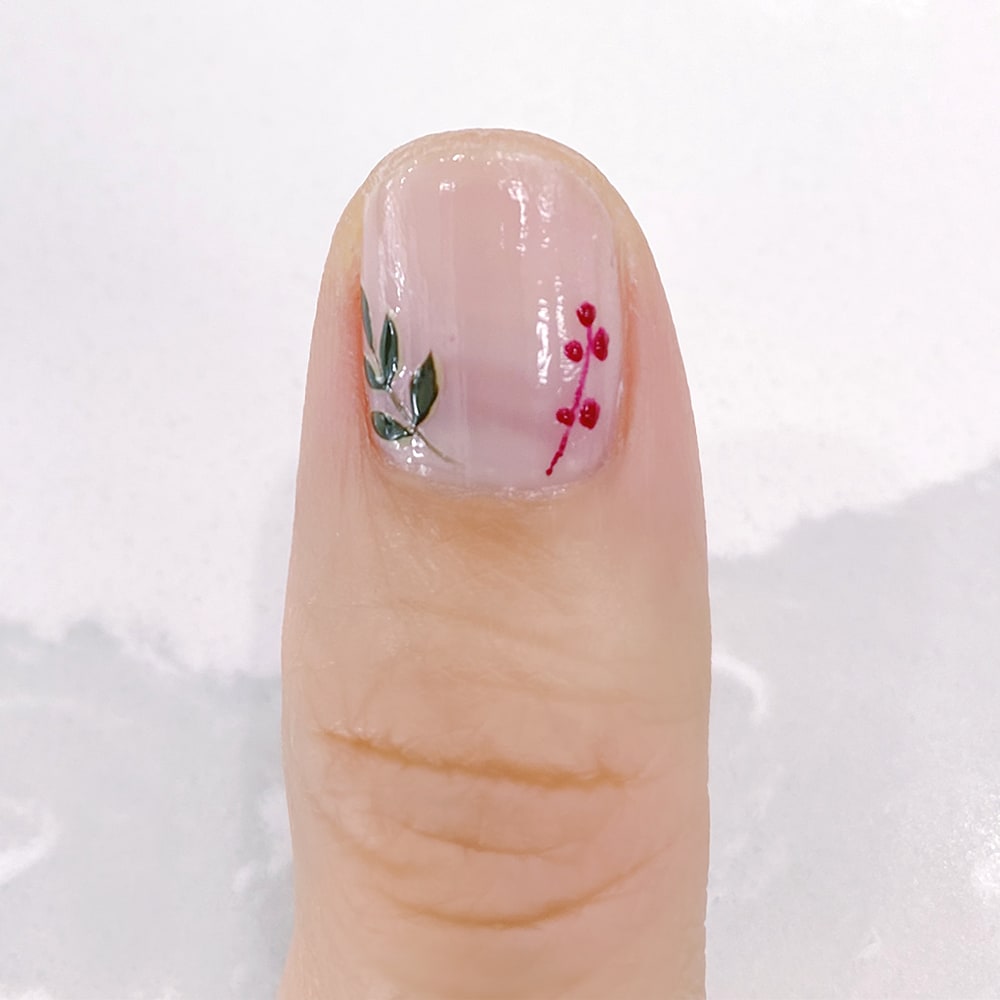
Step 2: Next, paint on the dotted branch.
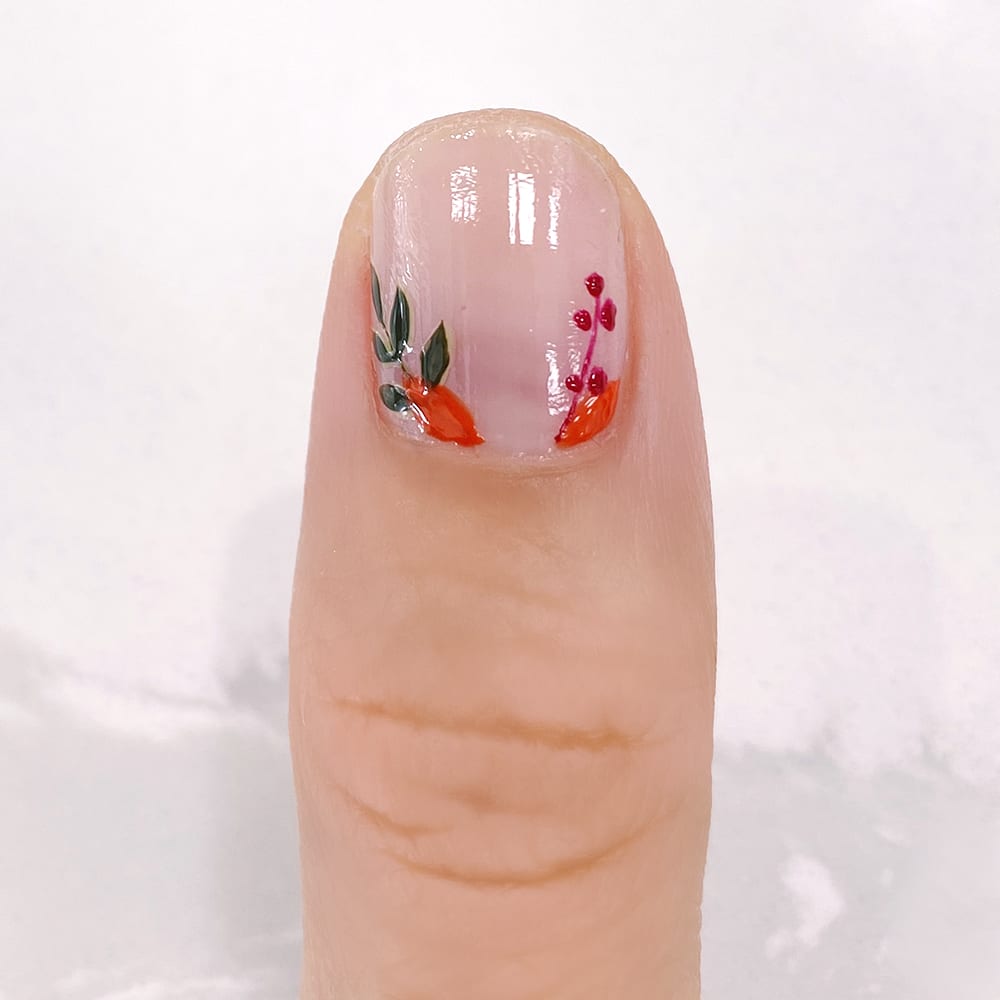
Step 3: Add the two orange leaves on each side.
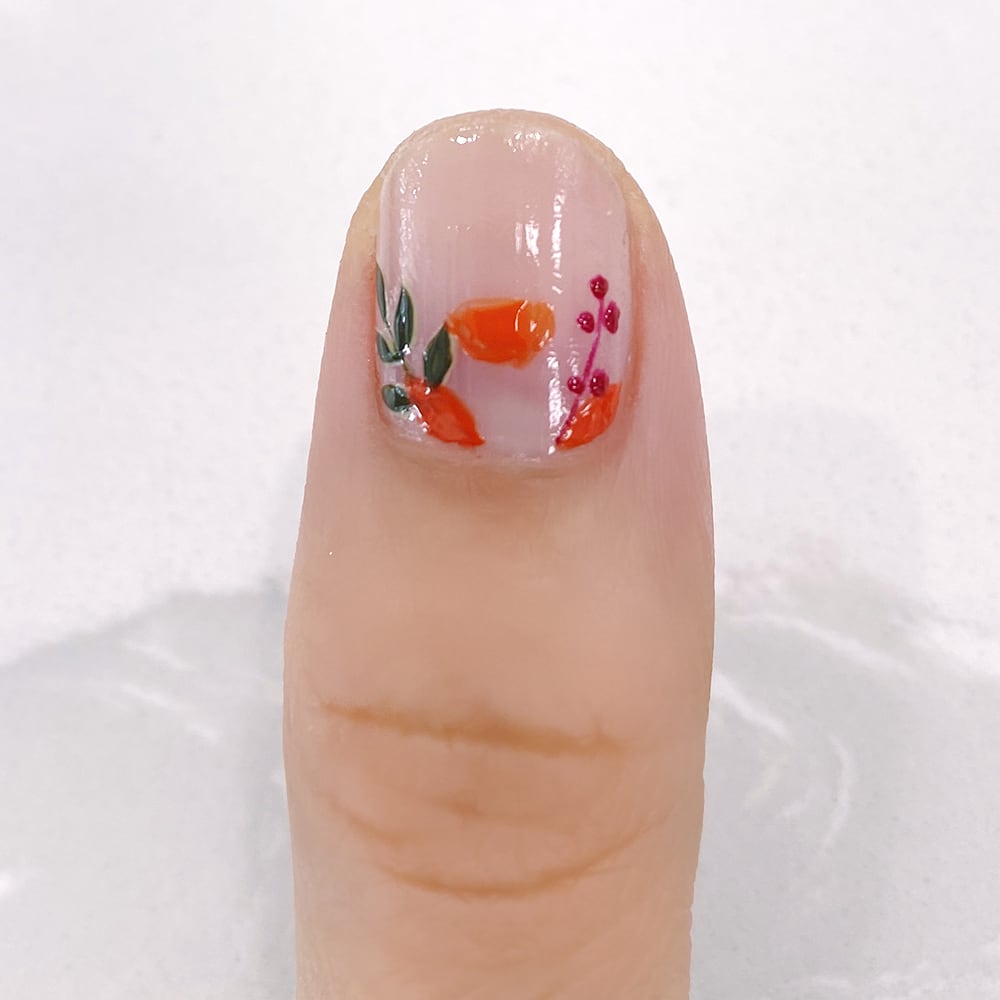
Step 4: Paint the base part of the orange floral.
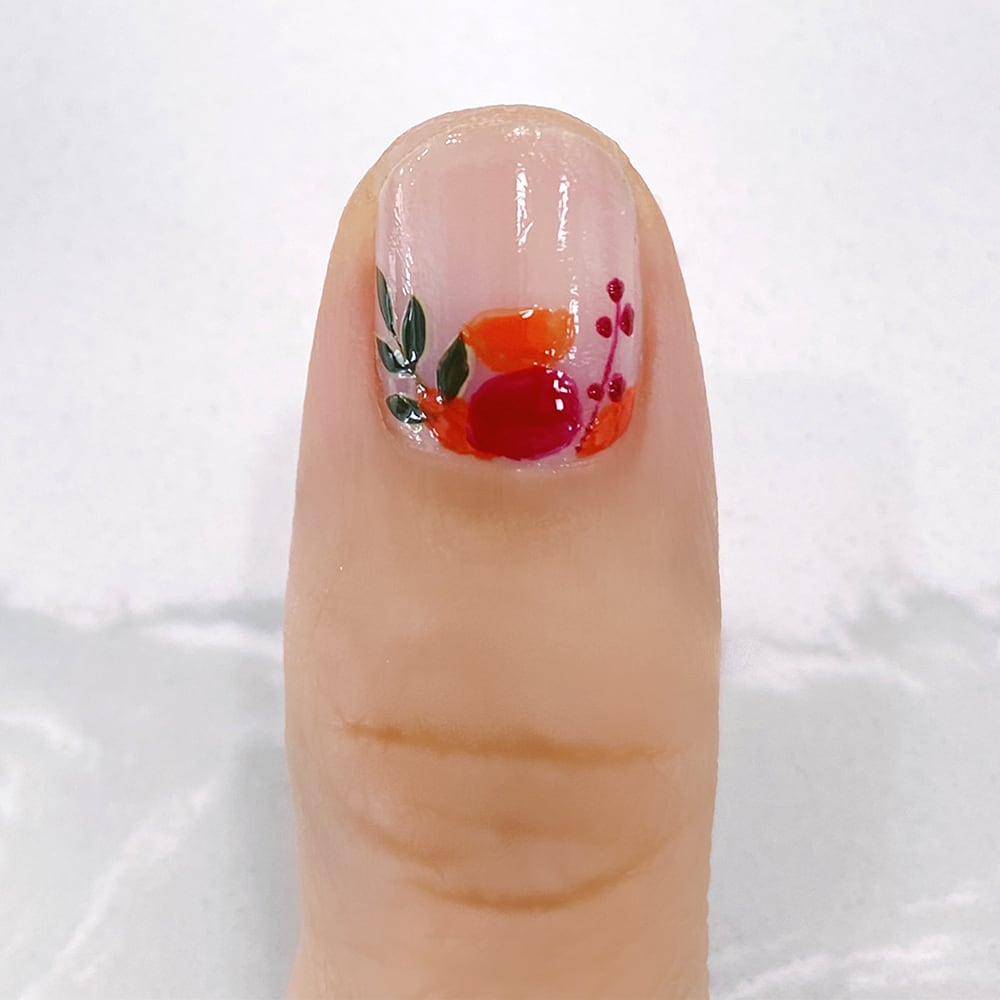
Step 5: Add the second floral on the bottom.
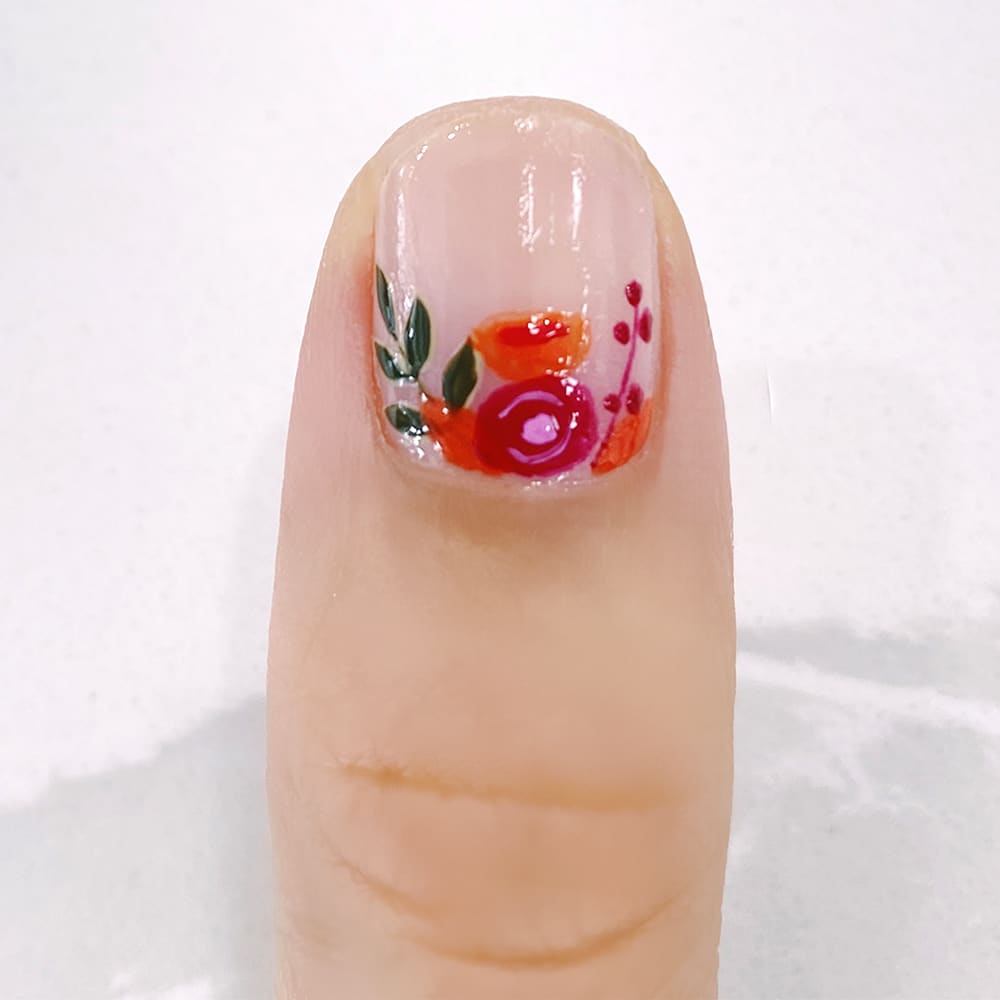
Step 6: Add some details inside both flowers.
Step 7: Continue adding the last details to the florals and also the orange leaves.
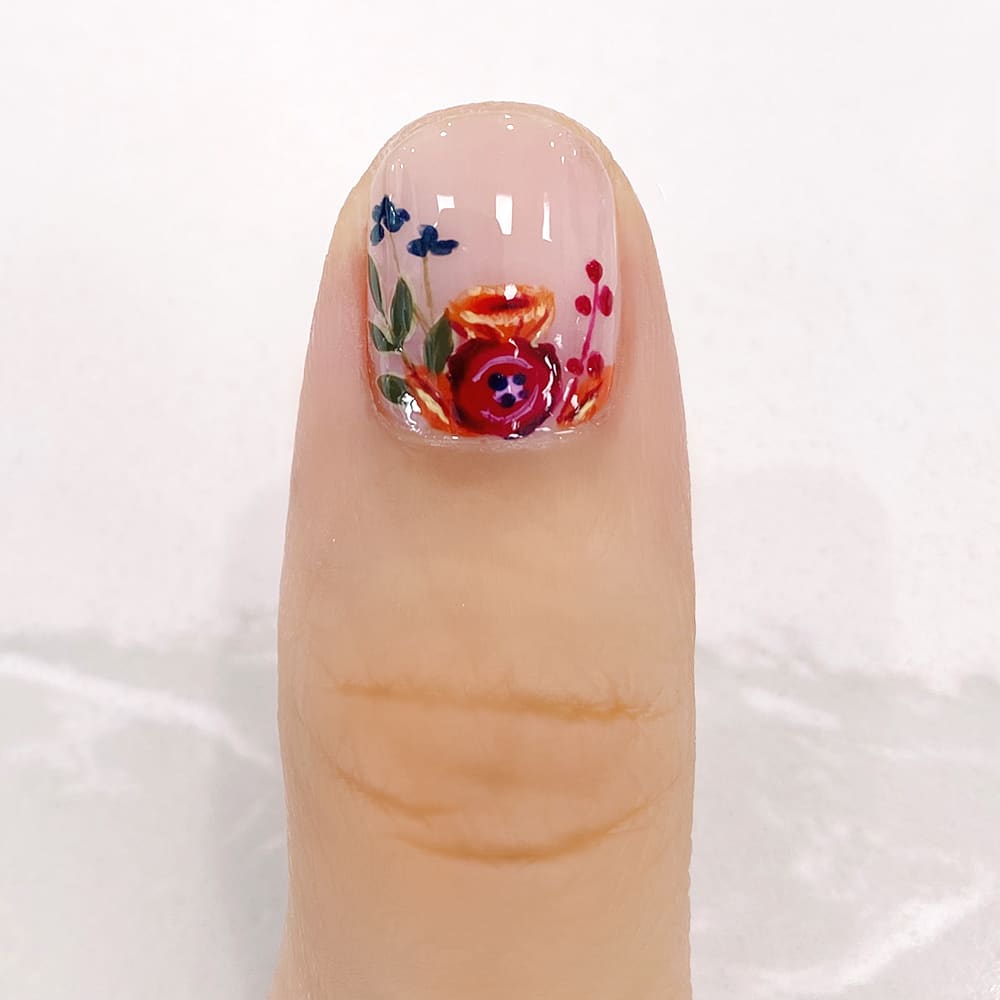
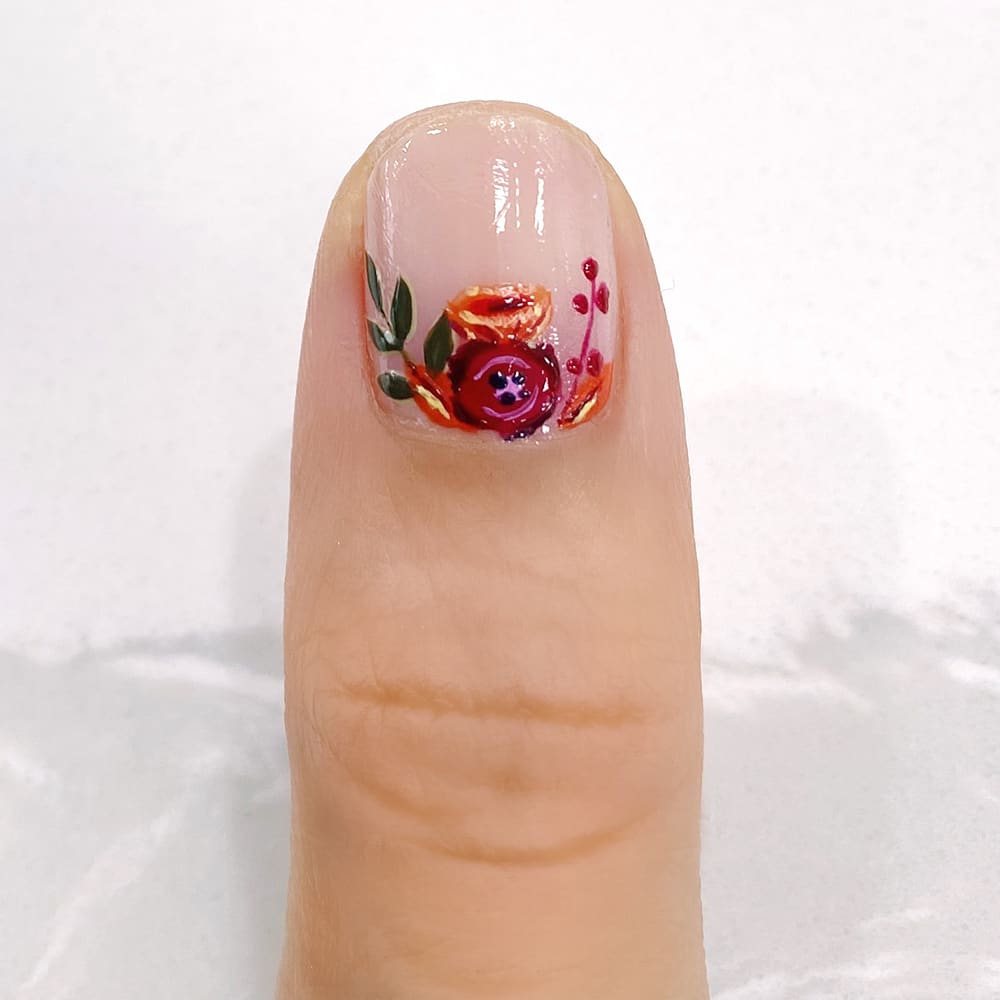
Step 8: Lastly, paint on the last dark floral additions to top off this garden of fall/winter goodness.
Are you trying this flower nail art design? Show us your mani on Instagram @Lulus using #lovelulus!
(Images via Hang Nguyen; additional copy by Rachel Aschenbrand-Robinson)
Join The Conversation (0)