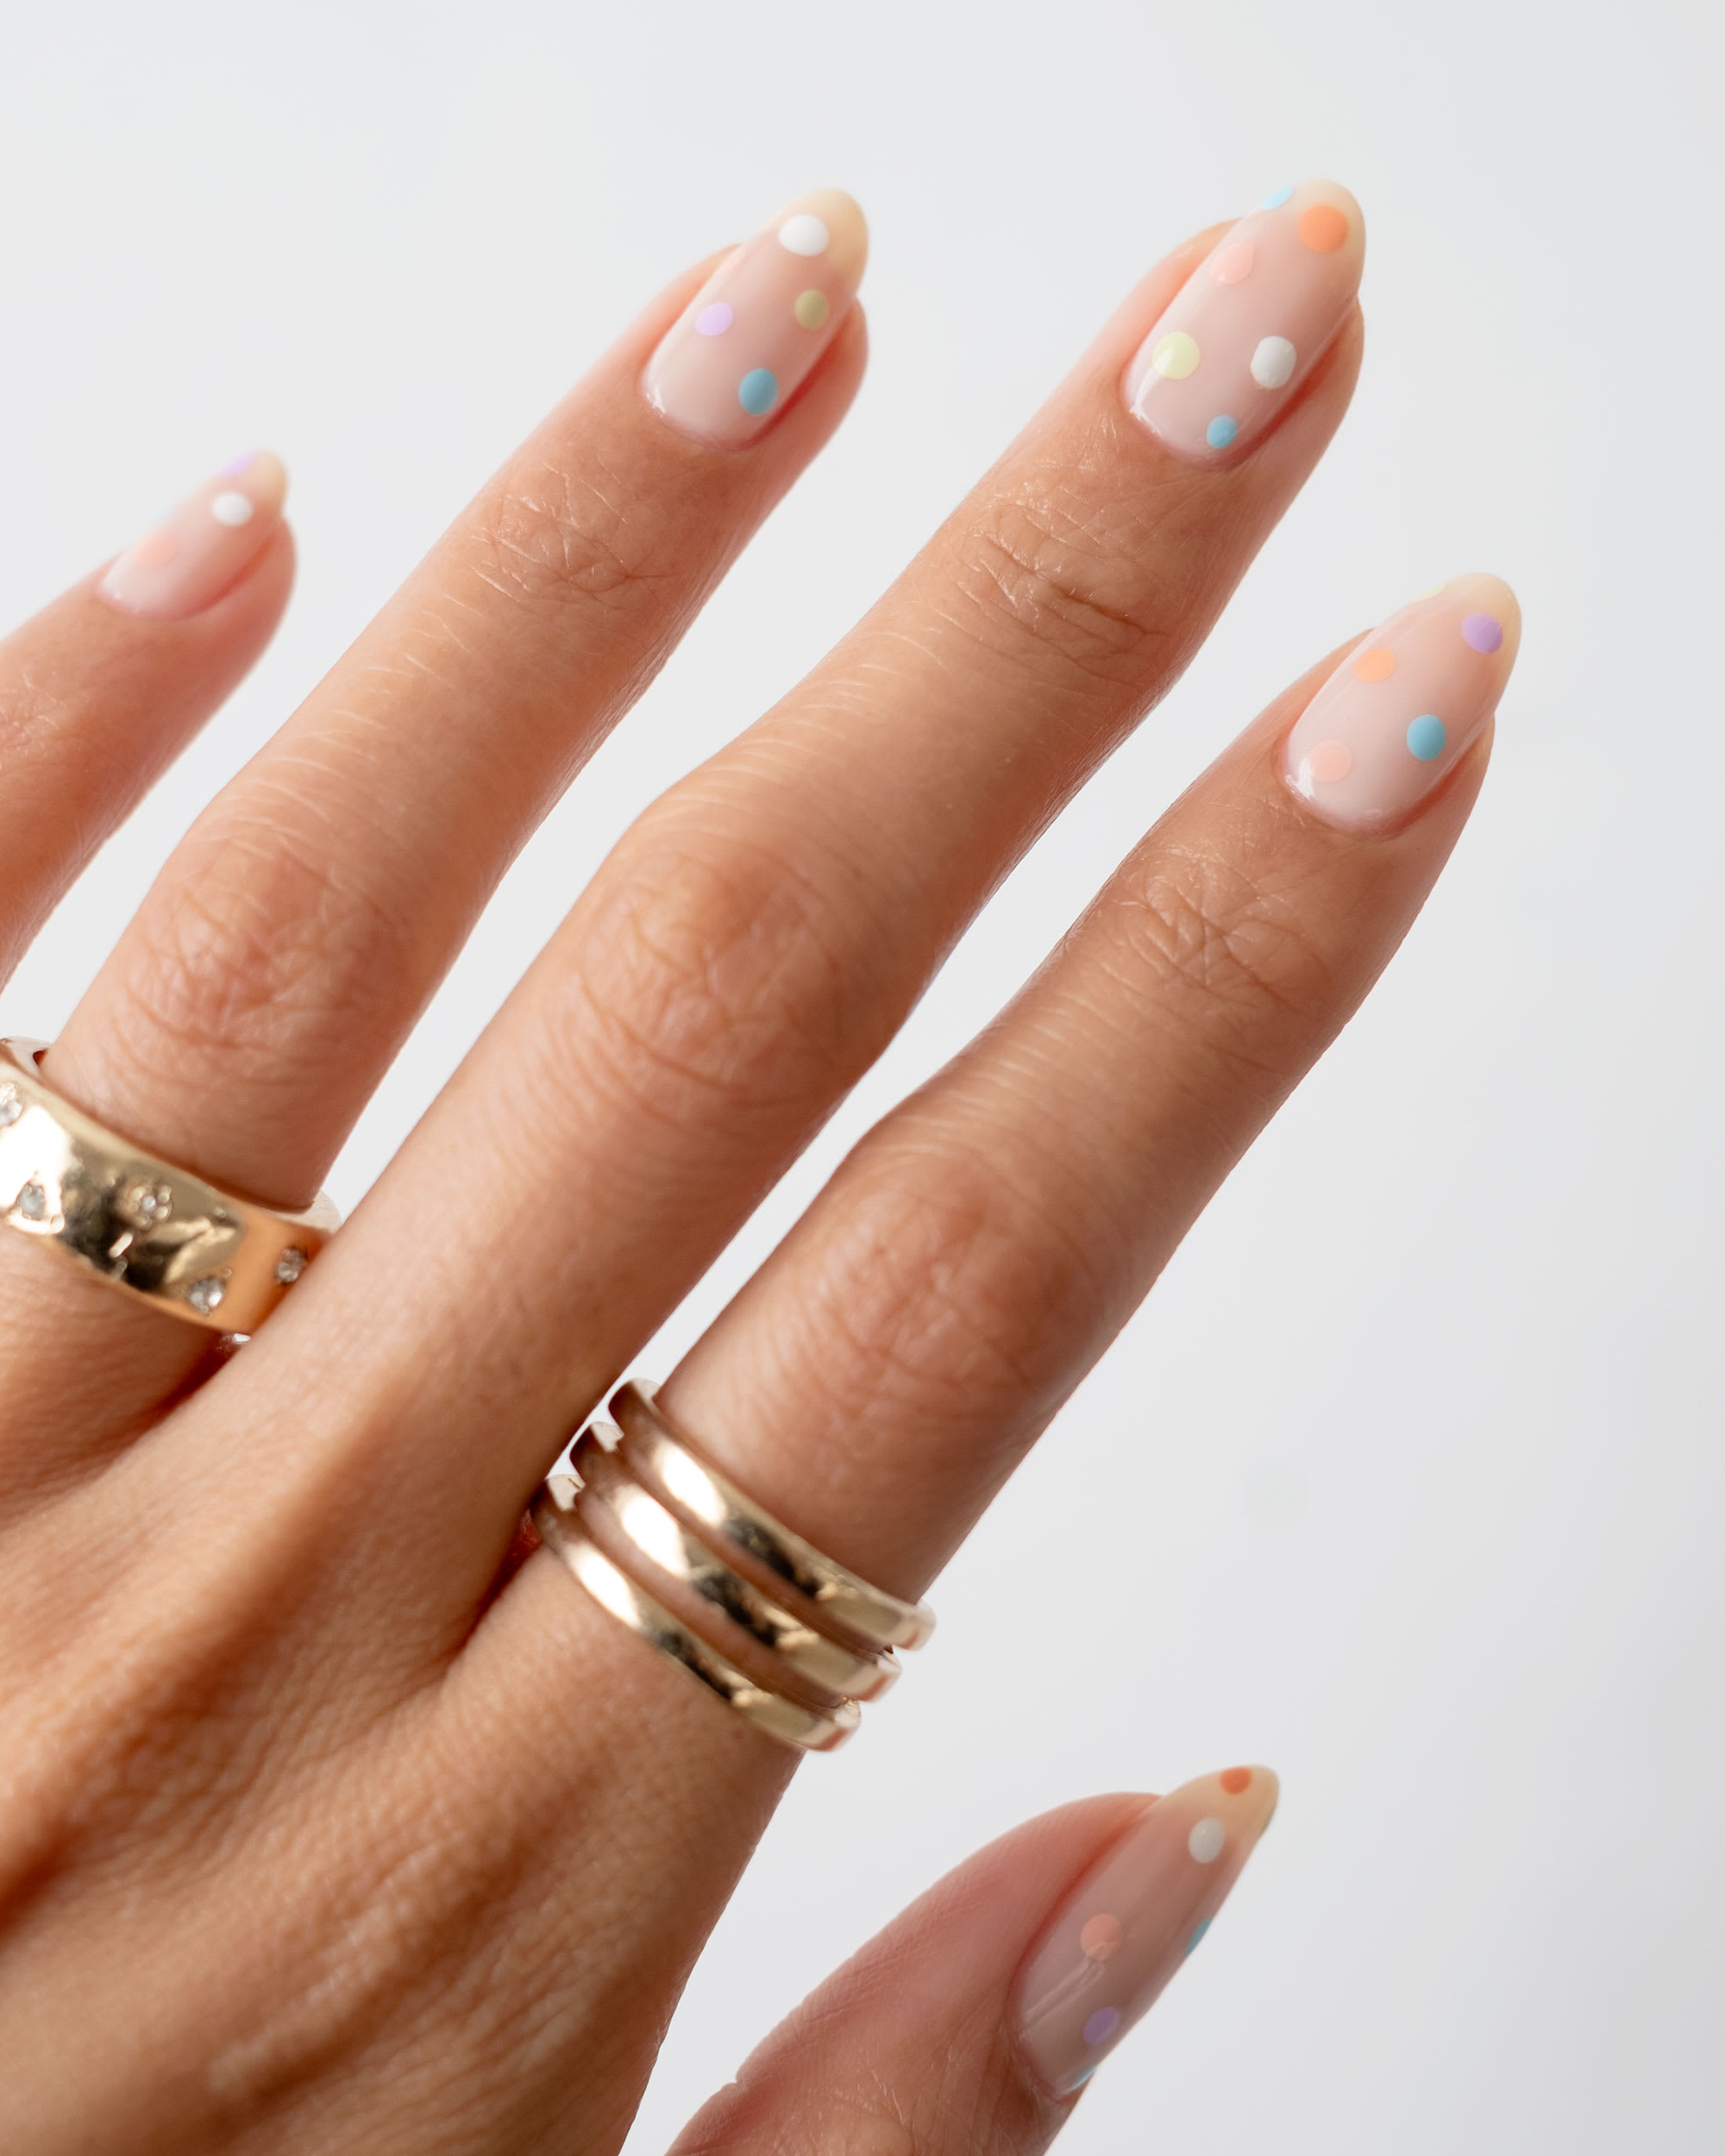
Spring is nearly here and pastels are the perfect way to welcome the new season–but what if you want something festive but a bit more subtle? A minimal dotted pastel mani is the way to go. With polka dot nails in pastels, you get touches of spring color but it feels softer, and it’s easy to do!
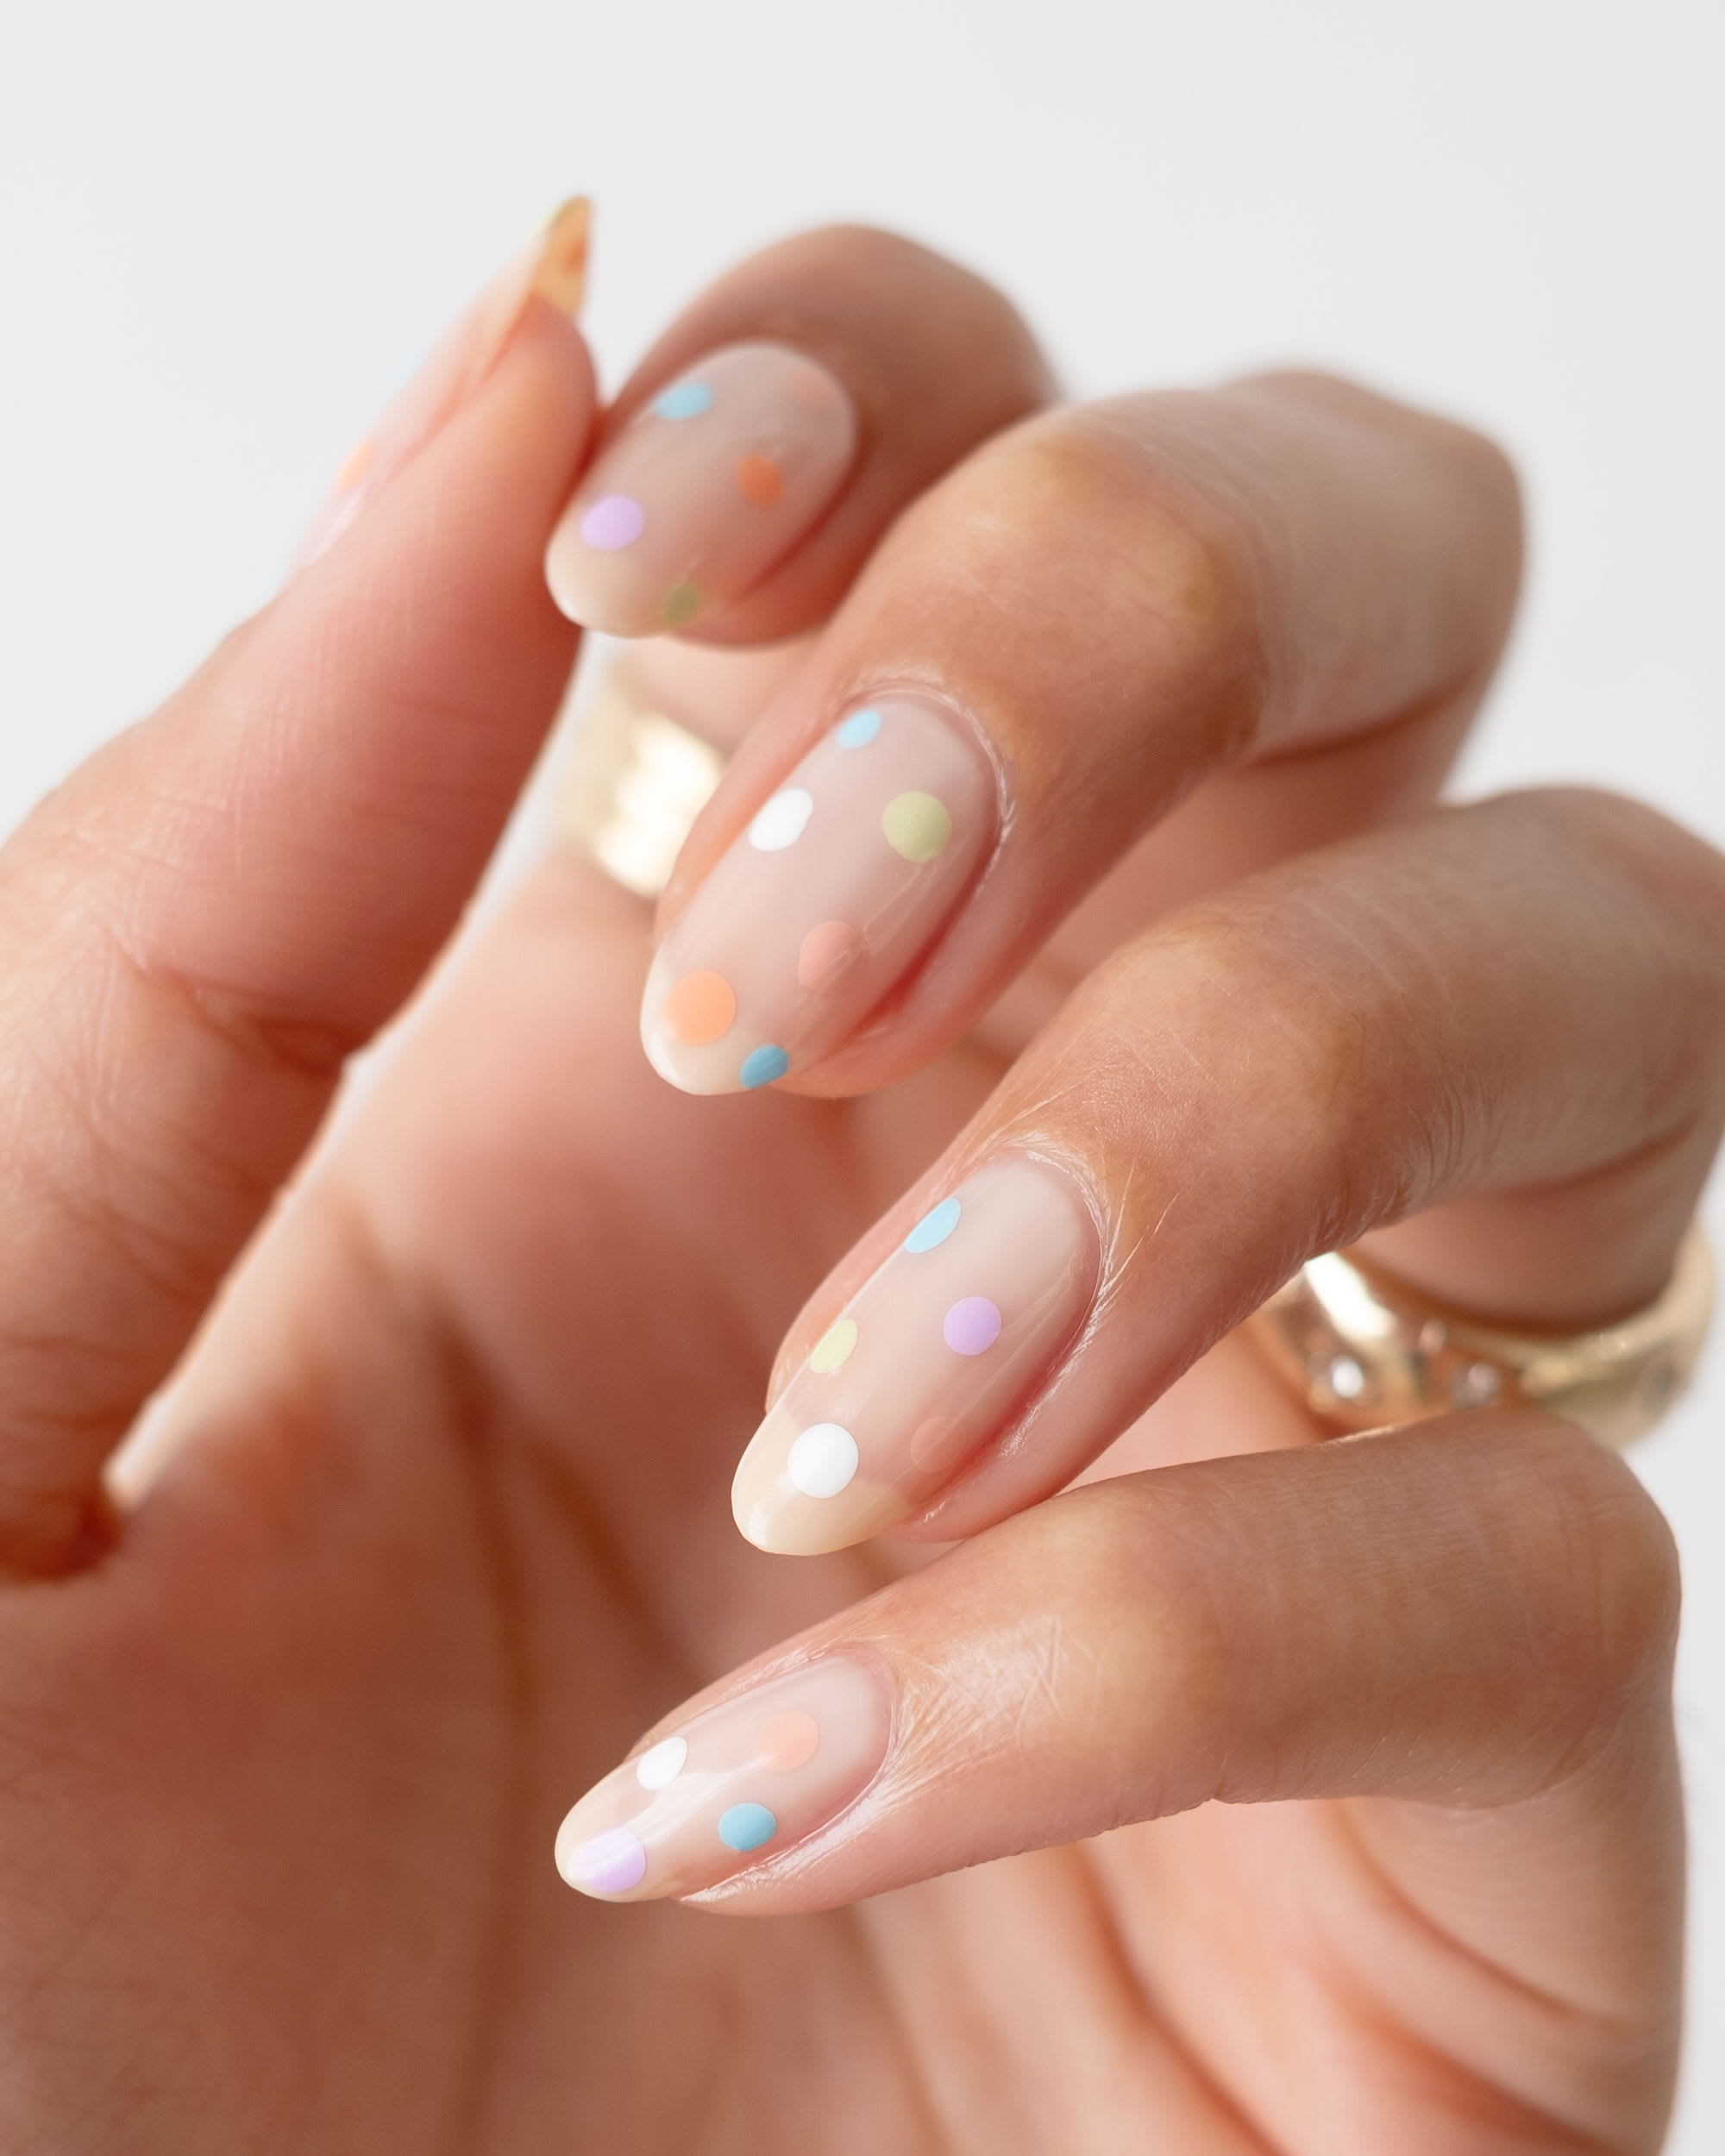
The simplicity of this design still makes a bold spring statement that feels fresh for the season. Here’s what you’ll need:
Pastel Polka Dot Nails
Supplies:
- Base coat
- Sheer white nail polish (I used Nails Inc Get Discovered)
- Medium-size dotting tool
- An assortment of pastel nail polishes (for this look I used Kester Black Lilac, Bare NYC Not Sponsored, Orosa Beauty Cove, Nails Inc White Out, Kester Black Impeachment & Elle Polish Sweet Nectar)
- Glossy top coat
Instructions:
Step 1: Prep and file your nails to your desired shape.
Step 2: Apply a thin layer of base coat.
Step 3: Apply 2-3 coats of sheer white nail polish. You still want a soft, milky appearance, so no need to do too many coats! Let them dry.
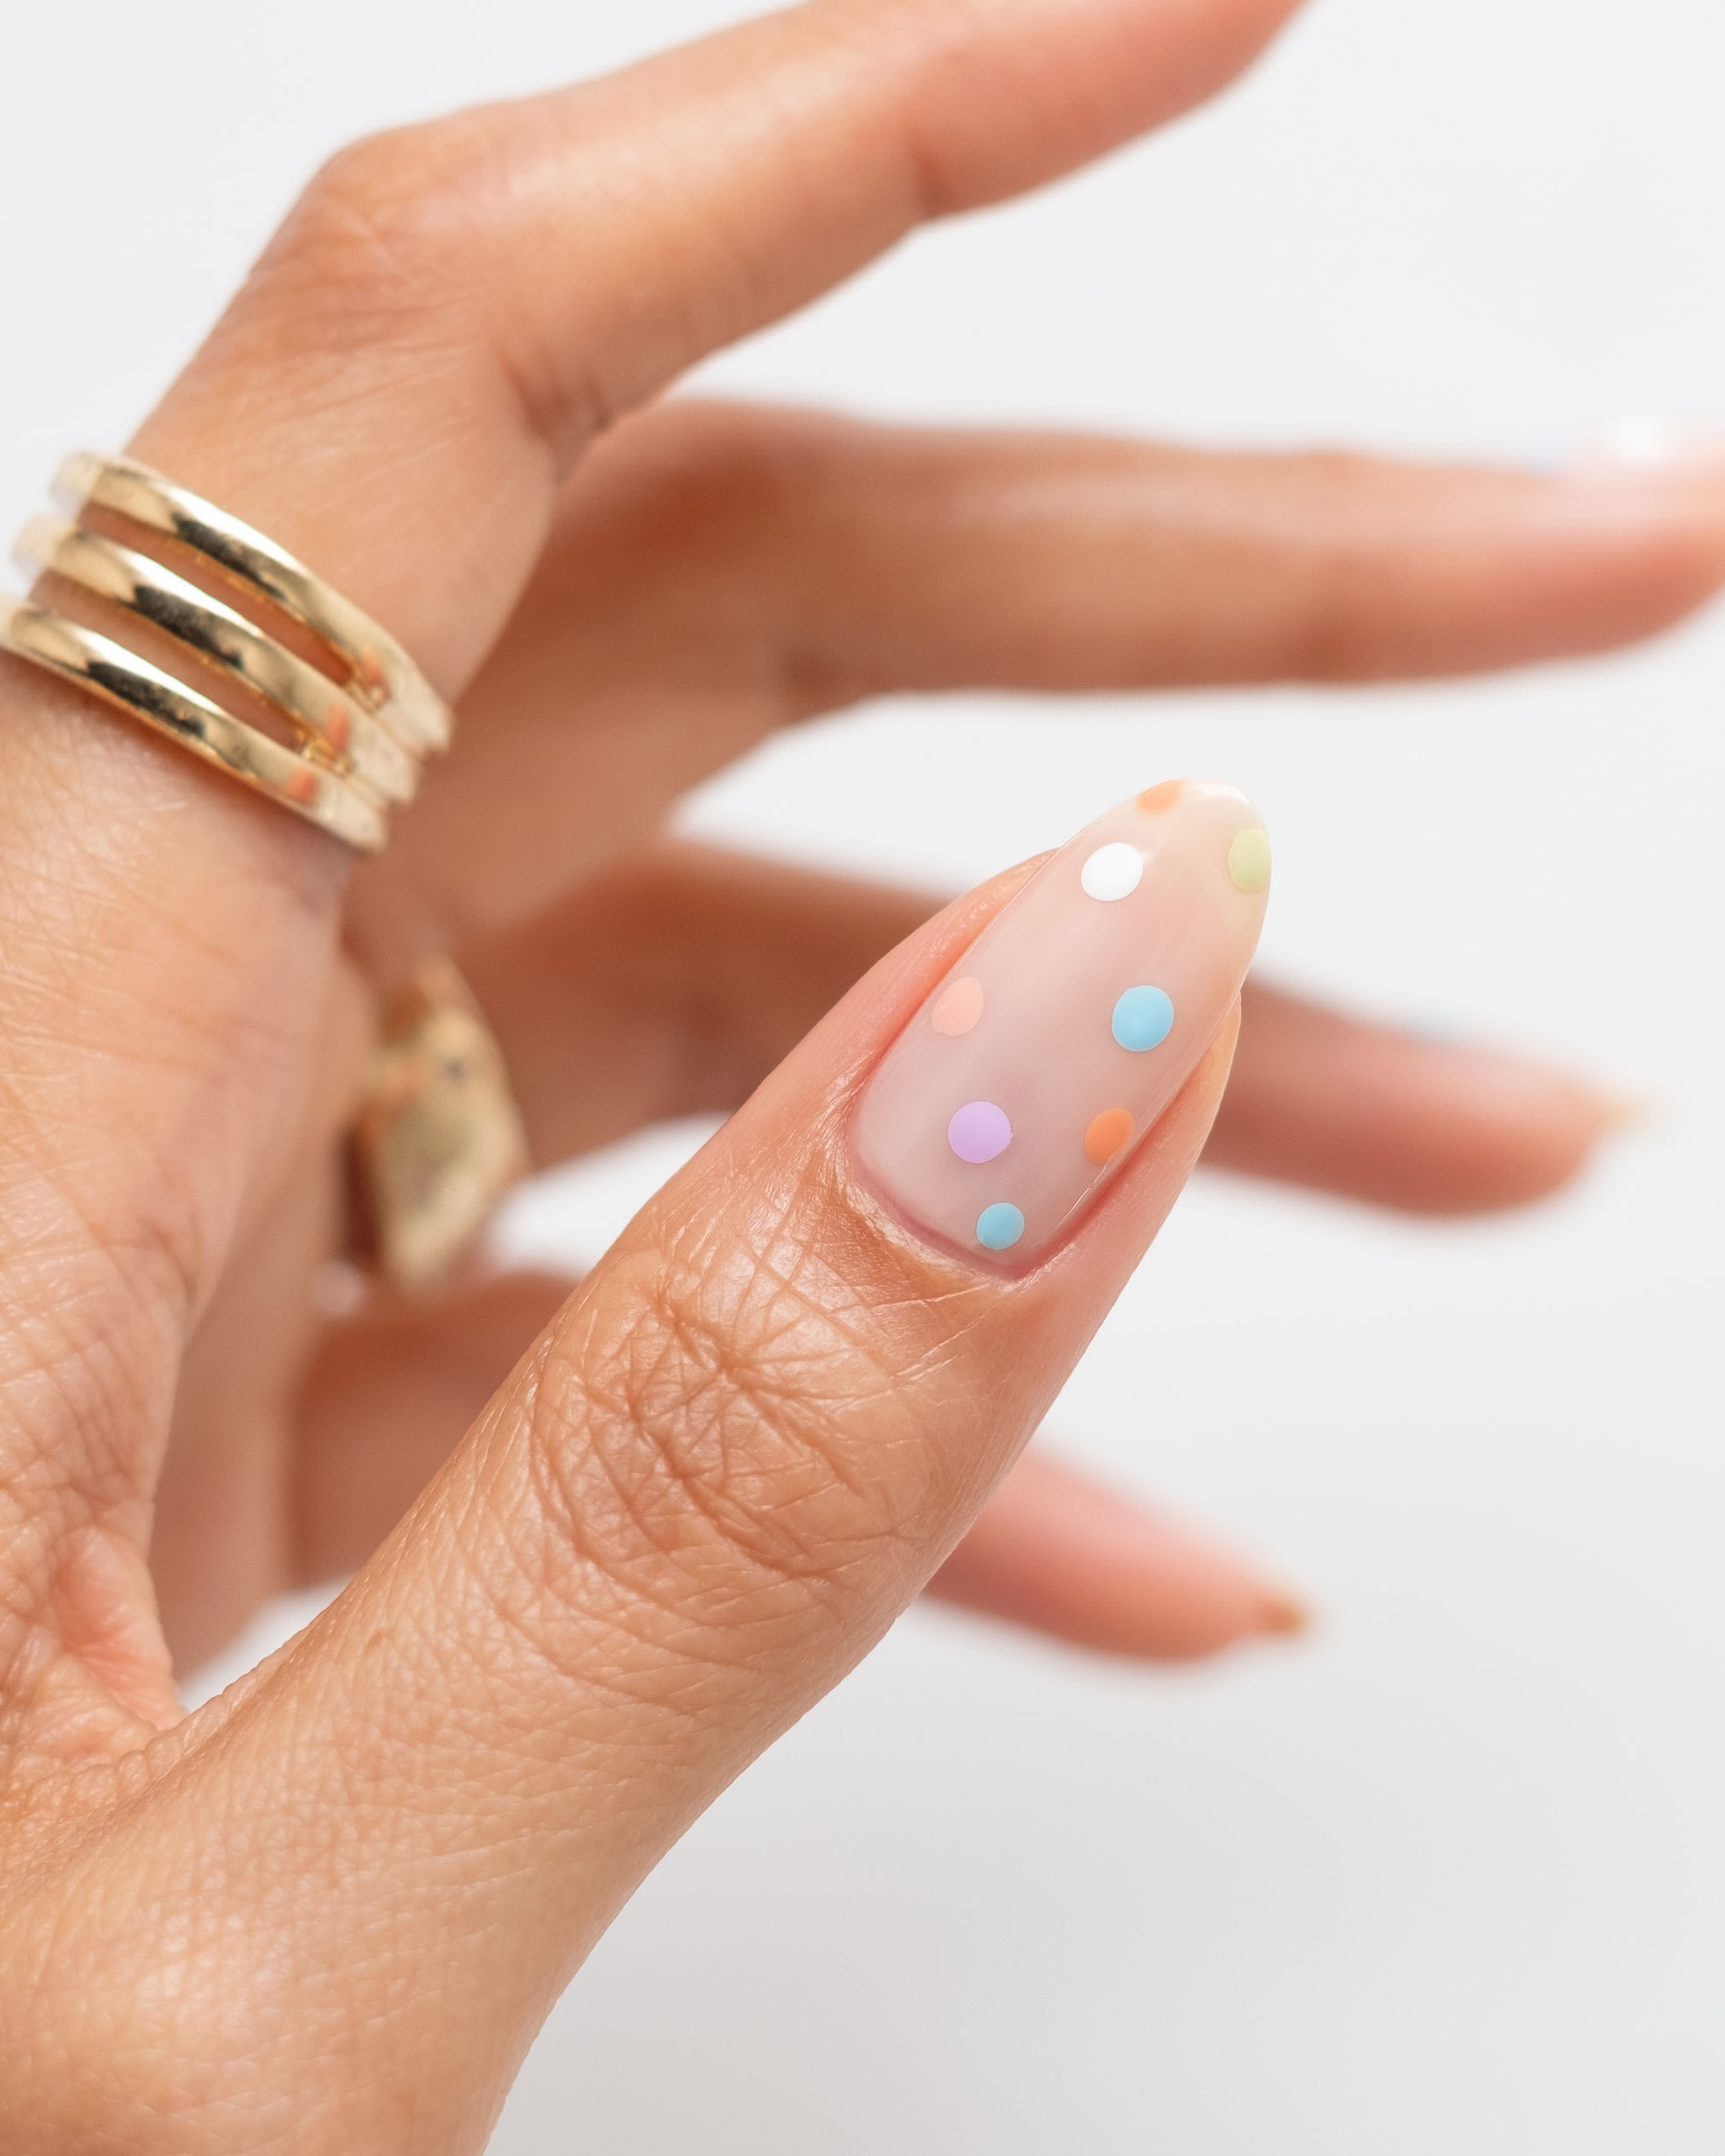
Step 4: On a small piece of foil or plastic, put a little puddle of the first pastel polish of your choosing so you can easily dip into it with your dotting tool. For this design, I recommend a medium-size dotting tool. The end of a makeup brush or pen tip could work, also. Dip into the polish and then dot onto your nail. I like to start by doing one dot of the first color on each nail, all in different spots, then move onto the next shade and repeat.
Step 5: Make sure to clean your dotting tool in a bit of acetone and on a paper towel in between dots so the polish doesn’t get gloopy and messy. Repeat dotting onto each nail, keeping the dots spaced pretty far apart so you get that minimal, negative space effect. Less is more with this design!
Step 6: Polka dots can take a bit longer to dry, so give the design an extra minute before topping with a glossy top coat. To ensure your dots don’t streak, apply very light pressure on the brush and gently brush over the design. Pressing too hard can move the polish and cause streaks.
Step 7: Cap the edge and finish with cuticle oil.
Did you try these polka dot nails? Show us on Instagram @Lulus using #lovelulus and shop Spring Fashion picks in Pastels!
Melanie Graves is a self-taught nail art enthusiast who loves to create colorful, and easy DIY designs for the fellow home manicurist.
This post was originally published in 2012 and has been updated with new content.
Join The Conversation (7)
With or without water dip manicure, what polish shades look good on men?