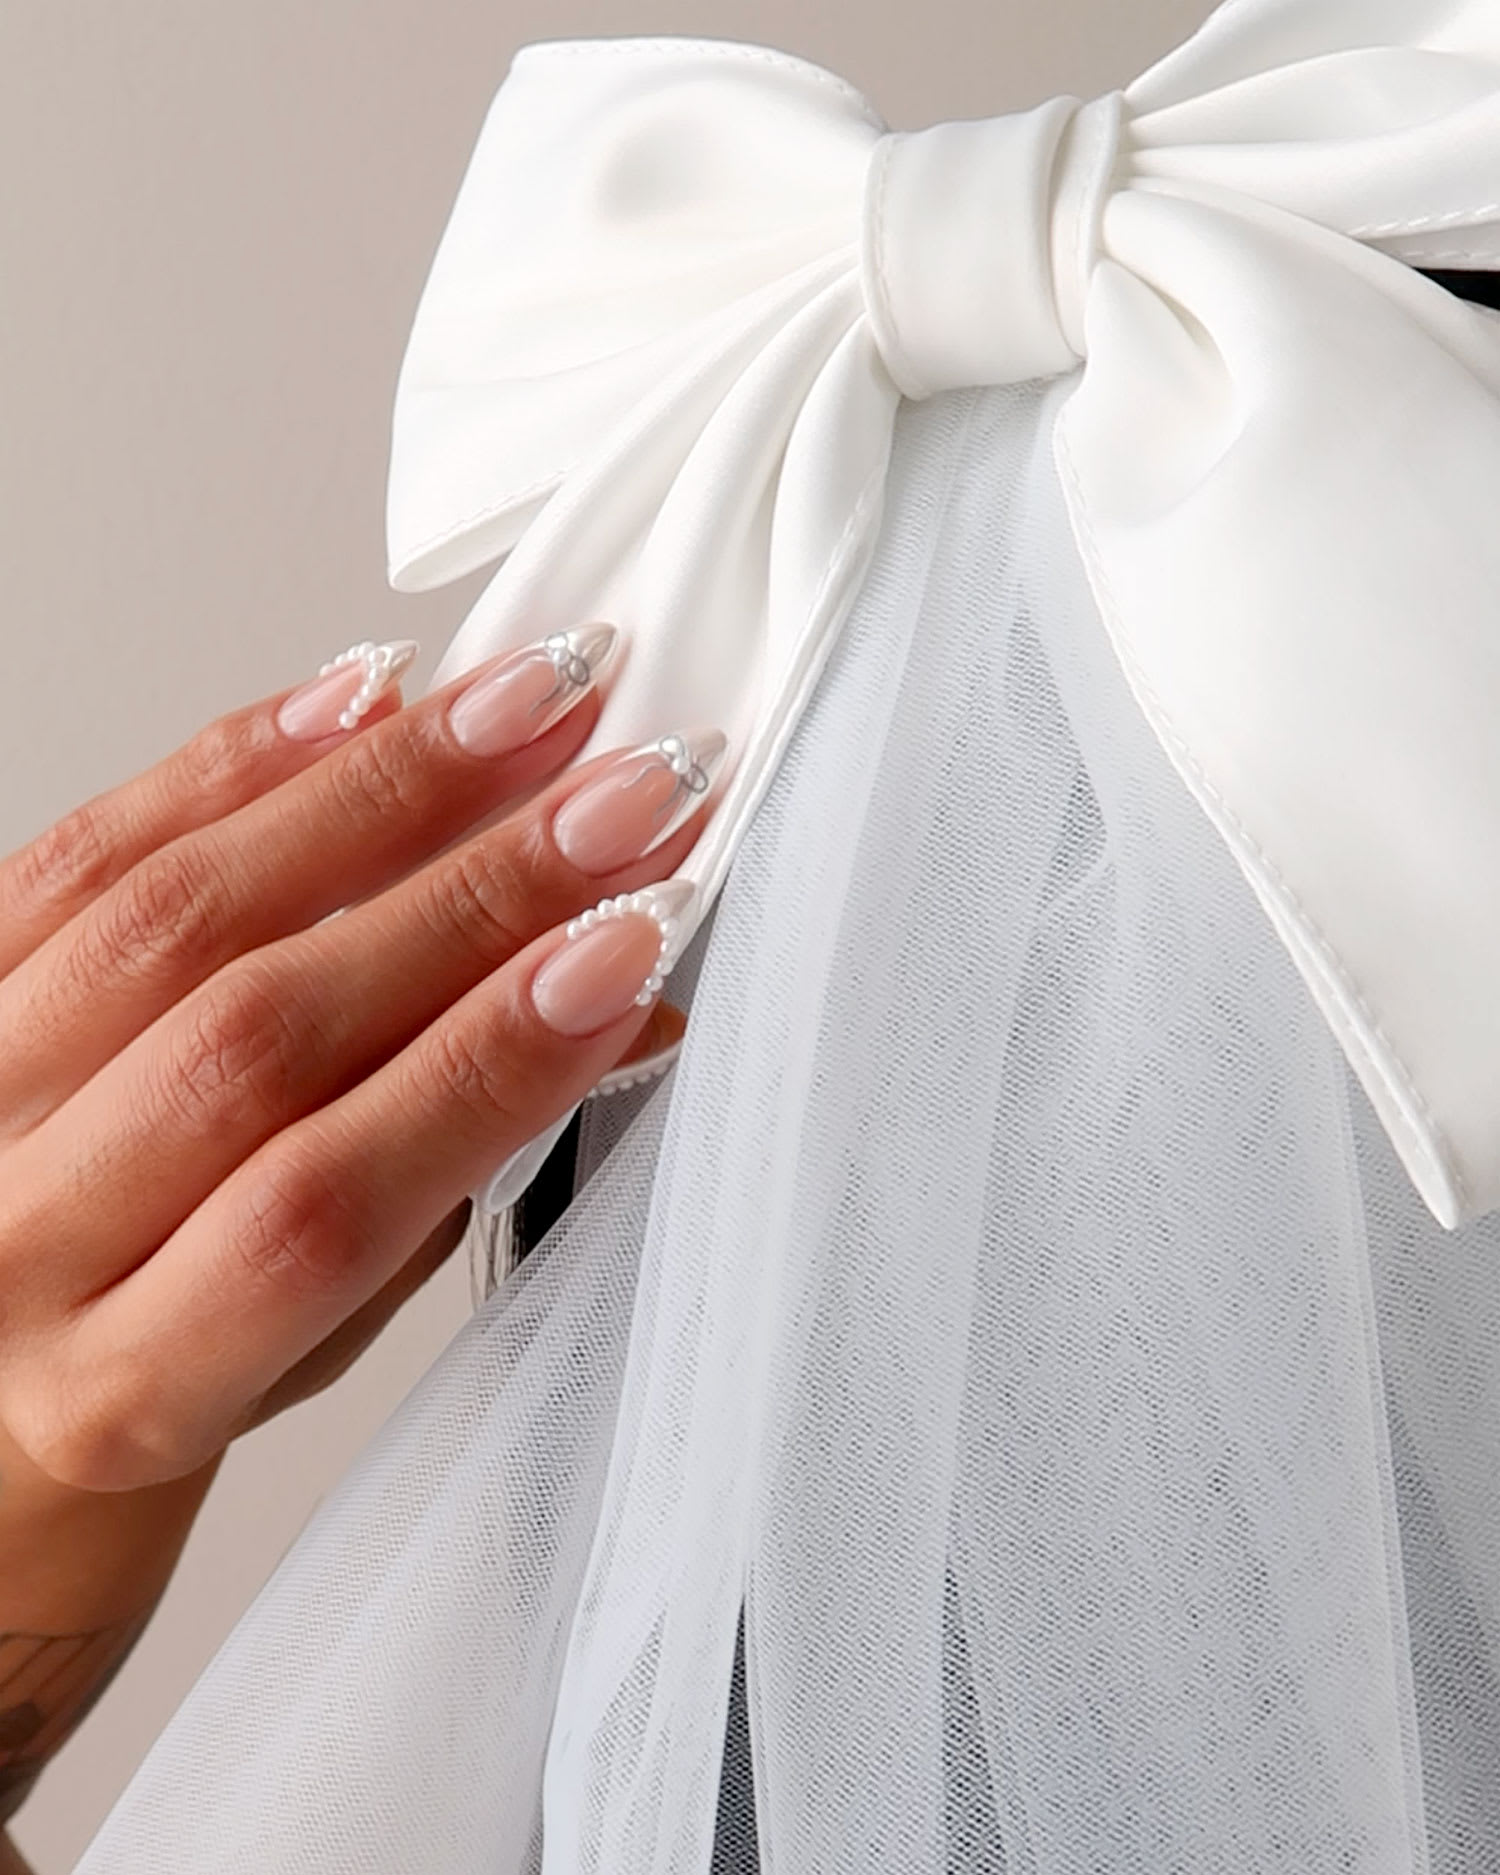
Searching for wedding nail inspiration? Pearls are a bridal style staple–and Coquette nails are the perfect modern alternative to the traditional bridal mani. Combining timeless pearls and romantic bows, this sweet nail design will elevate your bridal look, making for a mani that’s playful, elegant, and on trend all at once.
Ready to step away from the ordinary with a look that’s fresh and unexpected? Say ‘I do’ to a Coquette-inspired design. Just bring the inspo to your nail artist, or if you’re looking to recreate this nail art yourself, check out everything you’ll need ahead–along with a step-by-step breakdown.
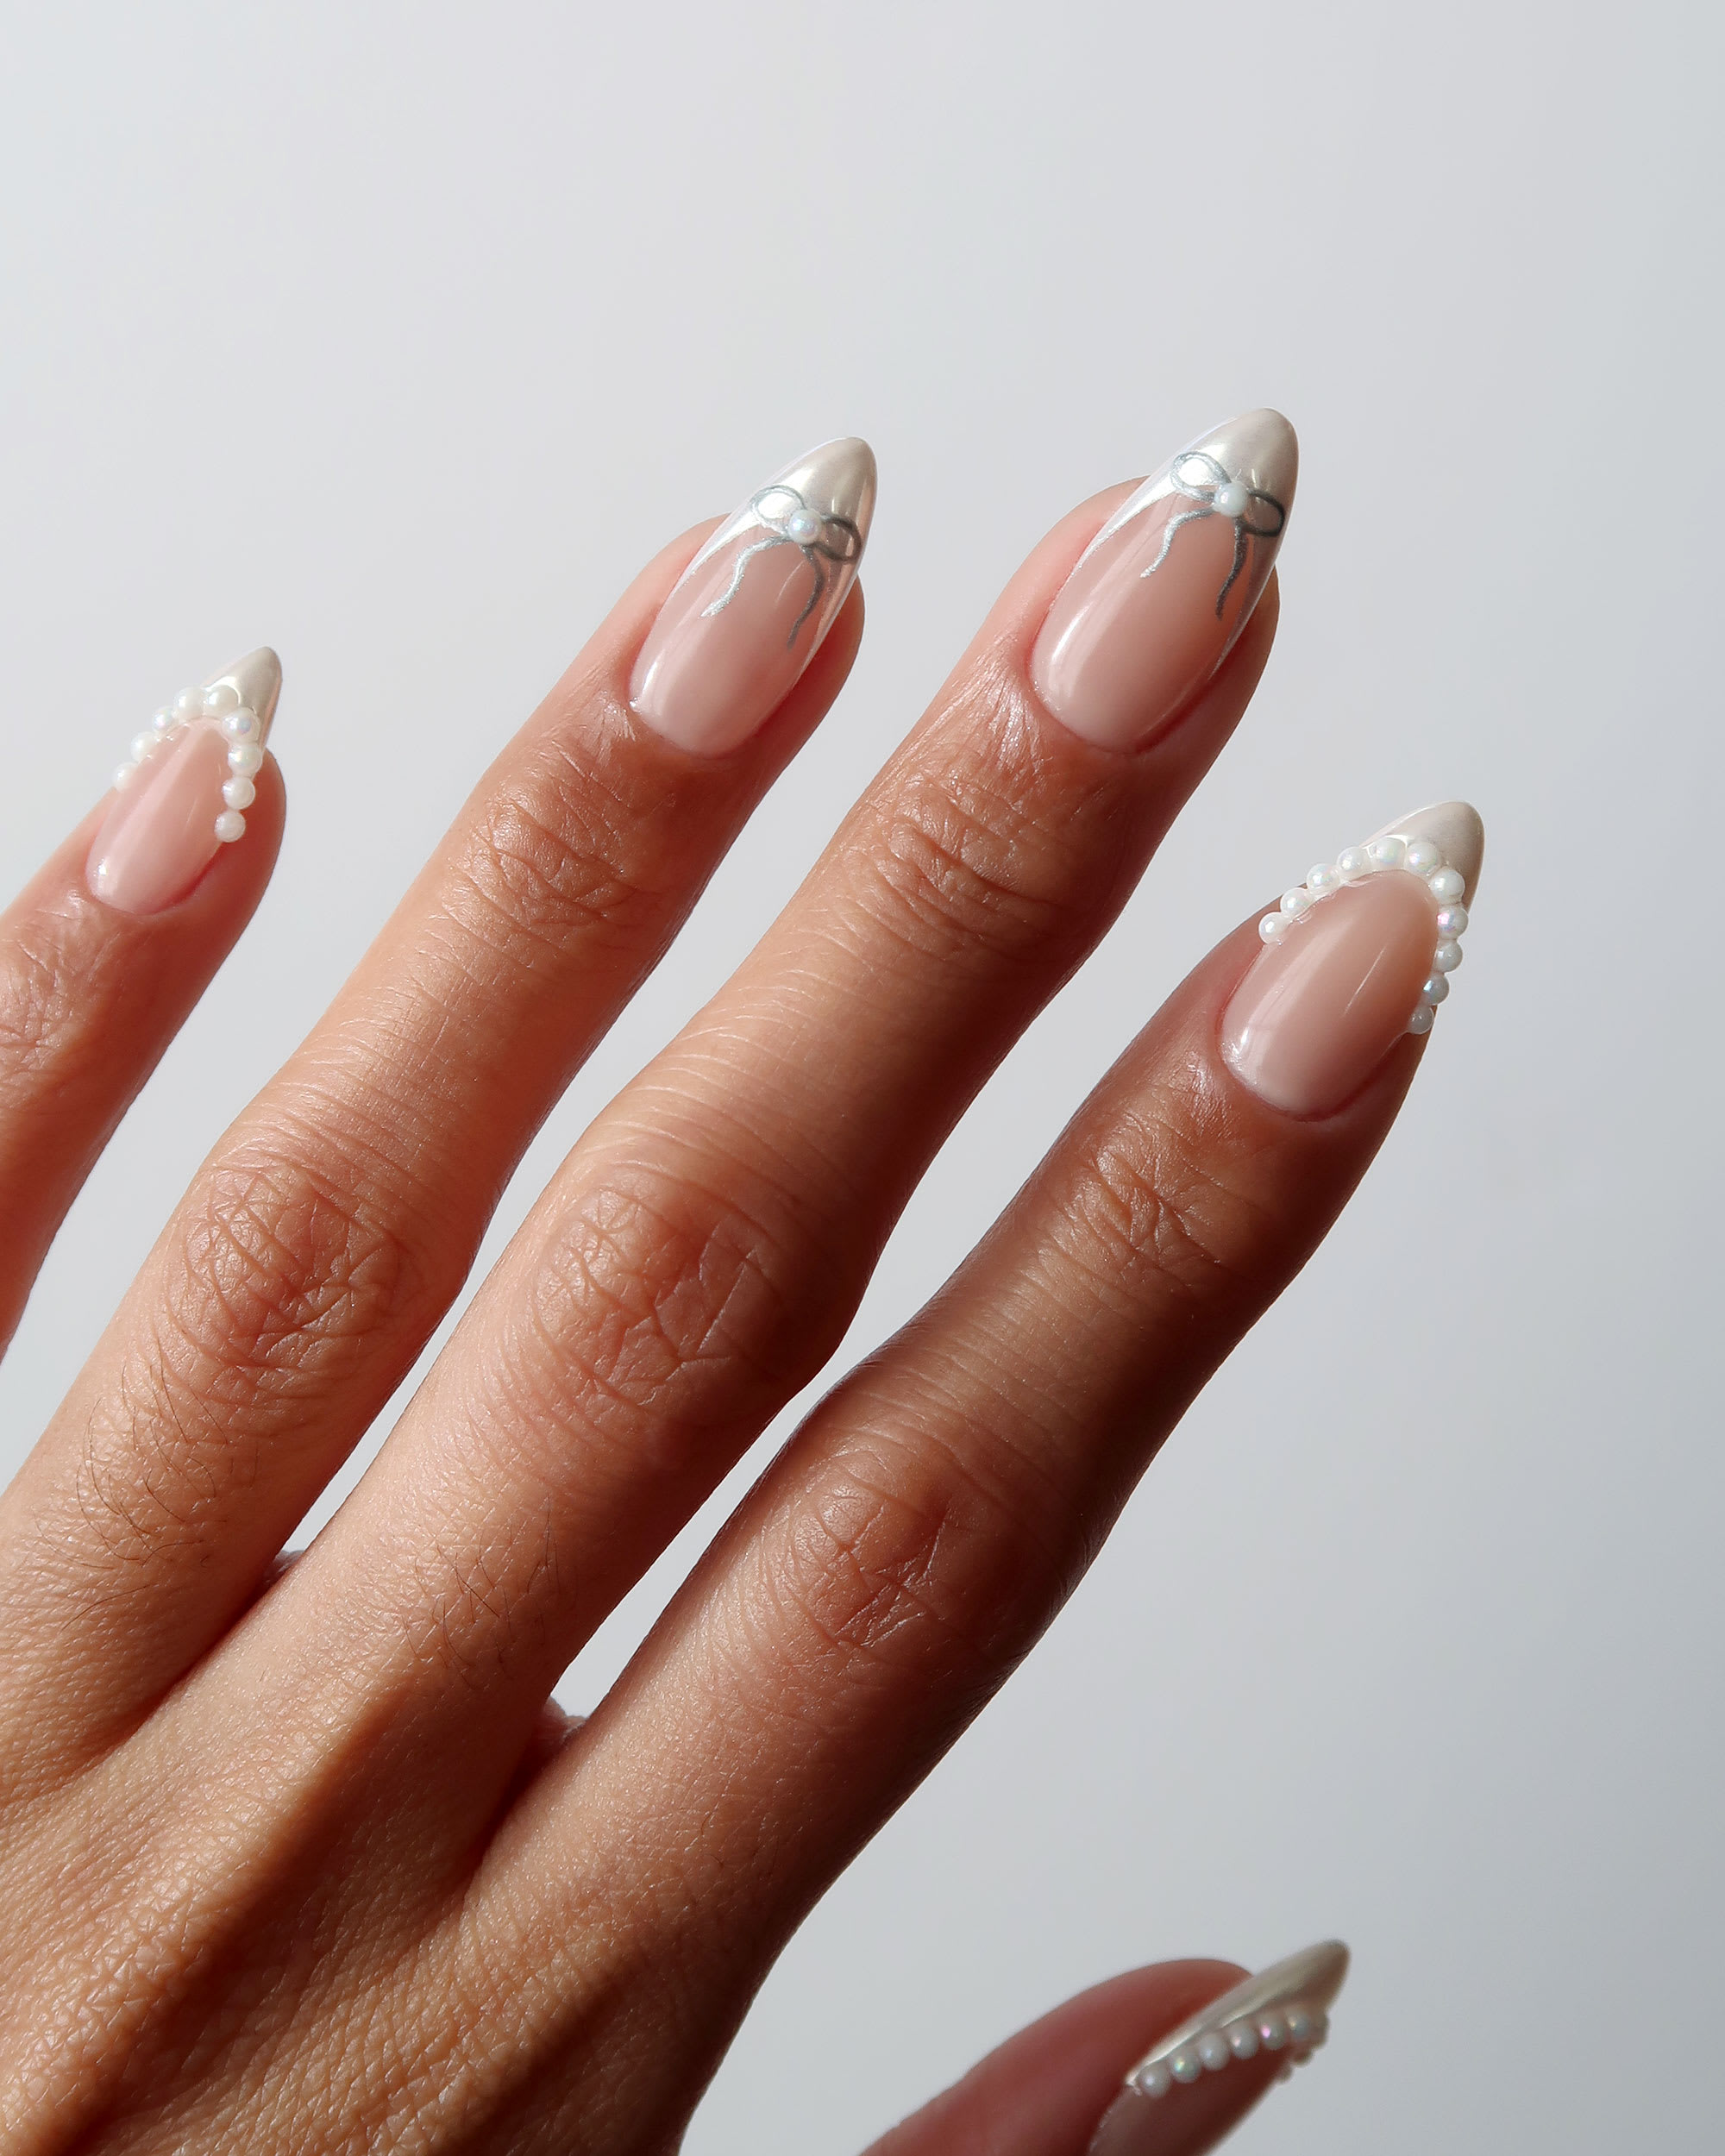
Pearl Nail Design
Shop the Look: , Dreamy Affection White Satin Tulle Bow Veil
Supplies:
- Sheer neutral gel base shade
- UV lamp (for curing)
- Matte top coat
- Ivory or off-white gel polish
- Thin nail art brush
- No-wipe top coat
- Pearl chrome powder & applicator
- Fluffy brush (to wipe away excess chrome)
- Glossy gel top coat
- Gem picker tool or tweezers
- Rhinestone glue
- Small pearls
- Silver gel polish or art paint
- Cuticle oil
Instructions:
- Prep Your Nails: Begin with thorough nail preparation, ensuring a clean base for long-lasting results. Remove dry skin, push back cuticles, and wipe the nail plate clean of residue and oils.
- Apply Sheer Base: Start with two coats of a sheer neutral gel base shade. Cure each coat under a UV lamp.
- Matte Top Coat: Apply a matte top coat to all nails and cure. This step will create the perfect canvas for the chrome to adhere to the French tip.
- French Tip Magic: Use ivory gel polish to create a French tip on each nail and cure. Then, apply a layer of no-wipe top coat to trace the French tip and cure.
- Pearlescent Powder: Using a pearlescent chrome powder, pick up a small amount with the applicator and rub it onto each French tip until fully covered. Use a fluffy brush to remove excess chrome and ensure a clean finish.
- Adorn with Pearls: Apply small pearls following the curve of the French tip on the thumb, pointer, and pinky fingers. Use rhinestone glue for a secure hold and cure after perfecting the placement.
- Bow Accents: On the middle and ring fingers, use silver gel polish or art paint to draw small bows with a thin nail art brush. Cure for a flawless finish.
- Pearl Embellishments: Place a small pearl in the center of each bow using rhinestone glue. This extra touch adds a touch of sophistication to your bow nail design.
- Glossy Finish: Seal the deal with a glossy gel top coat on all nails, ensuring to go around the pearls without covering them. Use a nail art brush for precision and cure for that extra shine.
- Final Touch: Apply cuticle oil to nourish and complete your Coquette bridal nails.
Did you try this pearl and bow nail design? Show us your Coquette nails on Instagram or TikTok @lulus using #lovelulus — and head to our Weddings Shop to complete your look!
Melanie Graves is a self-taught nail art enthusiast who creates colorful, easy DIY designs for fellow home manicurists.
This post was originally published in 2019 and has been updated with new content.
Join The Conversation (0)