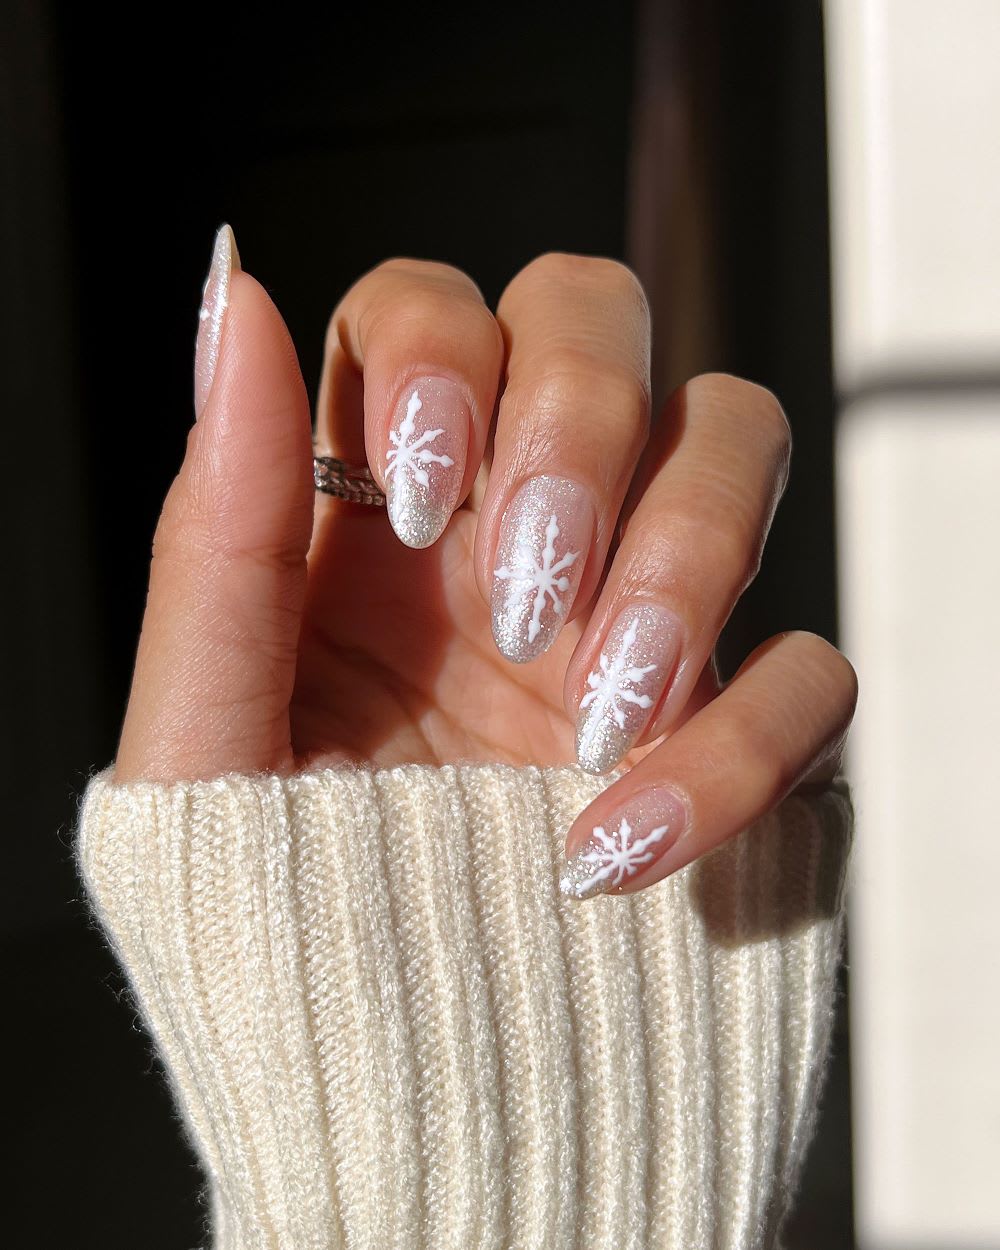
The holiday season is the perfect time to pull out all the sparkles and shimmer, and what better way to channel a winter wonderland vibe than through some sweet, easy snowflake nail art? Even if it’s not snowing where you are, you can still get that frosty look with a touch of glitter and a surprisingly easy-to-draw snowflake (promise)!
Aside from being exceptionally festive and chic at the same time, these snowflake winter nails will take you well past the Christmas holiday season. In other words, you won’t find yourself looking to scrub Santa hats or ornament motifs from your nails come January. Plus, white goes with everything! A versatile design that can take you into the new year? We love to see it.
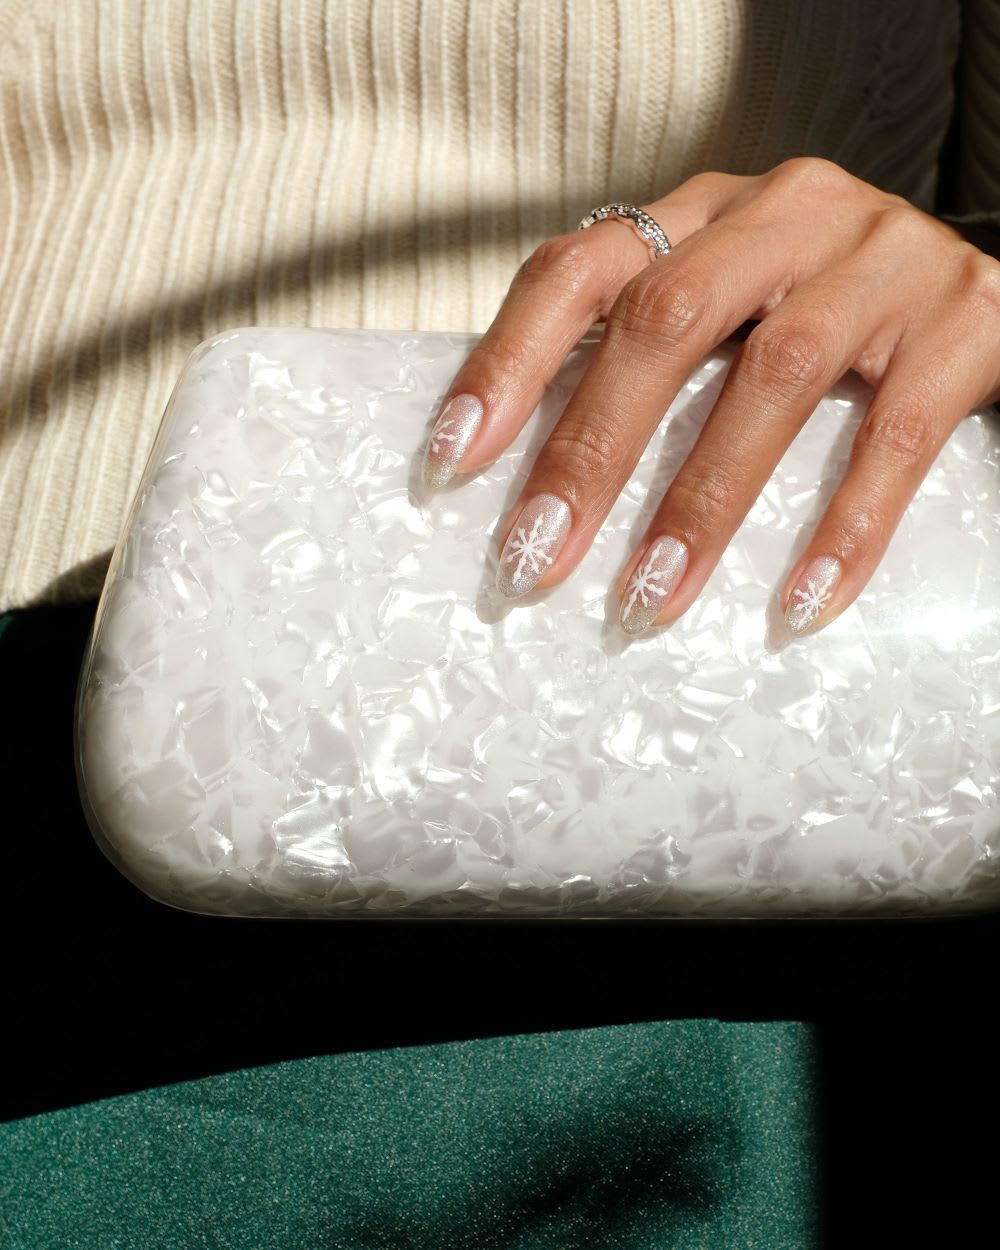
Ready to get your nails in soirée-season form? Whether you’re snowed in or heading to a holiday party, here’s how to get the look:
Snowflake Winter Nails
Supplies:
- Gel base coat
- Pearlescent white gel polish
- Iridescent glitter gel polish
- White gel polish
- Gel top coat
- Gel lamp (for curing)
- Dotting tool
- Thin liner nail art bush
Instructions:
- The first step of a long-lasting manicure is always good prep, so take the time to clean up the nail bed, push back your cuticles, and wipe the nail clean of all residue prior to starting.
- Apply 1 thin layer of base coat and cure.
- Apply 1-2 thin layers of a pearly white gel polish and cure.
- With your iridescent glitter gel polish, create a subtle glitter gradient from the middle of the nail to the tip. Make sure to wipe off excess polish from your brush, and then gently dab on the glitter from the nail center to the tip.
- Work in layers to get the gradient, laying down a more opaque layer of glitter as your reach the tip of the nail. Cure between each layer.
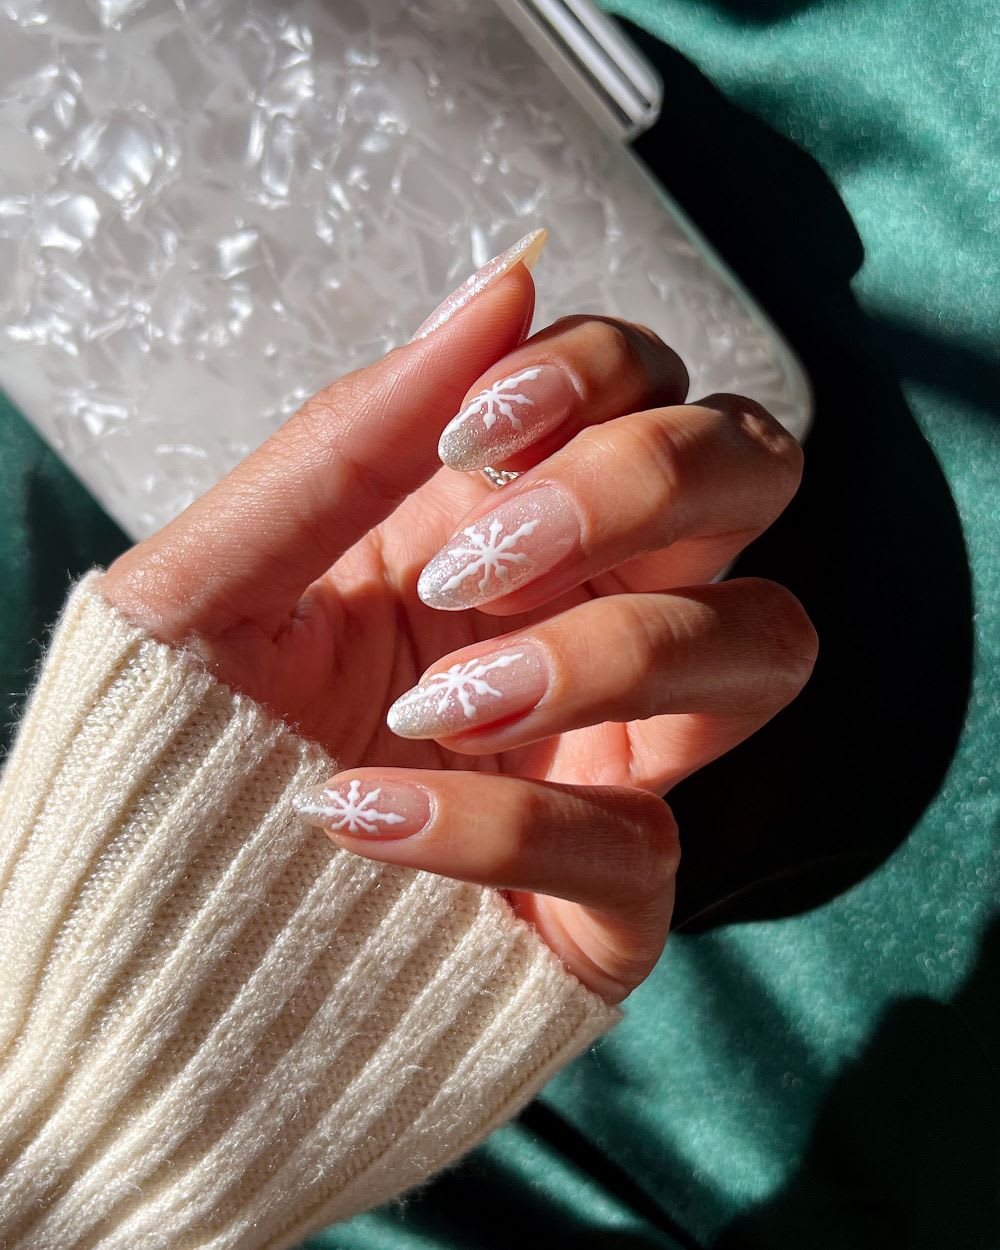
- Grab your dotting tool and your white gel polish. Dipping your dotting tool into a small amount of the white, place your center dot where you want the center of the snowflake.
- Moving vertically, place two dots above the center dot, and two dots below.
- Horizontally, place two dots to the left and right of the center dot.
- Place 4 single dots in between each of those “lines” you just placed. Don’t cure yet.
- Taking your liner brush, pull a thin line from the center line upwards and downwards, to the left and right, and diagonally. You should have eight lines total. Once you have your snowflake, cure.
- Repeat these steps on each nail, or this could be your accent nail!
- Top with a gel top coat for a glossy finish, and cure.
- Finish with cuticle oil!
Did you try this winter design? Show us your white snowflake nails on Instagram or TikTok @lulus using #lovelulus and score festive looks for Christmas, Chanukah, New Year’s Eve and more in our Holiday Shop!
Melanie Graves is a self-taught nail art enthusiast who creates colorful, easy DIY designs for the fellow home manicurist.
This post was originally published in September 2023.
Join The Conversation (0)