
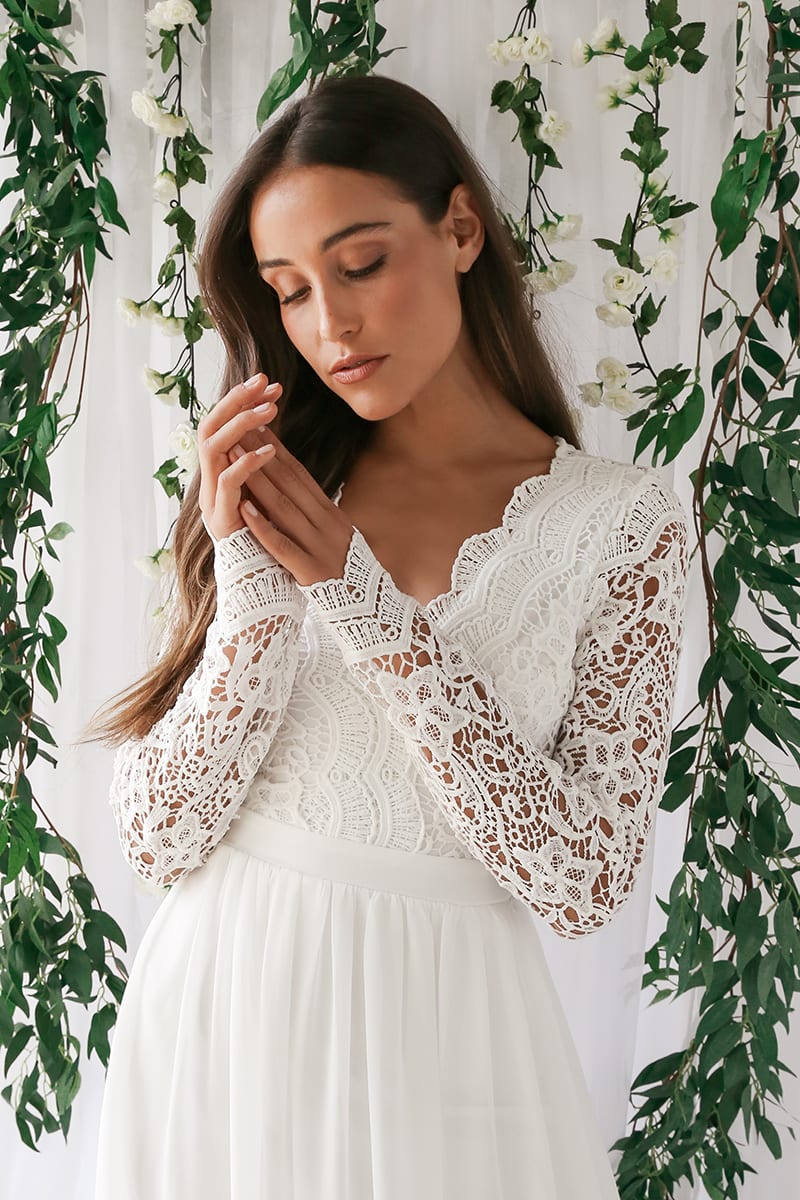
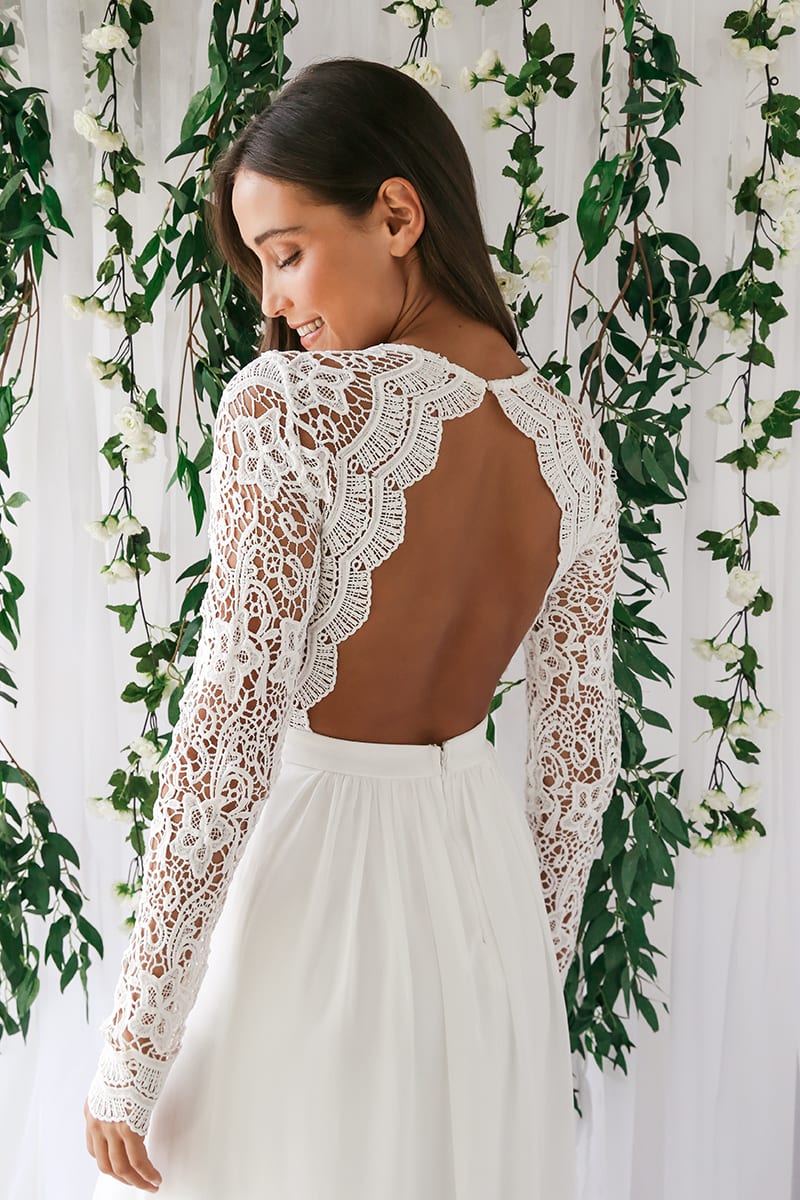
A party’s just not a party these days without a chic photo backdrop. Whether you’re planning a wedding, bridal shower, rehearsal dinner, birthday, or graduation party, you’re going to want pics to remember the occasion, so why not give guests a stylish designated setting for snapping photos? An inviting, festive photo background is a guaranteed way to get the best possible snapshots from your big event–plus it keeps people entertained and injects some personality into your party. Don’t have the budget for a party planner or set designer? No worries. We’ve come up with three ultra-stylish DIY photo backdrops you can easily execute on your own. From romantic to modern to downright celebratory, these party backdrop ideas are simple to create and totally Pinterest-worthy. Scroll on for inspiration and instructions ahead–and get ready to party.
Floral + Greenery Backdrop
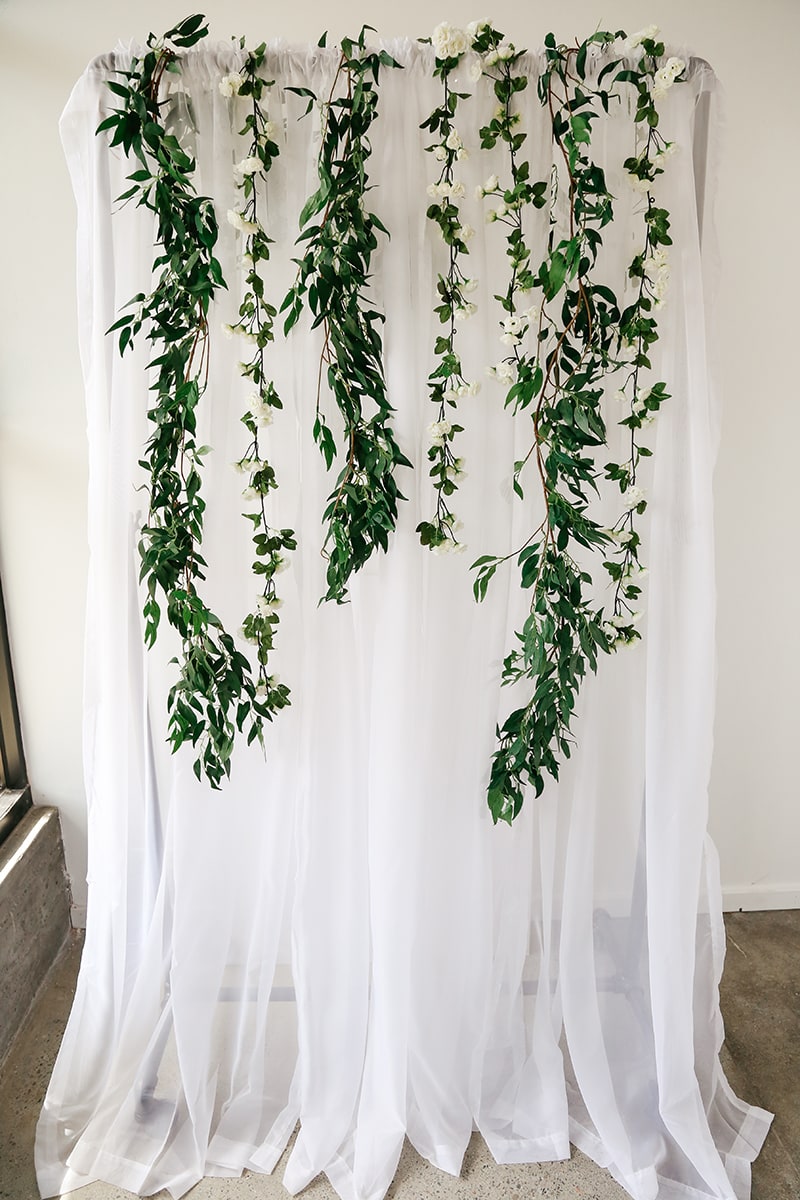
- Clothing rack
- Sheer white curtains
- Faux greenery garland
- Faux flower garlands
- Clothespins
Directions:
- Hang curtains on the rod of the clothing rack like you would a curtain rod, bunching them evenly to create a full draped effect.
- Alternating each type of greenery, drape garland over the rod and secure in the back with clothespins.
Geometric Washi Tape Wall
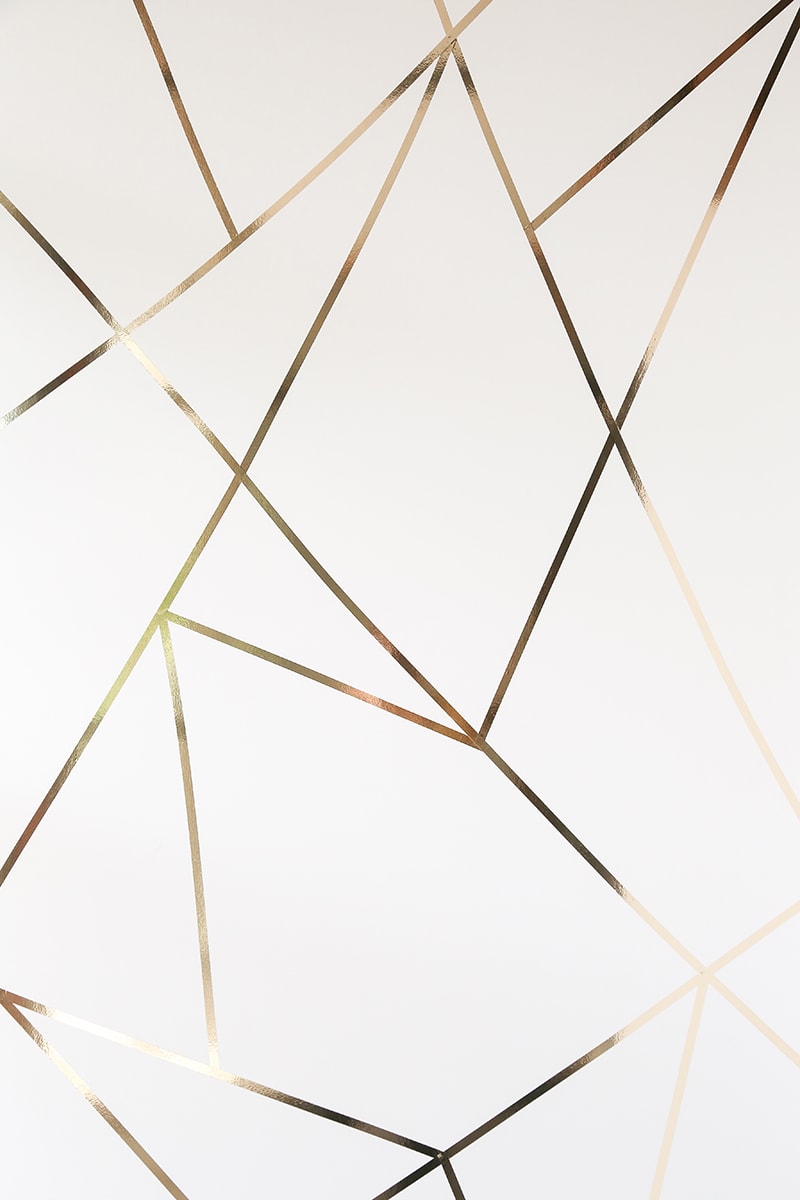


If you’re on the hunt for a stylish party backdrop idea that’s cool girl-approved, look no further than this simple, chic design. Using just metallic gold tape on a clean white board, we’ve created a minimalist glam background that’s perfect for virtually any occasion.
Supplies:
- Large white foam core board
- Gold washi tape
Directions:
- Start by creating a large asymmetrical X shape in the center of the foam core board with two pieces of washi tape.
- Add various lines of washi tape off of the X to create a unique geometric design.
Metallic Fringe Backdrop
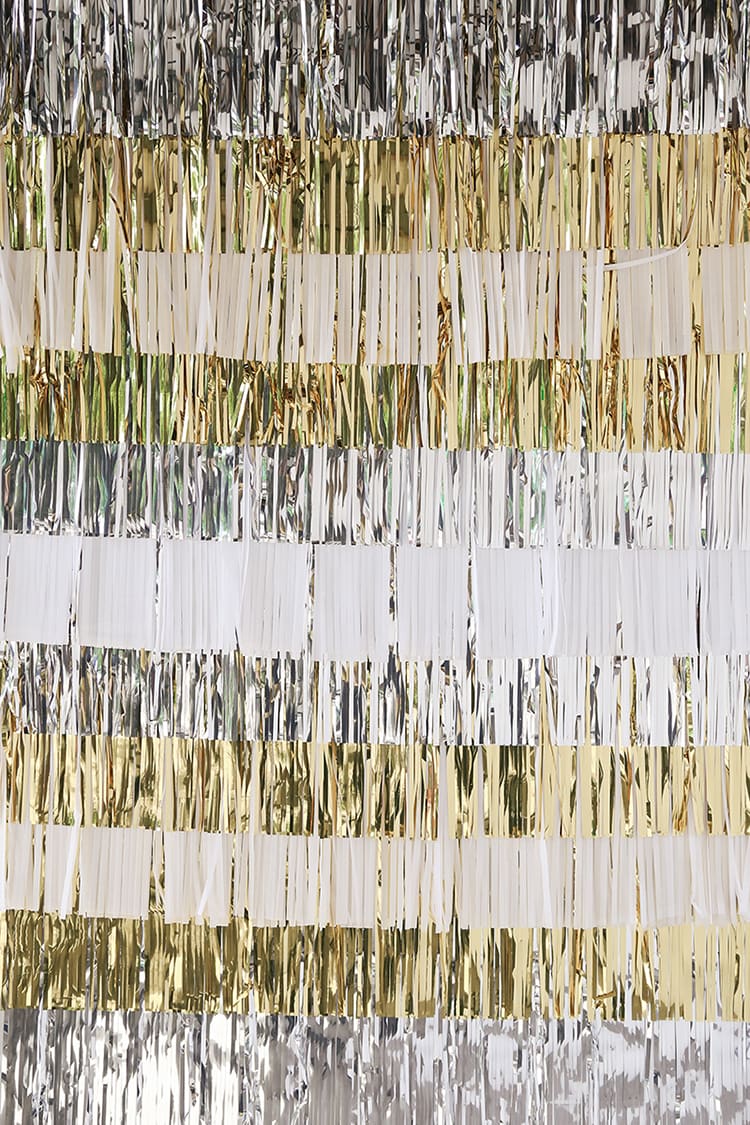
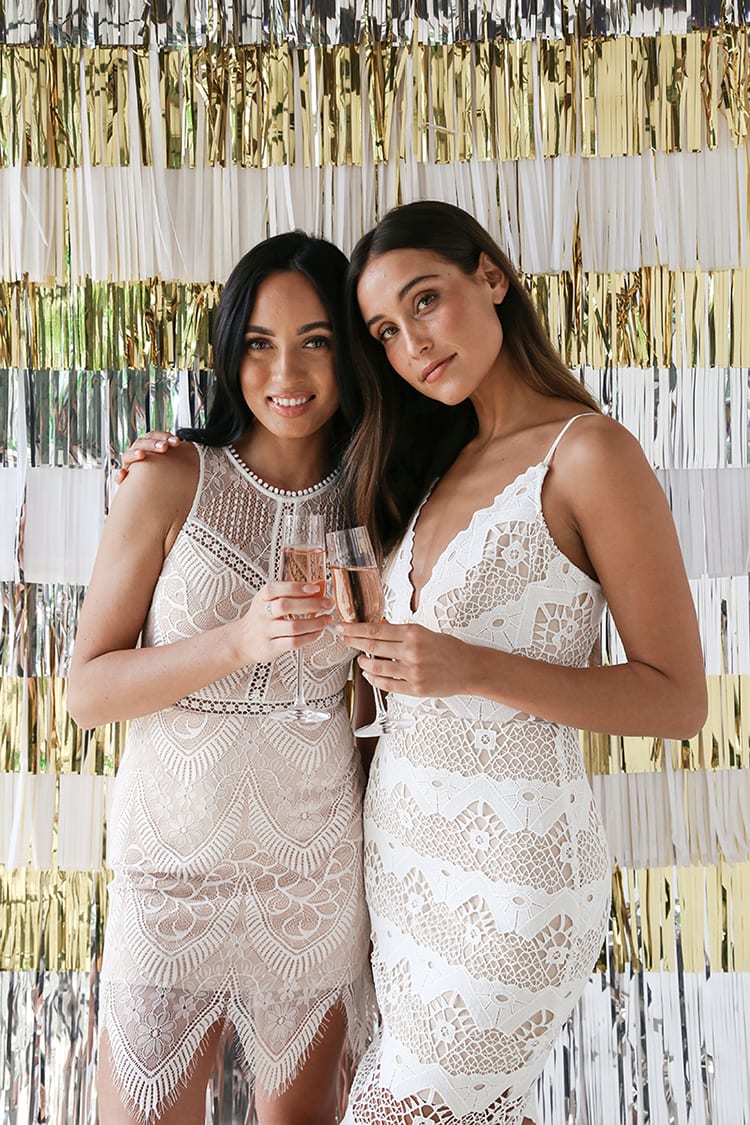

Nothing says celebrate like high-shine metallic decor. Set the mood with a festive fringe photo backdrop that will have guests instantly shifting into party mode.
Supplies:
Directions:
- Cut four pieces of each color garland to approximately four inches wider than the foam core board
- Starting at the bottom, wrap a piece of the fringe garland around the foam core board. Place two pieces of tape on each end of the garland on the backside of the foam core board.
- Layer next piece of fringe garland approximately 7″ above the last and repeat the last step in various colors until you have reached the top of the board.
Join The Conversation (0)