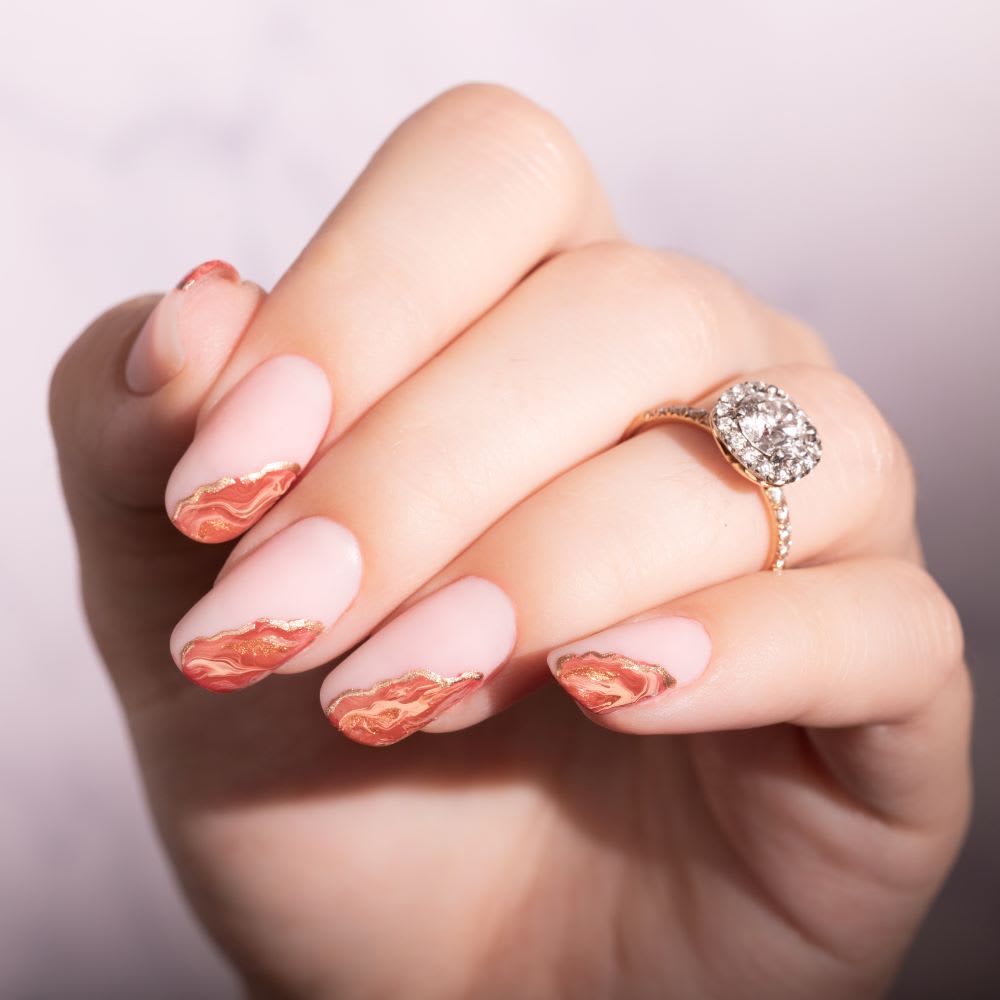
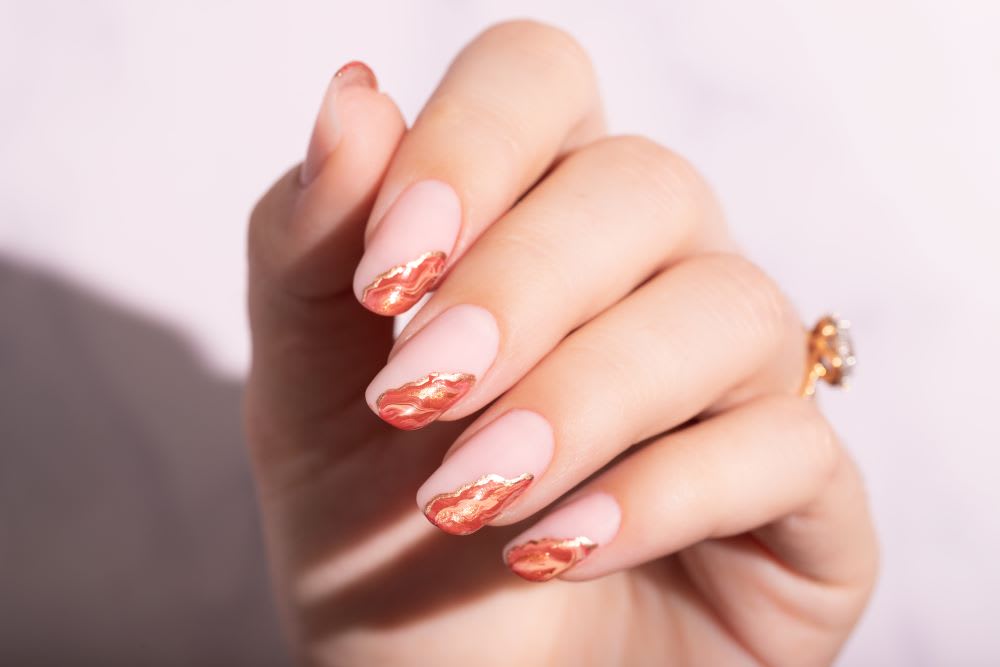
If earthy tones and deep, gorgeous shades of orange are part of your fall wedding palette, geode nails could be just the right accent to fit your bohemian theme. Try out this agate-inspired look on the tips of your nails to match the rustic, untamed-wilderness vibes of your wedding. Think changing leaves, misty mornings, and romantic autumn ceremonies.
A hint of gold accents takes these geode nails from boho to bridal. Add as many golden touches as you desire to the edge of the geode design to make this look even more elegant and sparkly. It’s the perfect mani to celebrate a gemstone-loving bride on her big day! To see how to DIY the design, scroll on.
Geode Nails
Supplies:
- Sheer base coat (I used Butter London Nail Foundation)
- Fall nail polish shades (Rust, Orange, Taupe, Copper–any fall shades that are custom to your preferred palette)
- Toothpick or thin dotting tool
- Fan brush
- Thin or small brush for nail art
- Acetone for brush clean up
Instructions:
Step 1: Paint clean, filed nails with one coat of your favorite sheer base coat. Let dry for five minutes, then paint another coat if you want to add opacity.
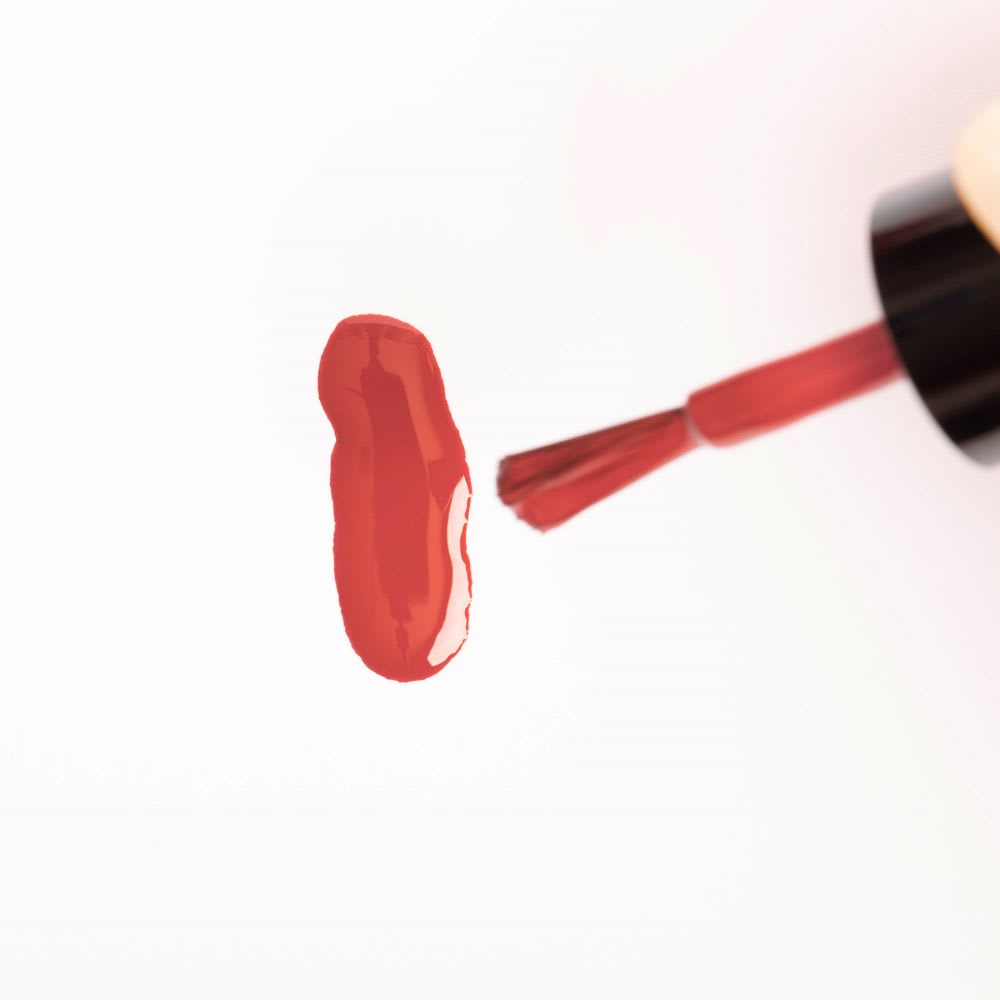
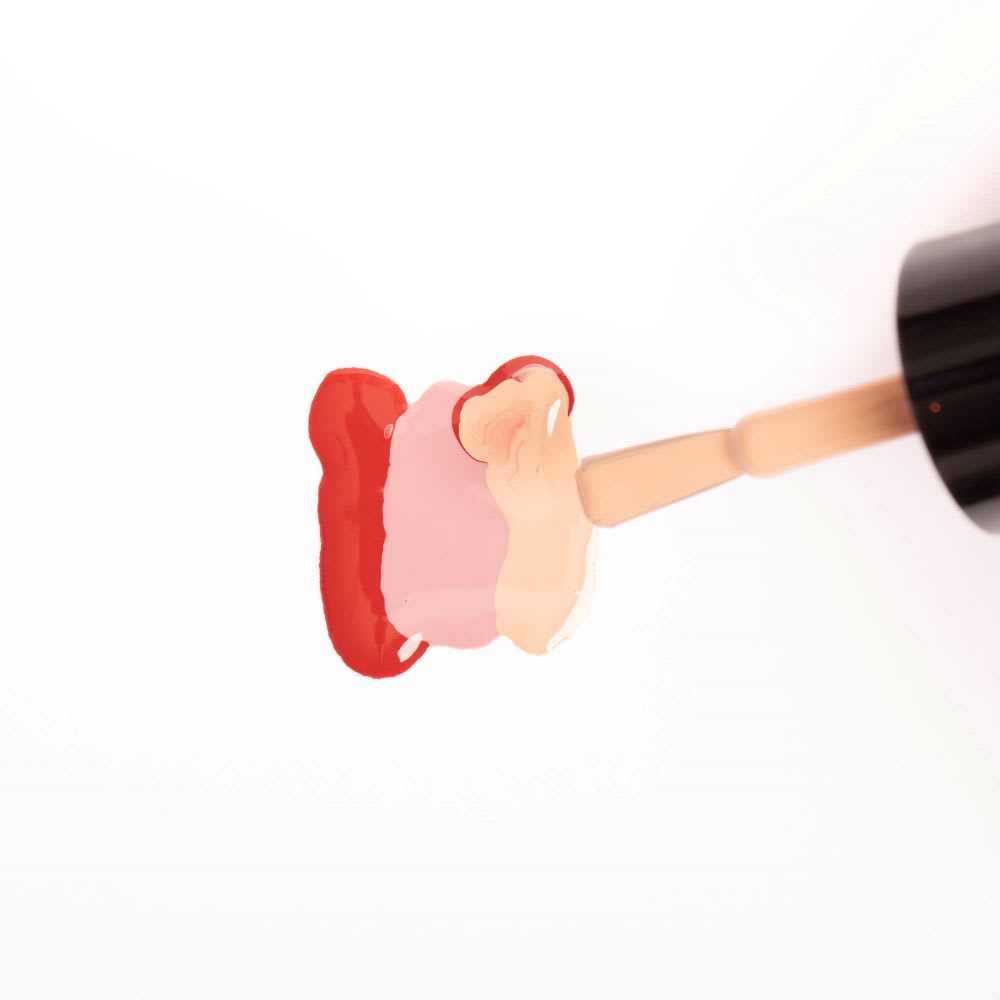
Step 2: Decide on your desired color palette! Then, use the polish bottle brush from the first color to lay down a ‘blob’ of the lacquer in a thick line as shown in the photo.
Step 3: Repeat this step with up to three or four more colors. I added blobs of
pink, peachy beige, and copper to my first burnt orange/red shade.
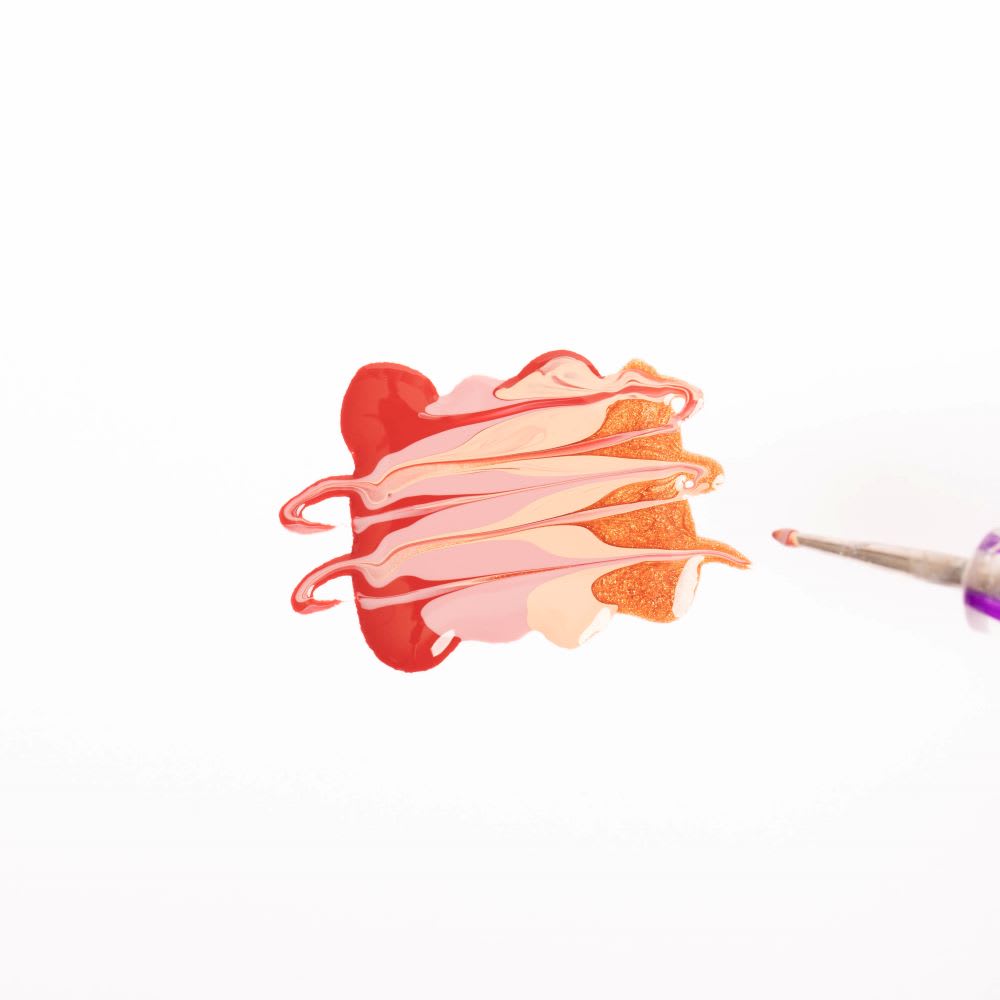
Step 4: While your palette is still wet, take a toothpick or skinny dotting tool and blend the colors as shown, quickly swiping through the polish in an ‘S’ curve, squiggling back and forth. (This is the same method for marbling brownies or cake batter!)
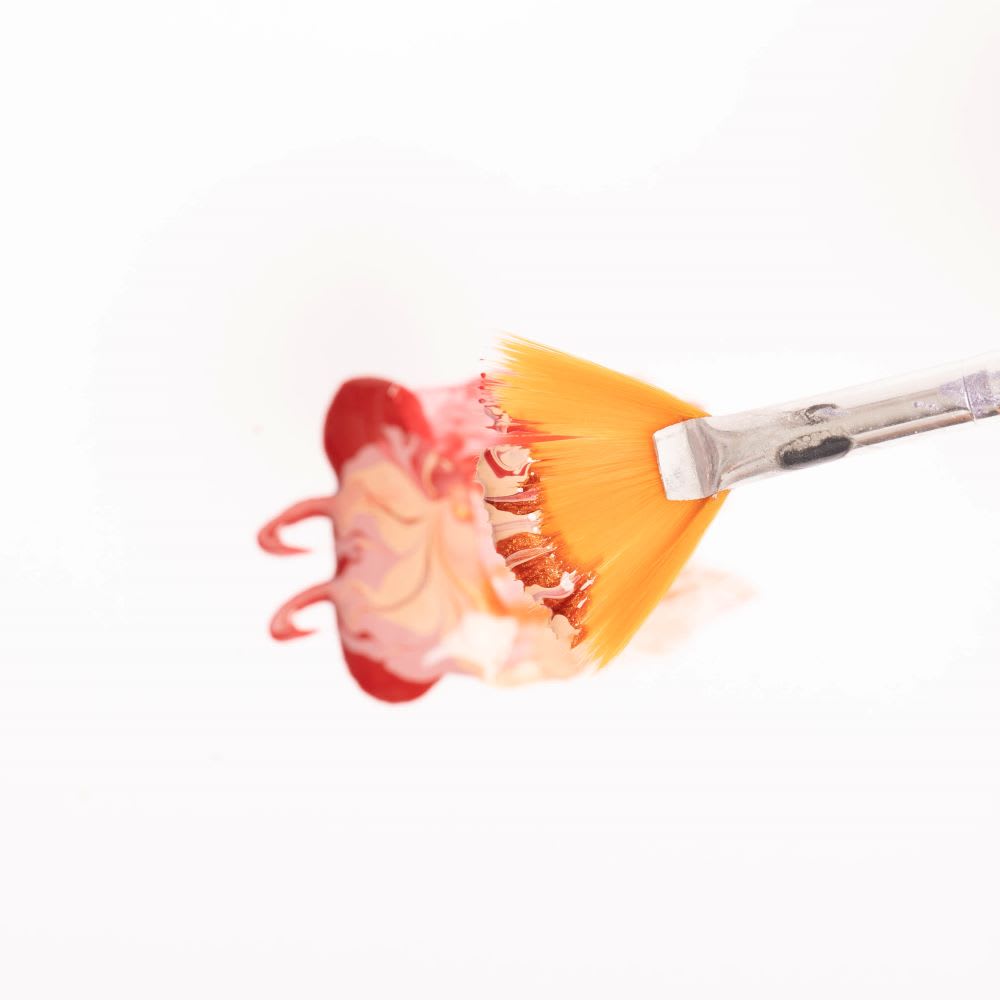
Step 5: Quickly pick up a section of the wet swirled polish, using the fan brush in a shoveling motion. You want the swirled polish to be on top of the brush, facing you, as shown in the photo.
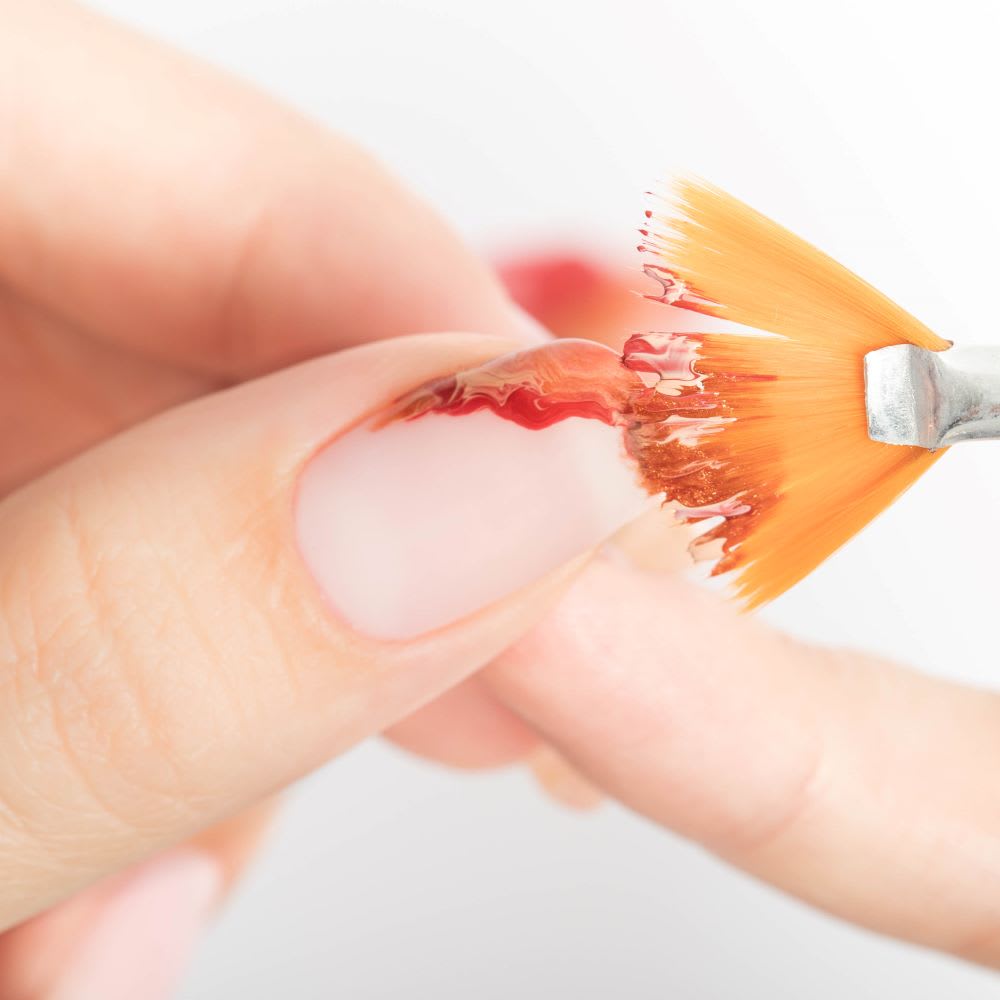
Step 6: Lay the swirled polish on your first nail, in the top left corner, by gently dragging the fan brush across the corner of the nail. This might take a couple of practice tries, so you can try this method on paper or a piece of foil first to get the hang of it. You will need to re-scoop a section of the swirled polish for application on each nail, and you can clean the fan brush between each nail by gently dipping it in a small glass of acetone. Wipe the brush on a paper towel to dry it.
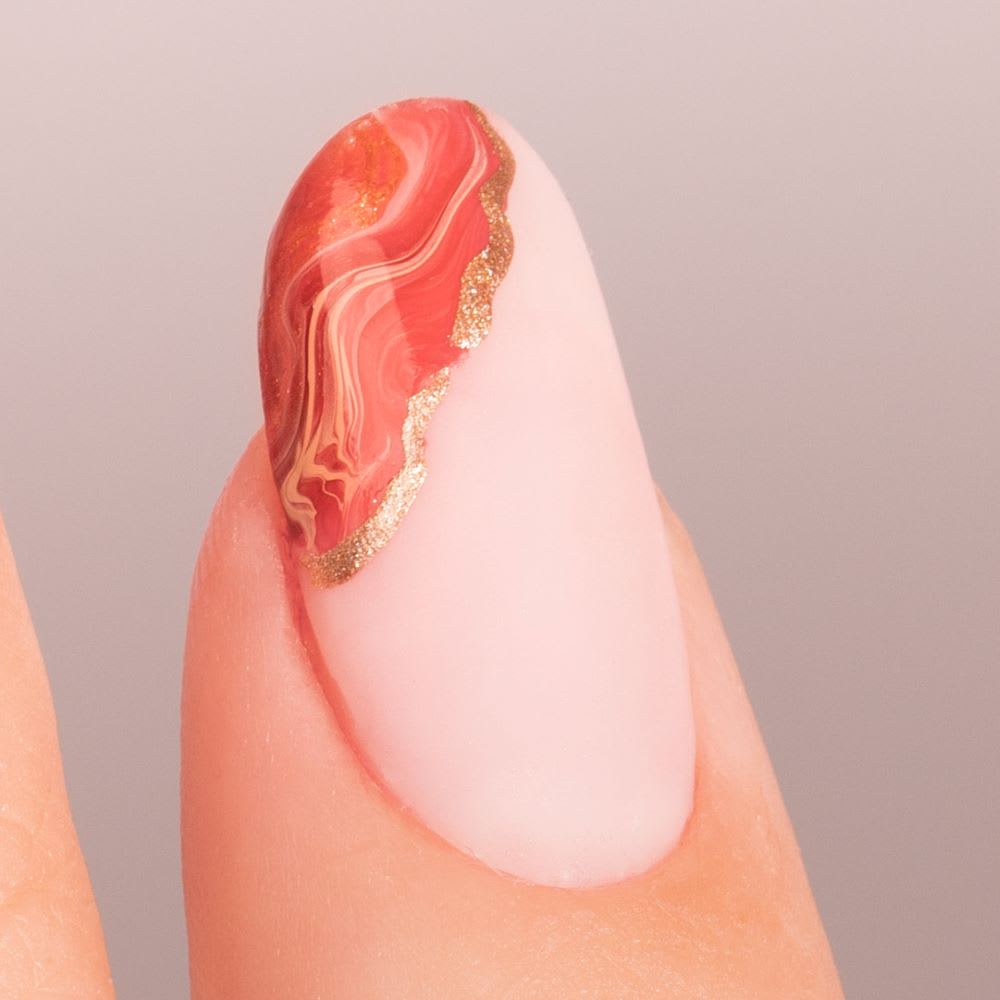
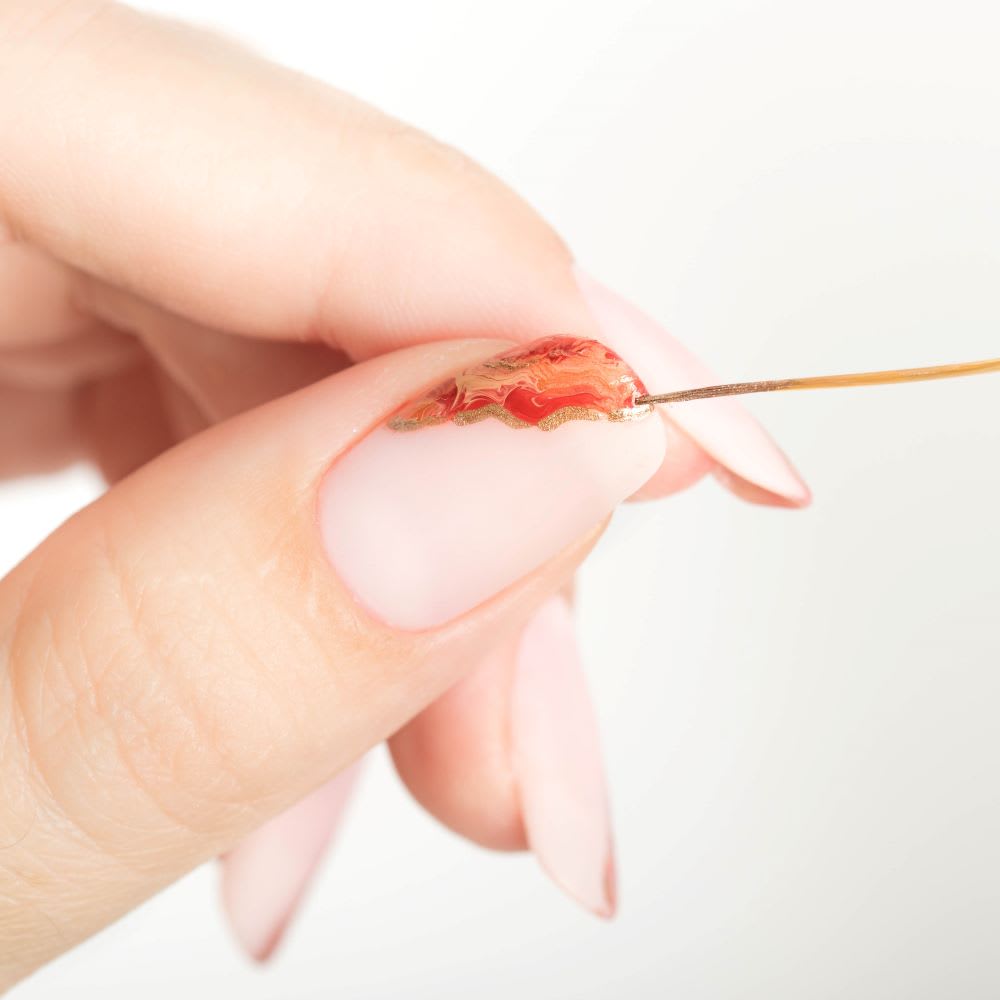
Step 7: Once you are happy with your marbleized polish application, take a thin nail art brush and use a copper or gold polish to outline the edges of your geode design. You can add small touches of copper or gold throughout the marbleization to make it further stand out, as shown in the photos. Finish with a glossy top coat and seal your nail art design!
Did you try this crystal-inspired mani? Show us your geode nails on Instagram @Lulus using #lovelulus! For more seasonal styles, shop our Fall Fashion selection!
Join The Conversation (0)