Even if you’ve never seen an episode of HBO’s Euphoria, chances are you’ve seen its influence on fashion and beauty. The Euphoria inspiration is virtually endless–and that includes the incredible nail designs created by Natalie Minerva for the show. From gingham french tips to rhinestone embellishments to graphic lines, her bold looks put the ‘art’ in nail art!
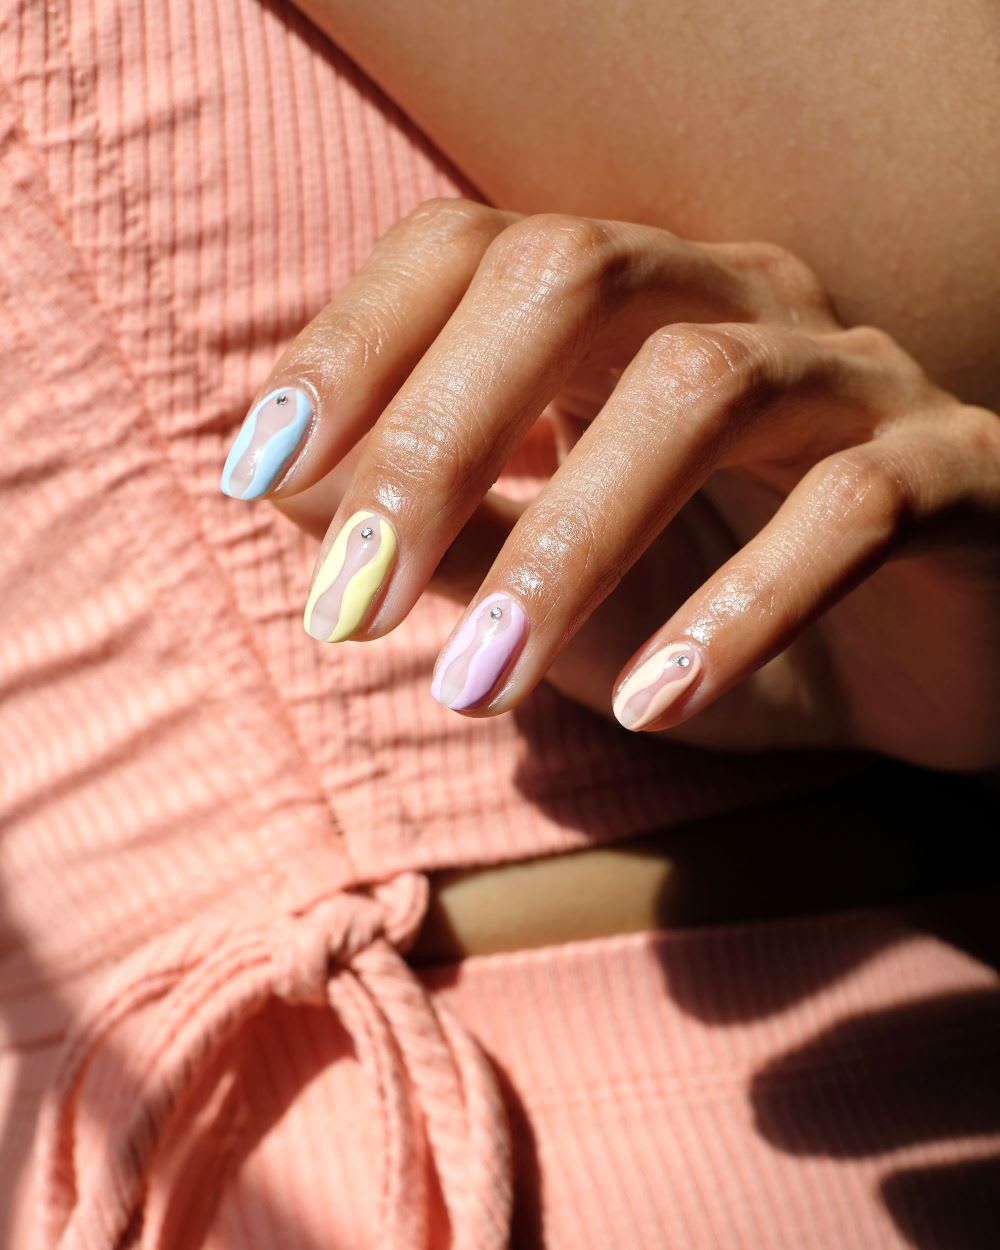
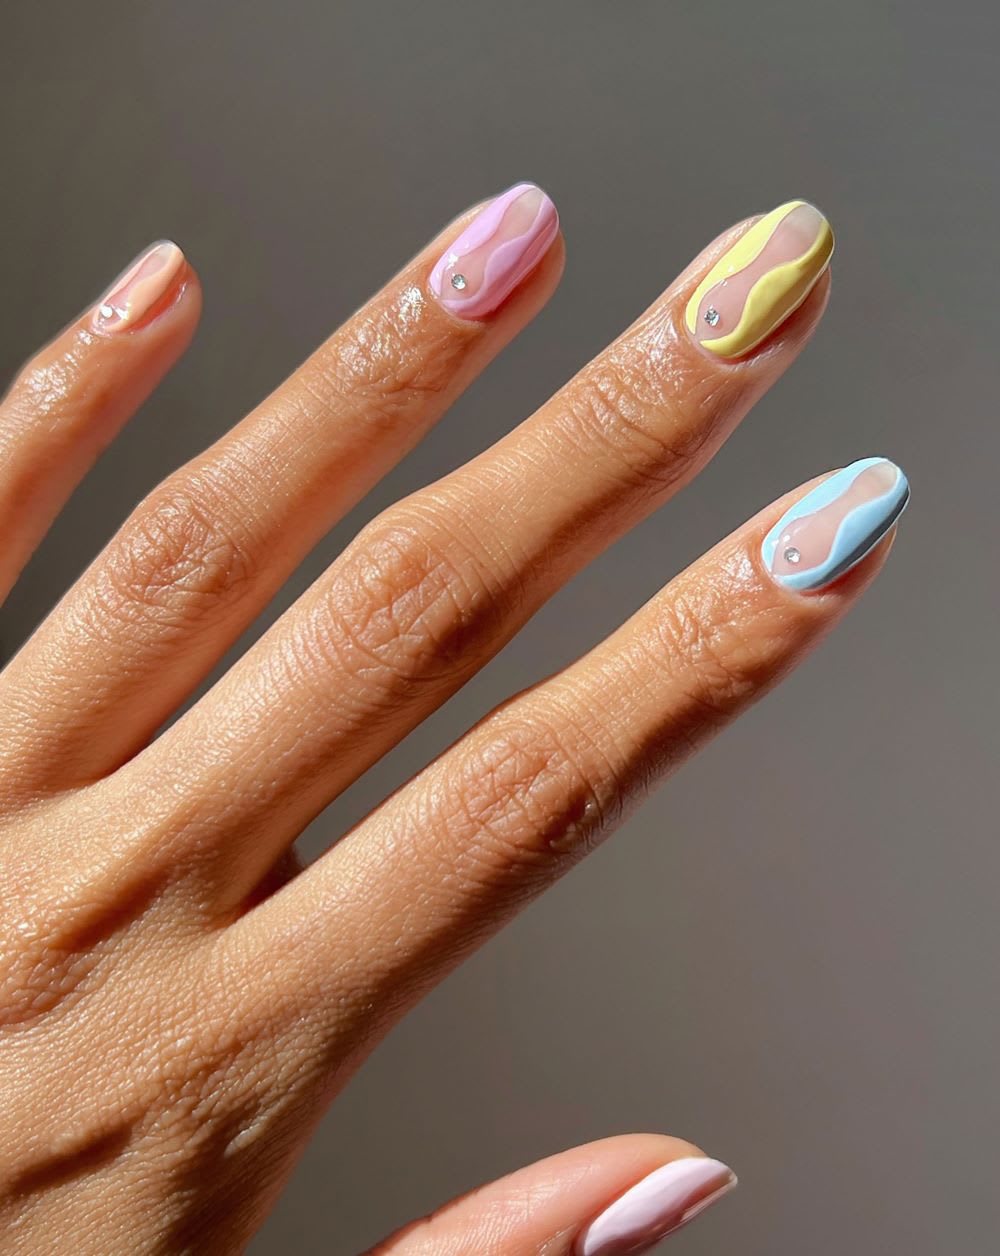
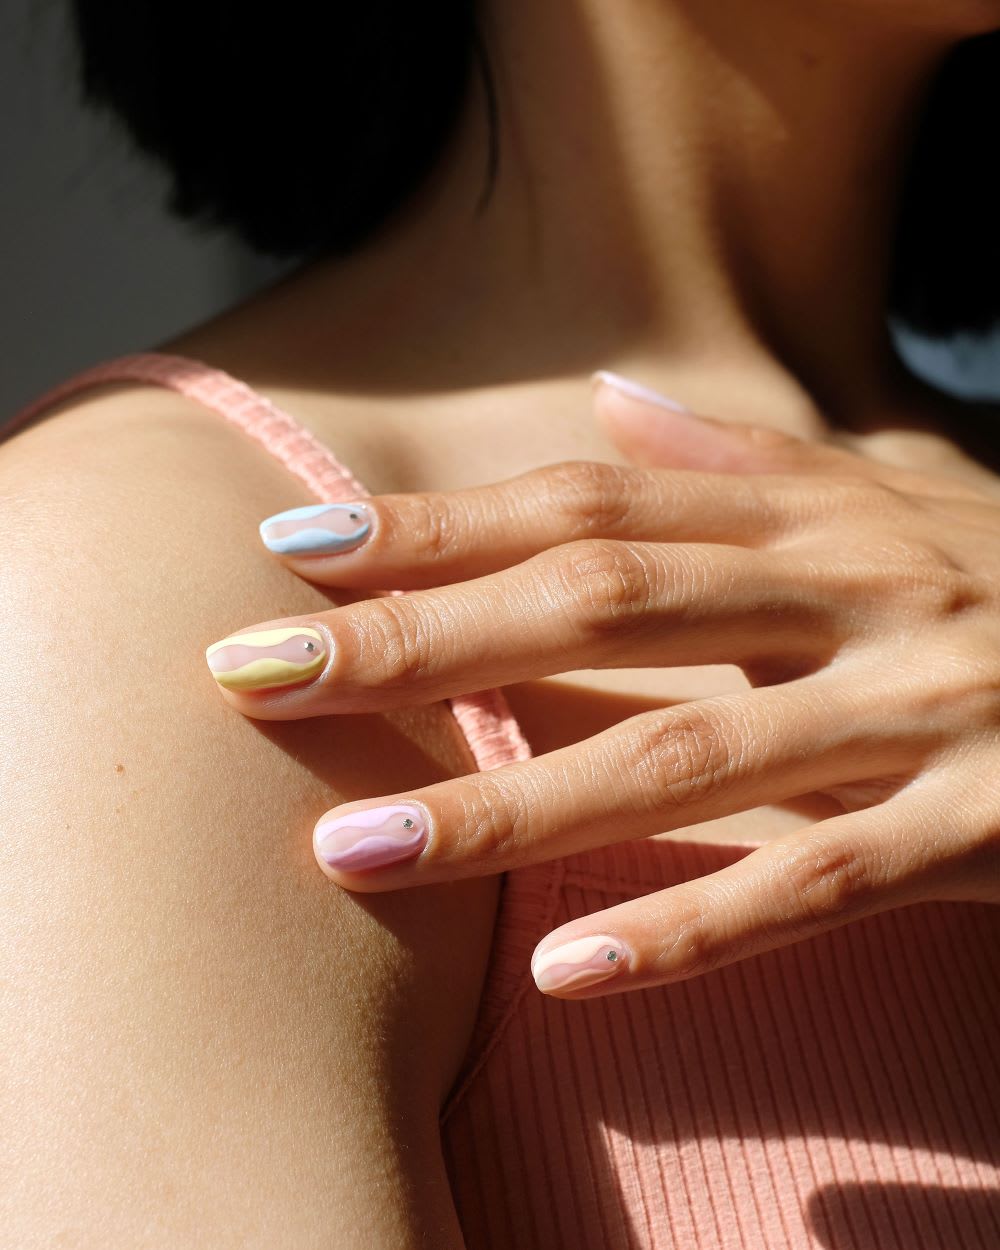
The show’s season might be over for now, but Euphoria manis are perfect for any time. Inspired by one of Maddy’s iconic sets, I created my own curvy nail design. I added a bit of pastel and some sparkle to bring her look into summer–then I paired it with a Y2K-inspired two-piece set, of course.
Scroll on to see exactly what you’ll need to create this look at home!
Pastel Euphoria Nails
Supplies:
- Base coat
- Sheer neutral nail polish
- Nail art brush
- Assortment of pastel shades (here I used pastel pink, blue, yellow, purple & peach)
- Glossy top coat
- Small rhinestones
- Rhinestone picker/tweezers
Instructions:
Step 1: Nail prep is key so you have a good base for your nail art–and your manicure will last much longer! Be sure to shape and file your nails, push back your cuticles, then clean off your nails with a bit of acetone on a cotton pad (so the polish can adhere well).
Step 2: Apply one thin layer of base coat.
Step 3: Apply two layers of your sheer neutral polish.
Step 4: With your first pastel color, dot a small blob on your polish palette and run your nail art brush through the color a few times. This will ensure the brush is coated in color while also lessening any large blobs on the brush (so you can draw a clean line).
Step 5: At the bottom of your first nail, draw a squiggly line that starts near the center of the nail, dips inward, comes back out, and dips back in again. It’s okay if your line isn’t perfect at first–you can go back in and adjust the hourglass shape, but the first sketch will help guide you.
Step 6: Fill in the squiggle shape from the line to the side of your nail. You can do this with the nail art brush or the nail polish brush.
Step 7: Be sure to periodically clean off the nail art brush and dip it back into a fresh blob of polish. This ensures the consistency doesn’t get too thick or clumpy and makes for a smoother application.
Step 8: Mirror the same hourglass shape on the opposite side of the nail.
Step 9: Repeat these steps on all nails, using a different pastel shade on each one.
Step 10: Working one nail at a time, apply a clear top coat.
Step 11: While the top coat is still sticky, use tweezers or a rhinestone picker to apply a rhinestone to the bottom center of the nail. You can also adhere the rhinestones with nail glue: Just dot some on where you’d like to place the rhinestone, and then apply the rhinestone.
Step 12: Finish with cuticle oil!
Did you try this tutorial? Show us your Euphoria-inspired mani on Instagram @lulus using #lovelulus–and head to our Summer Fashion Shop for looks to wear with your nail art!
Melanie Graves is a self-taught nail art enthusiast who loves to create colorful, easy DIY designs for the fellow home manicurist.
Join The Conversation (0)