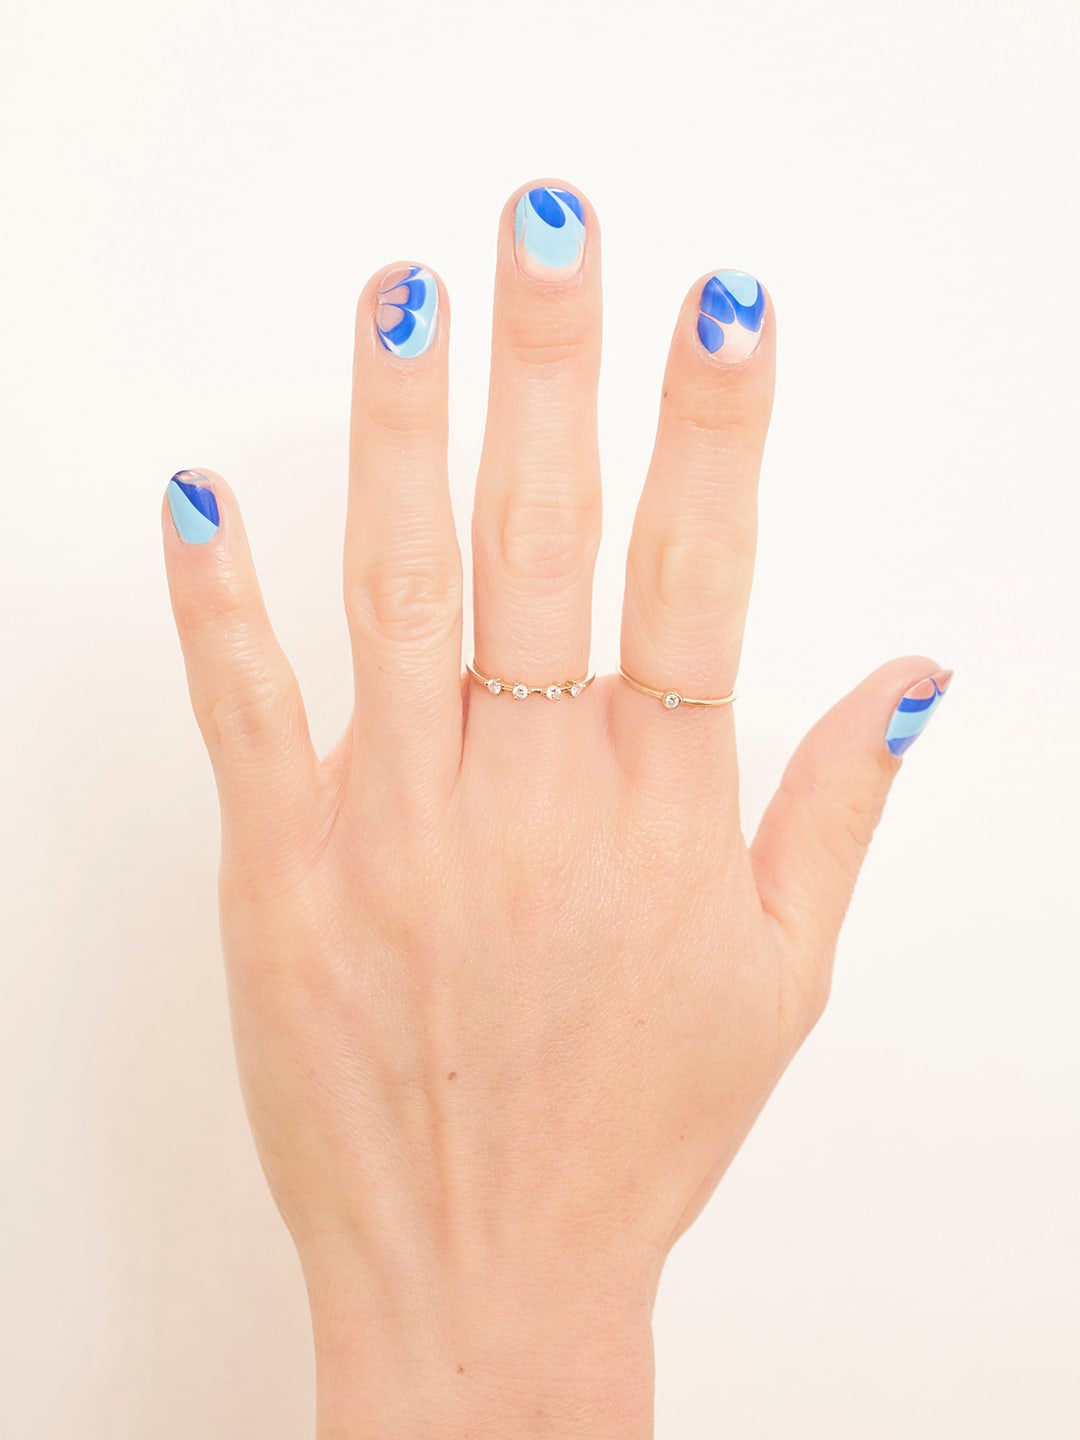
A fresh mani is one of our favorite ways to feel glam. With many areas of the country still sheltering in place, visiting your local nail salon may be out of the question for some time. Still want to achieve a fun and creative nail look? Of course you do! We teamed up with one of our favorite friends, editorial manicurist
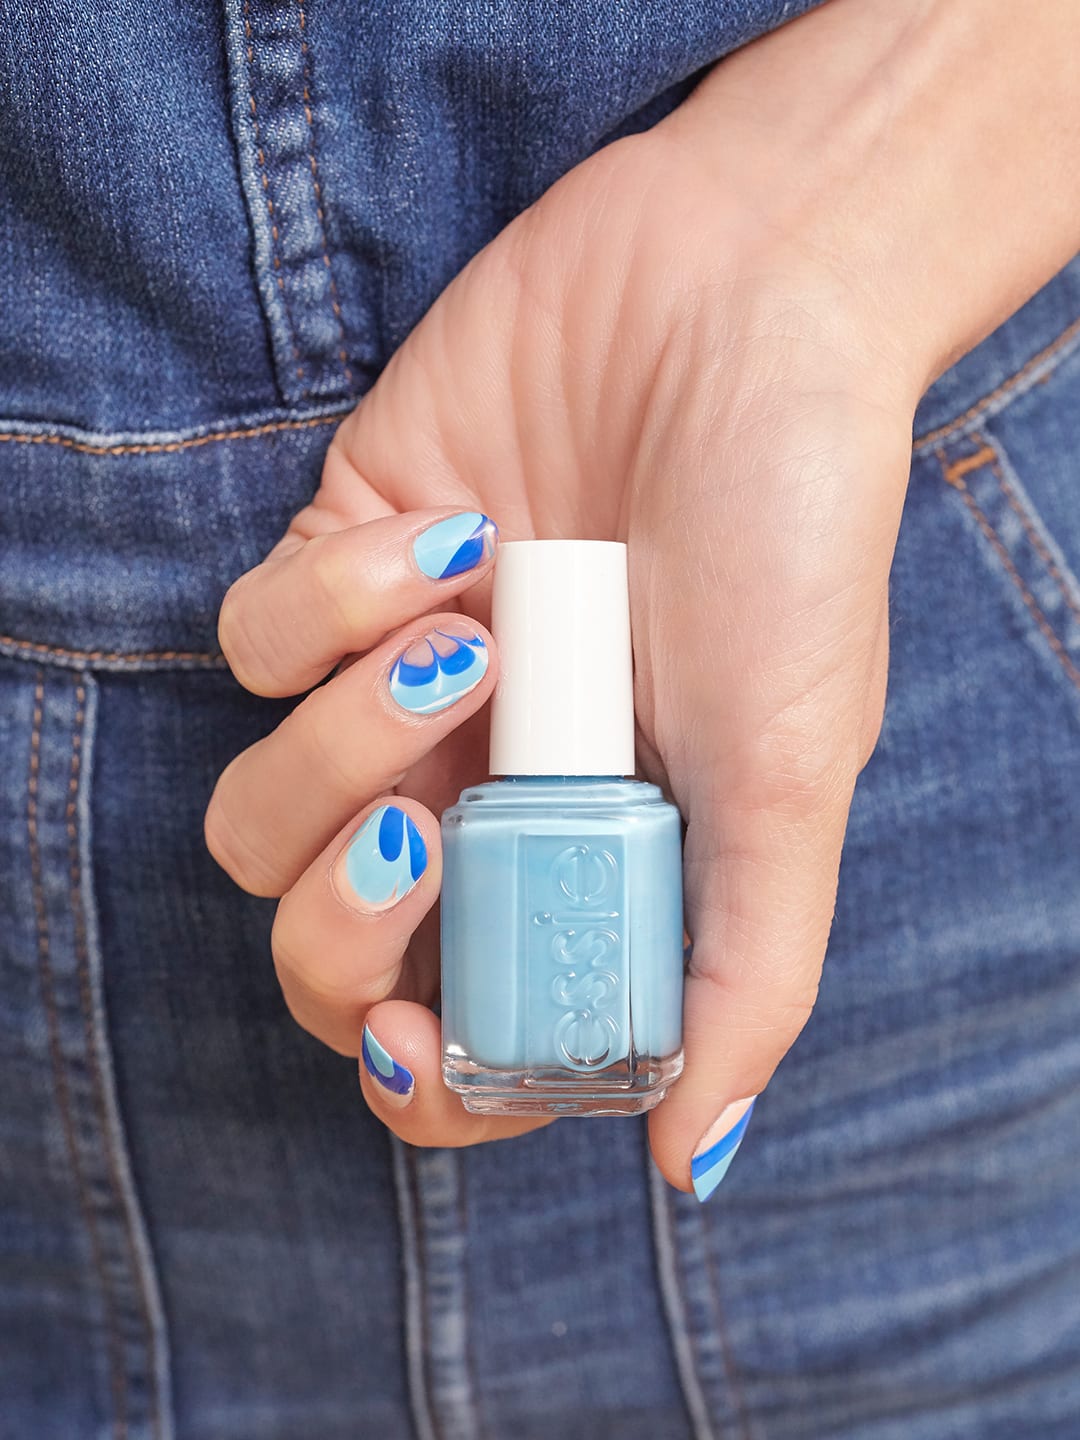
Steph Stone, to create a super special nail art look that any of us can do at home! It looks so much more complicated than it is, so be sure to read on for the how-to on this awesome nail art and check out the video at the end of the post for more!
Materials Needed:
– White Polish
– 3 different color polish of your choice. Keep in mind they can be similar but different enough to see contrast
– Top Coat
– Scotch Tape
– Toothpicks
– Bowl of warm water
– Paper Towels or cotton swabs
– Tiny Concealer brush for clean up
– Nail polish remover for clean up
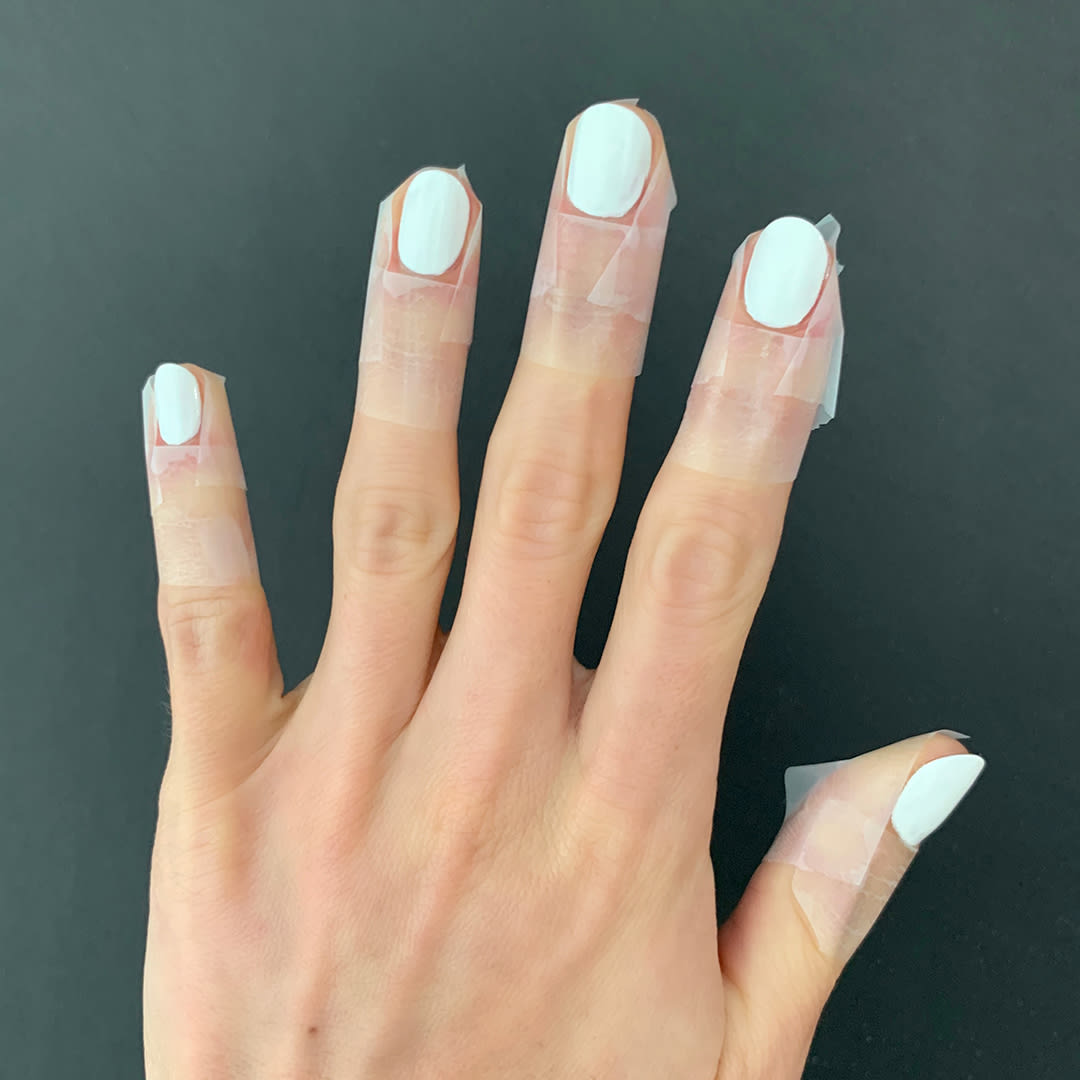
Step 1: Apply two coats of white nail polish. This creates the foundation and canvas for your art to stand out.
Step 2: Next you are going to line the surrounding skin of your nail beds with tape. Put one piece right below the cuticle area of your nail and also a piece on each side of the nail bed.
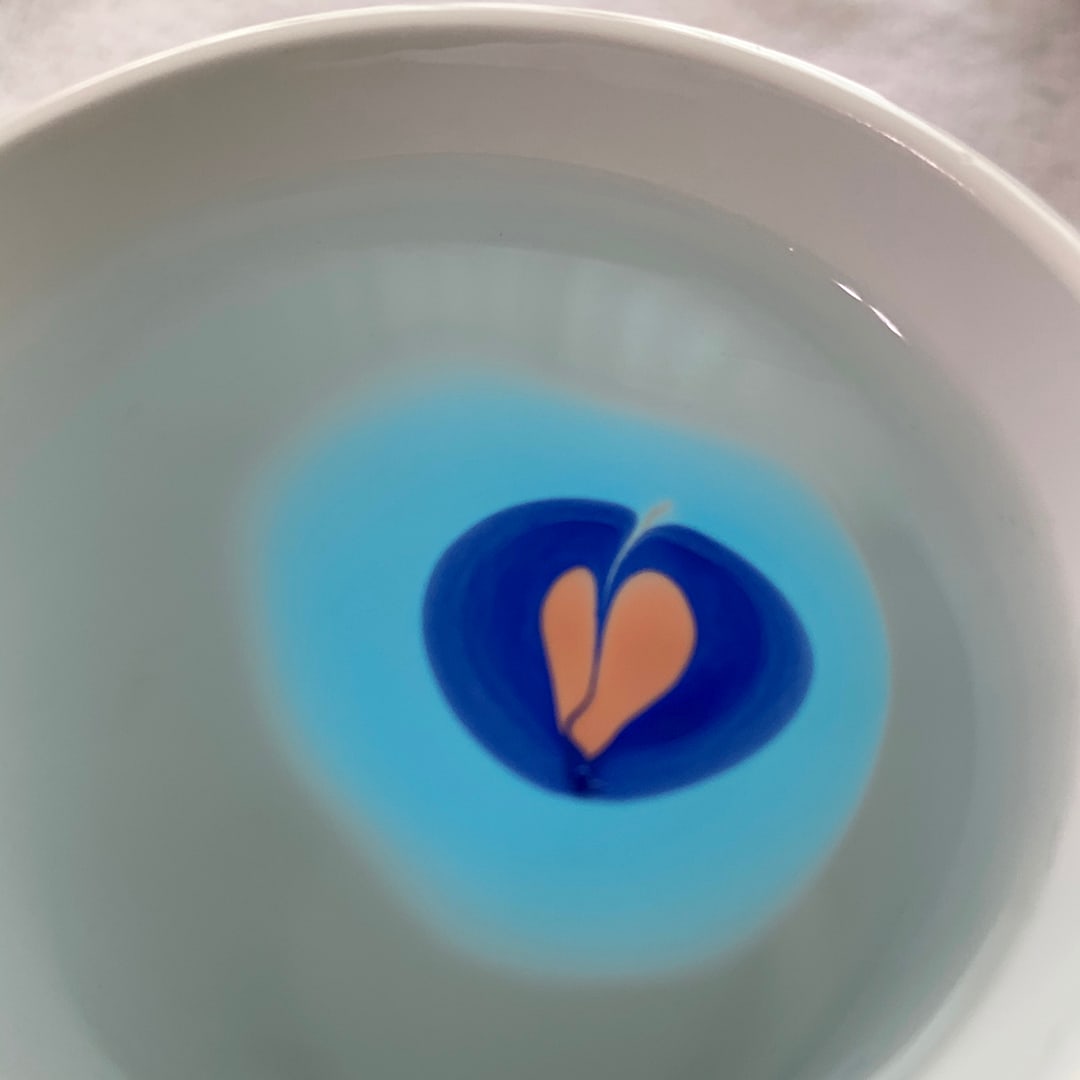
Step 3: This next step you need to work fast. Keep your caps unscrewed as you go. Place one drop of nail polish into your bowl of warm water. It will disperse in the water. Drop another color inside – one after another. Quickly use a toothpick to drag the colors into each other creating a marble effect.
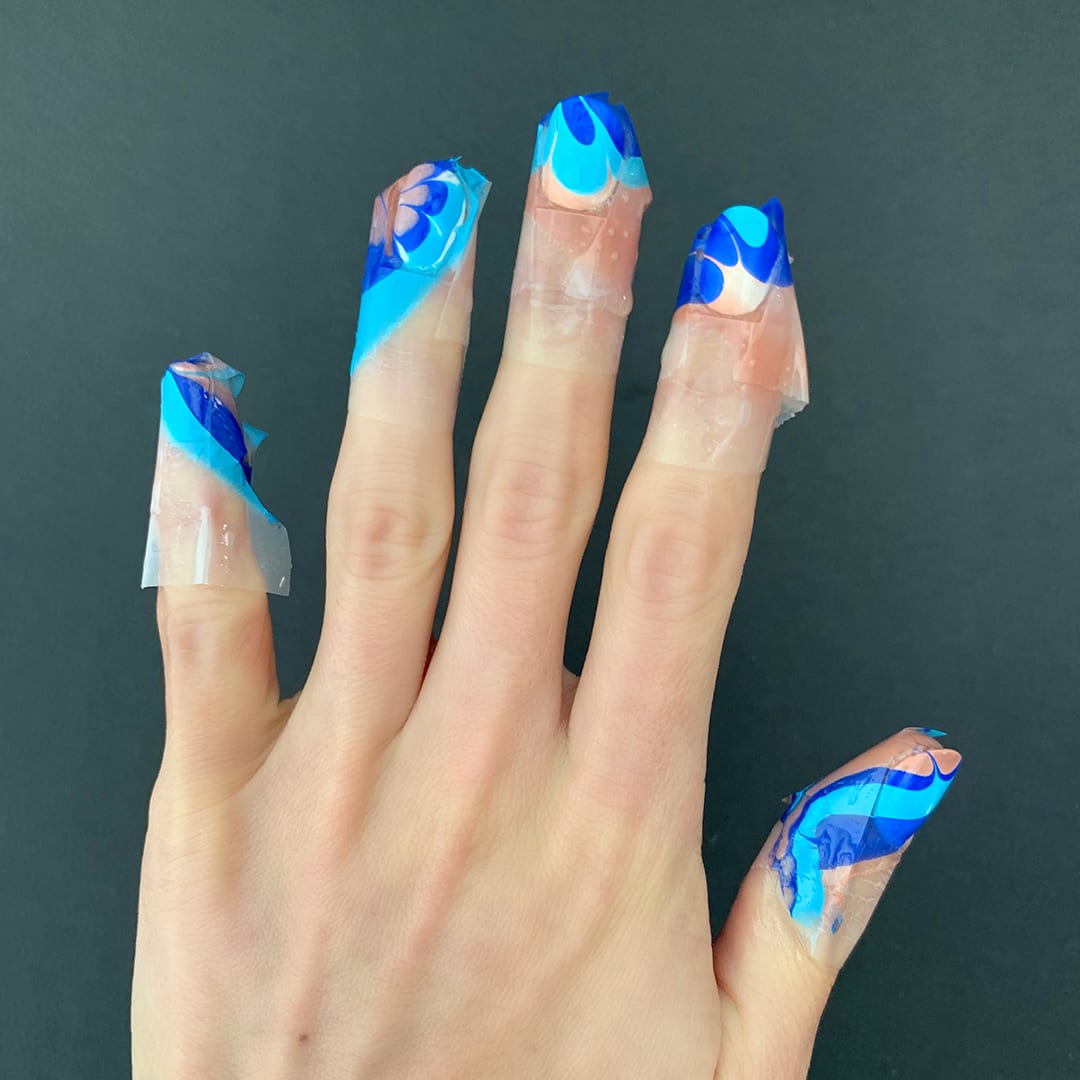 Step 4: Pick the prettiest part of your design and place your finger nail bed down into the water. Before pulling your finger out- clean out the polish surrounding your finger with your toothpick and wipe it on a paper towel. When you pull your finger out the design will have transferred to your nail bed! (and the rest of your finger) Repeat for each nail.
Step 5: Now the most satisfying step. Neatly pull of the tape. You will see there is now minimal clean up left as it has all stuck to the tape! Use your tiny concealer brush dipped in nail polish remover to clean up what’s left outside the lines.
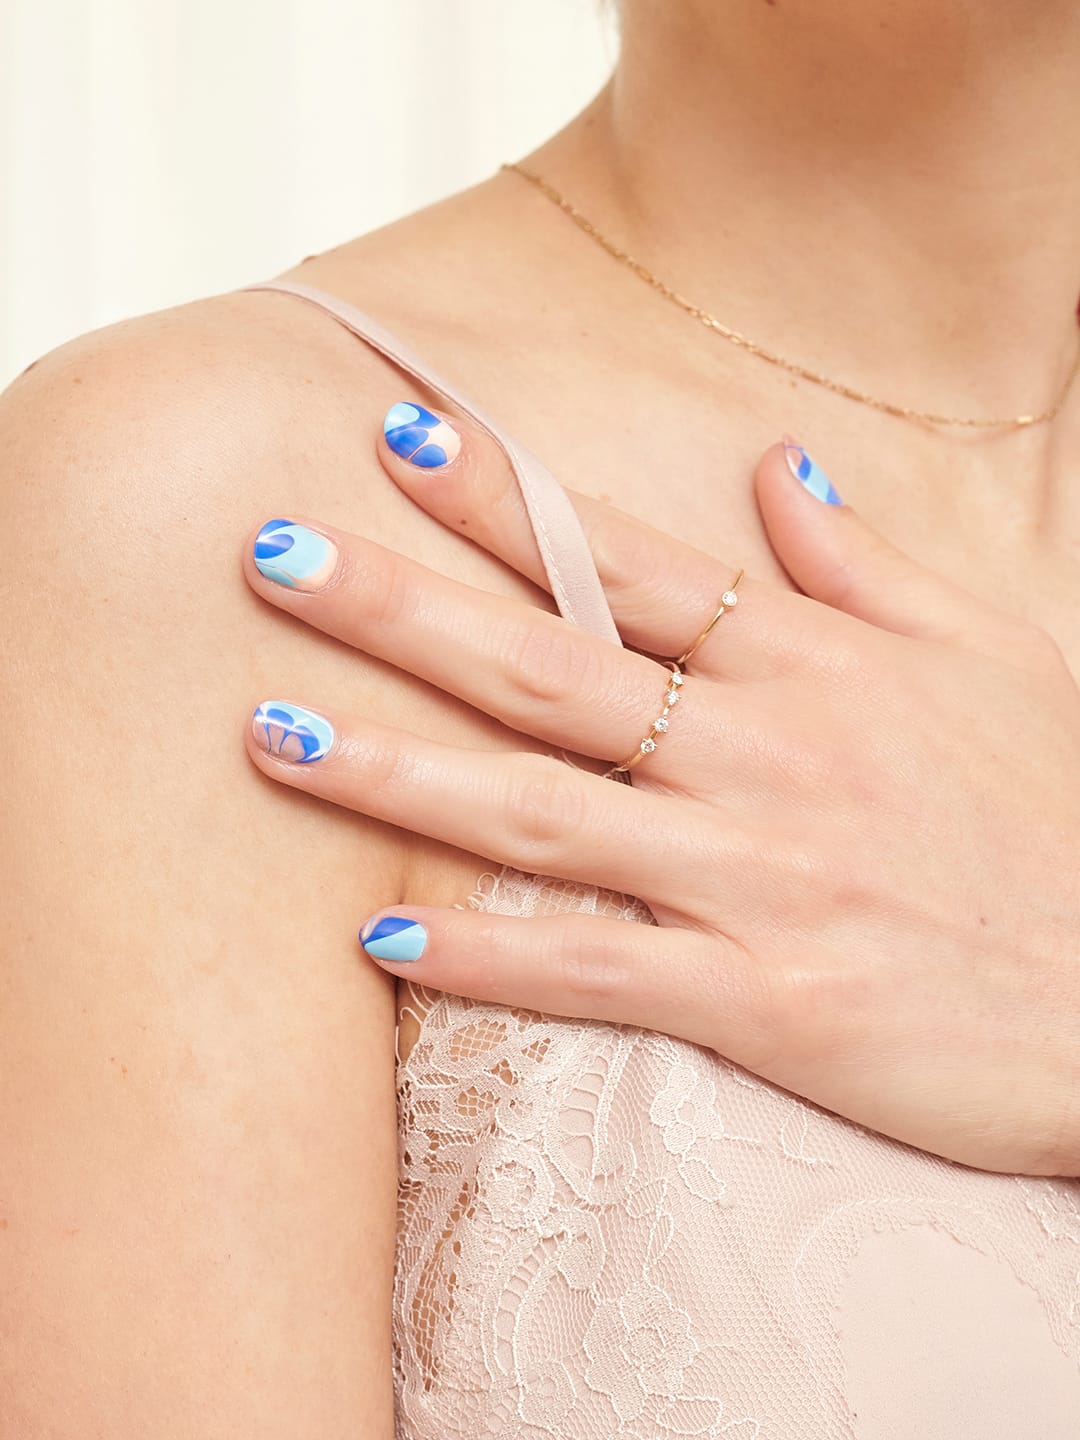
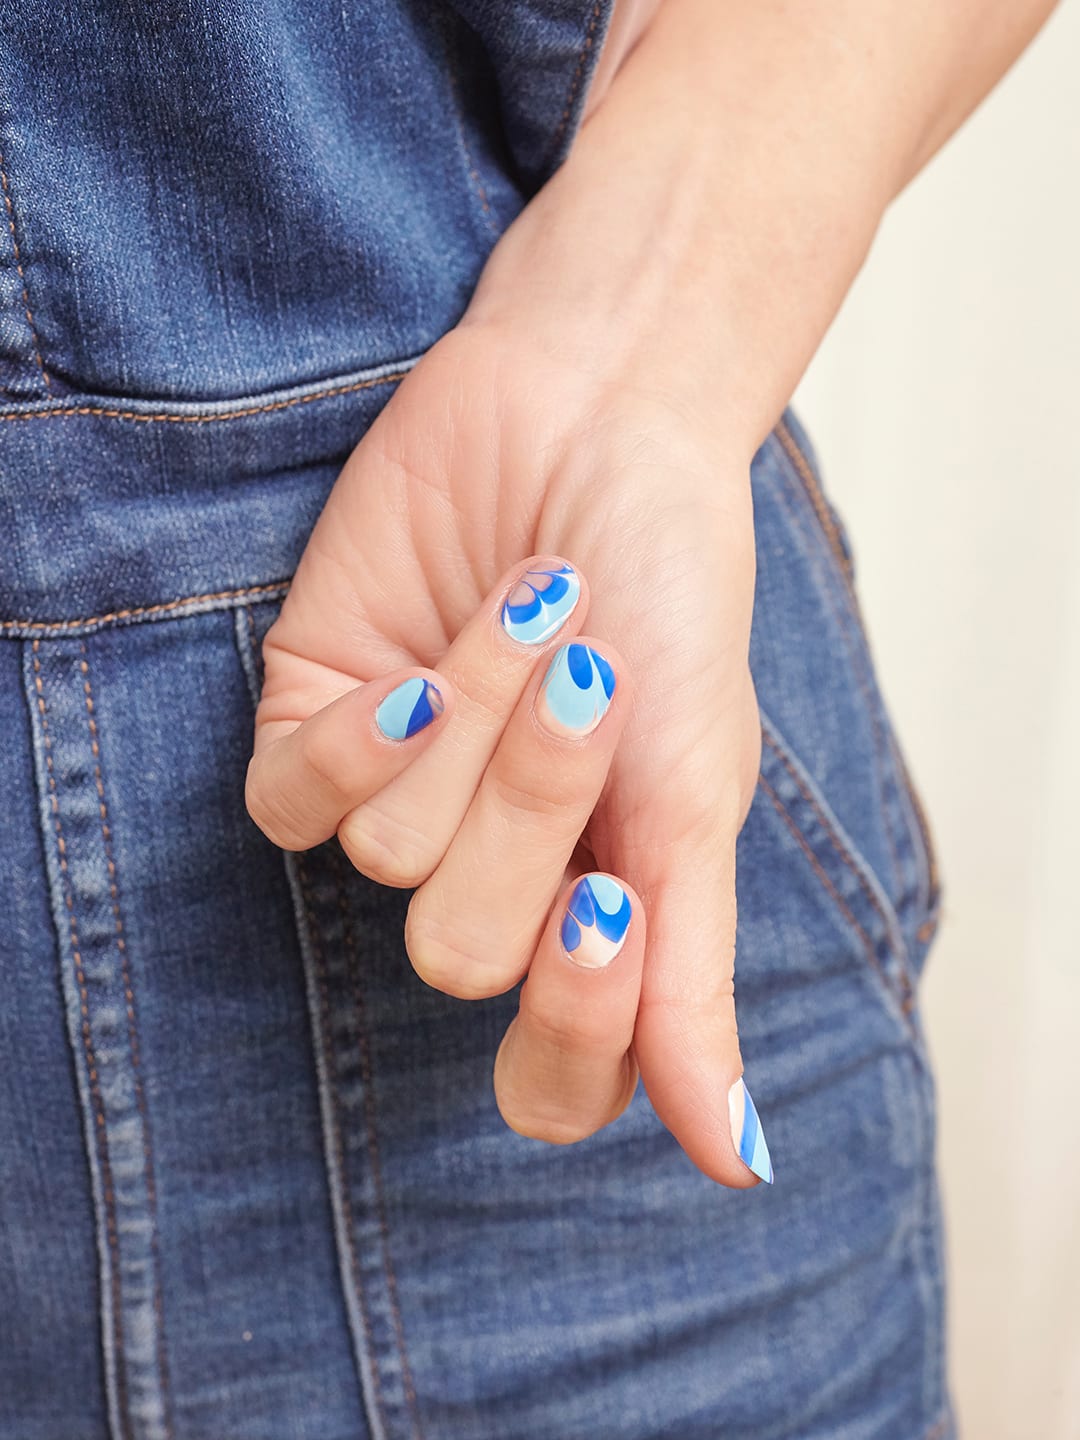
Step 6: Lastly apply top coat to smooth out the colors and ensure a long lasting manicure!
Did you try this fun nail art tutorial? Let us know in the comments below!
Join The Conversation (0)